I Made This
Sometimes when life gives you lemons, you gotta learn how to build a garage.
In January 2017, we had a breezy day with 100mph winds (Denver Post article). This was a problem for the 60ft spruce growing through the center of our shed.

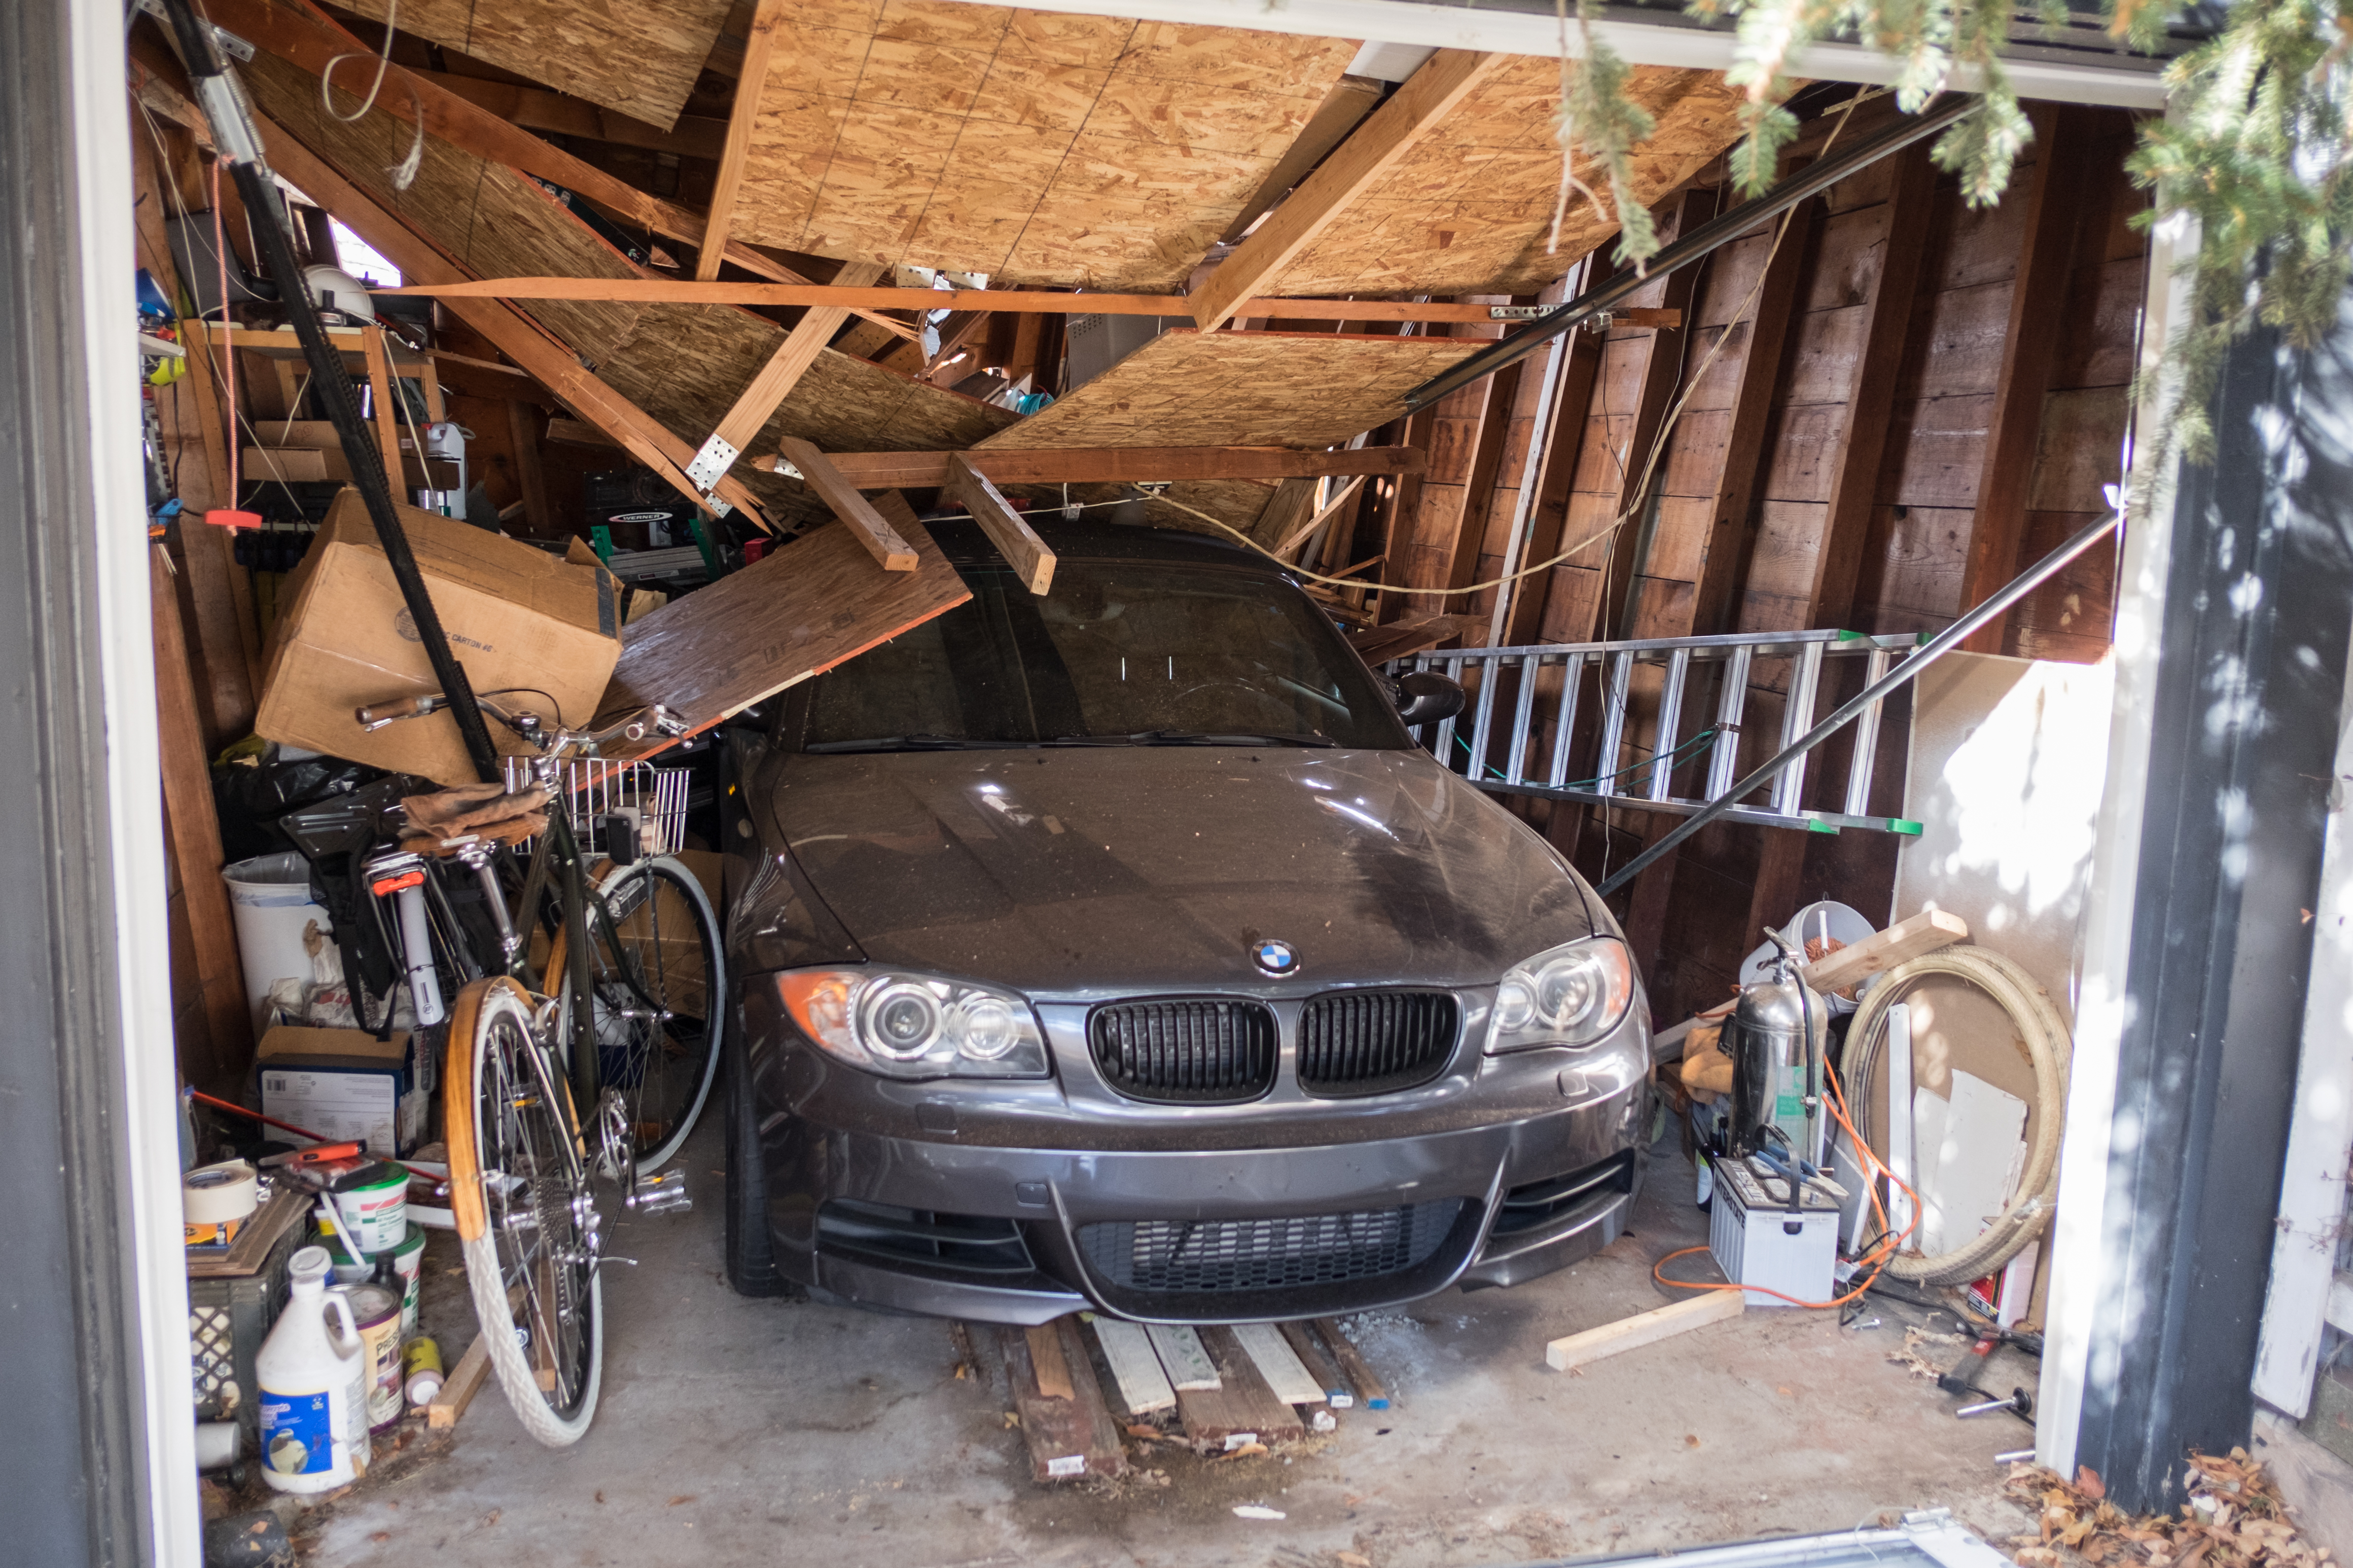
Damage was extensive. The garage was a total loss. My car was banged up, but it could have been worse. We first needed to take the tree down. They brought a crane and crew and it was gone within a couple hours.
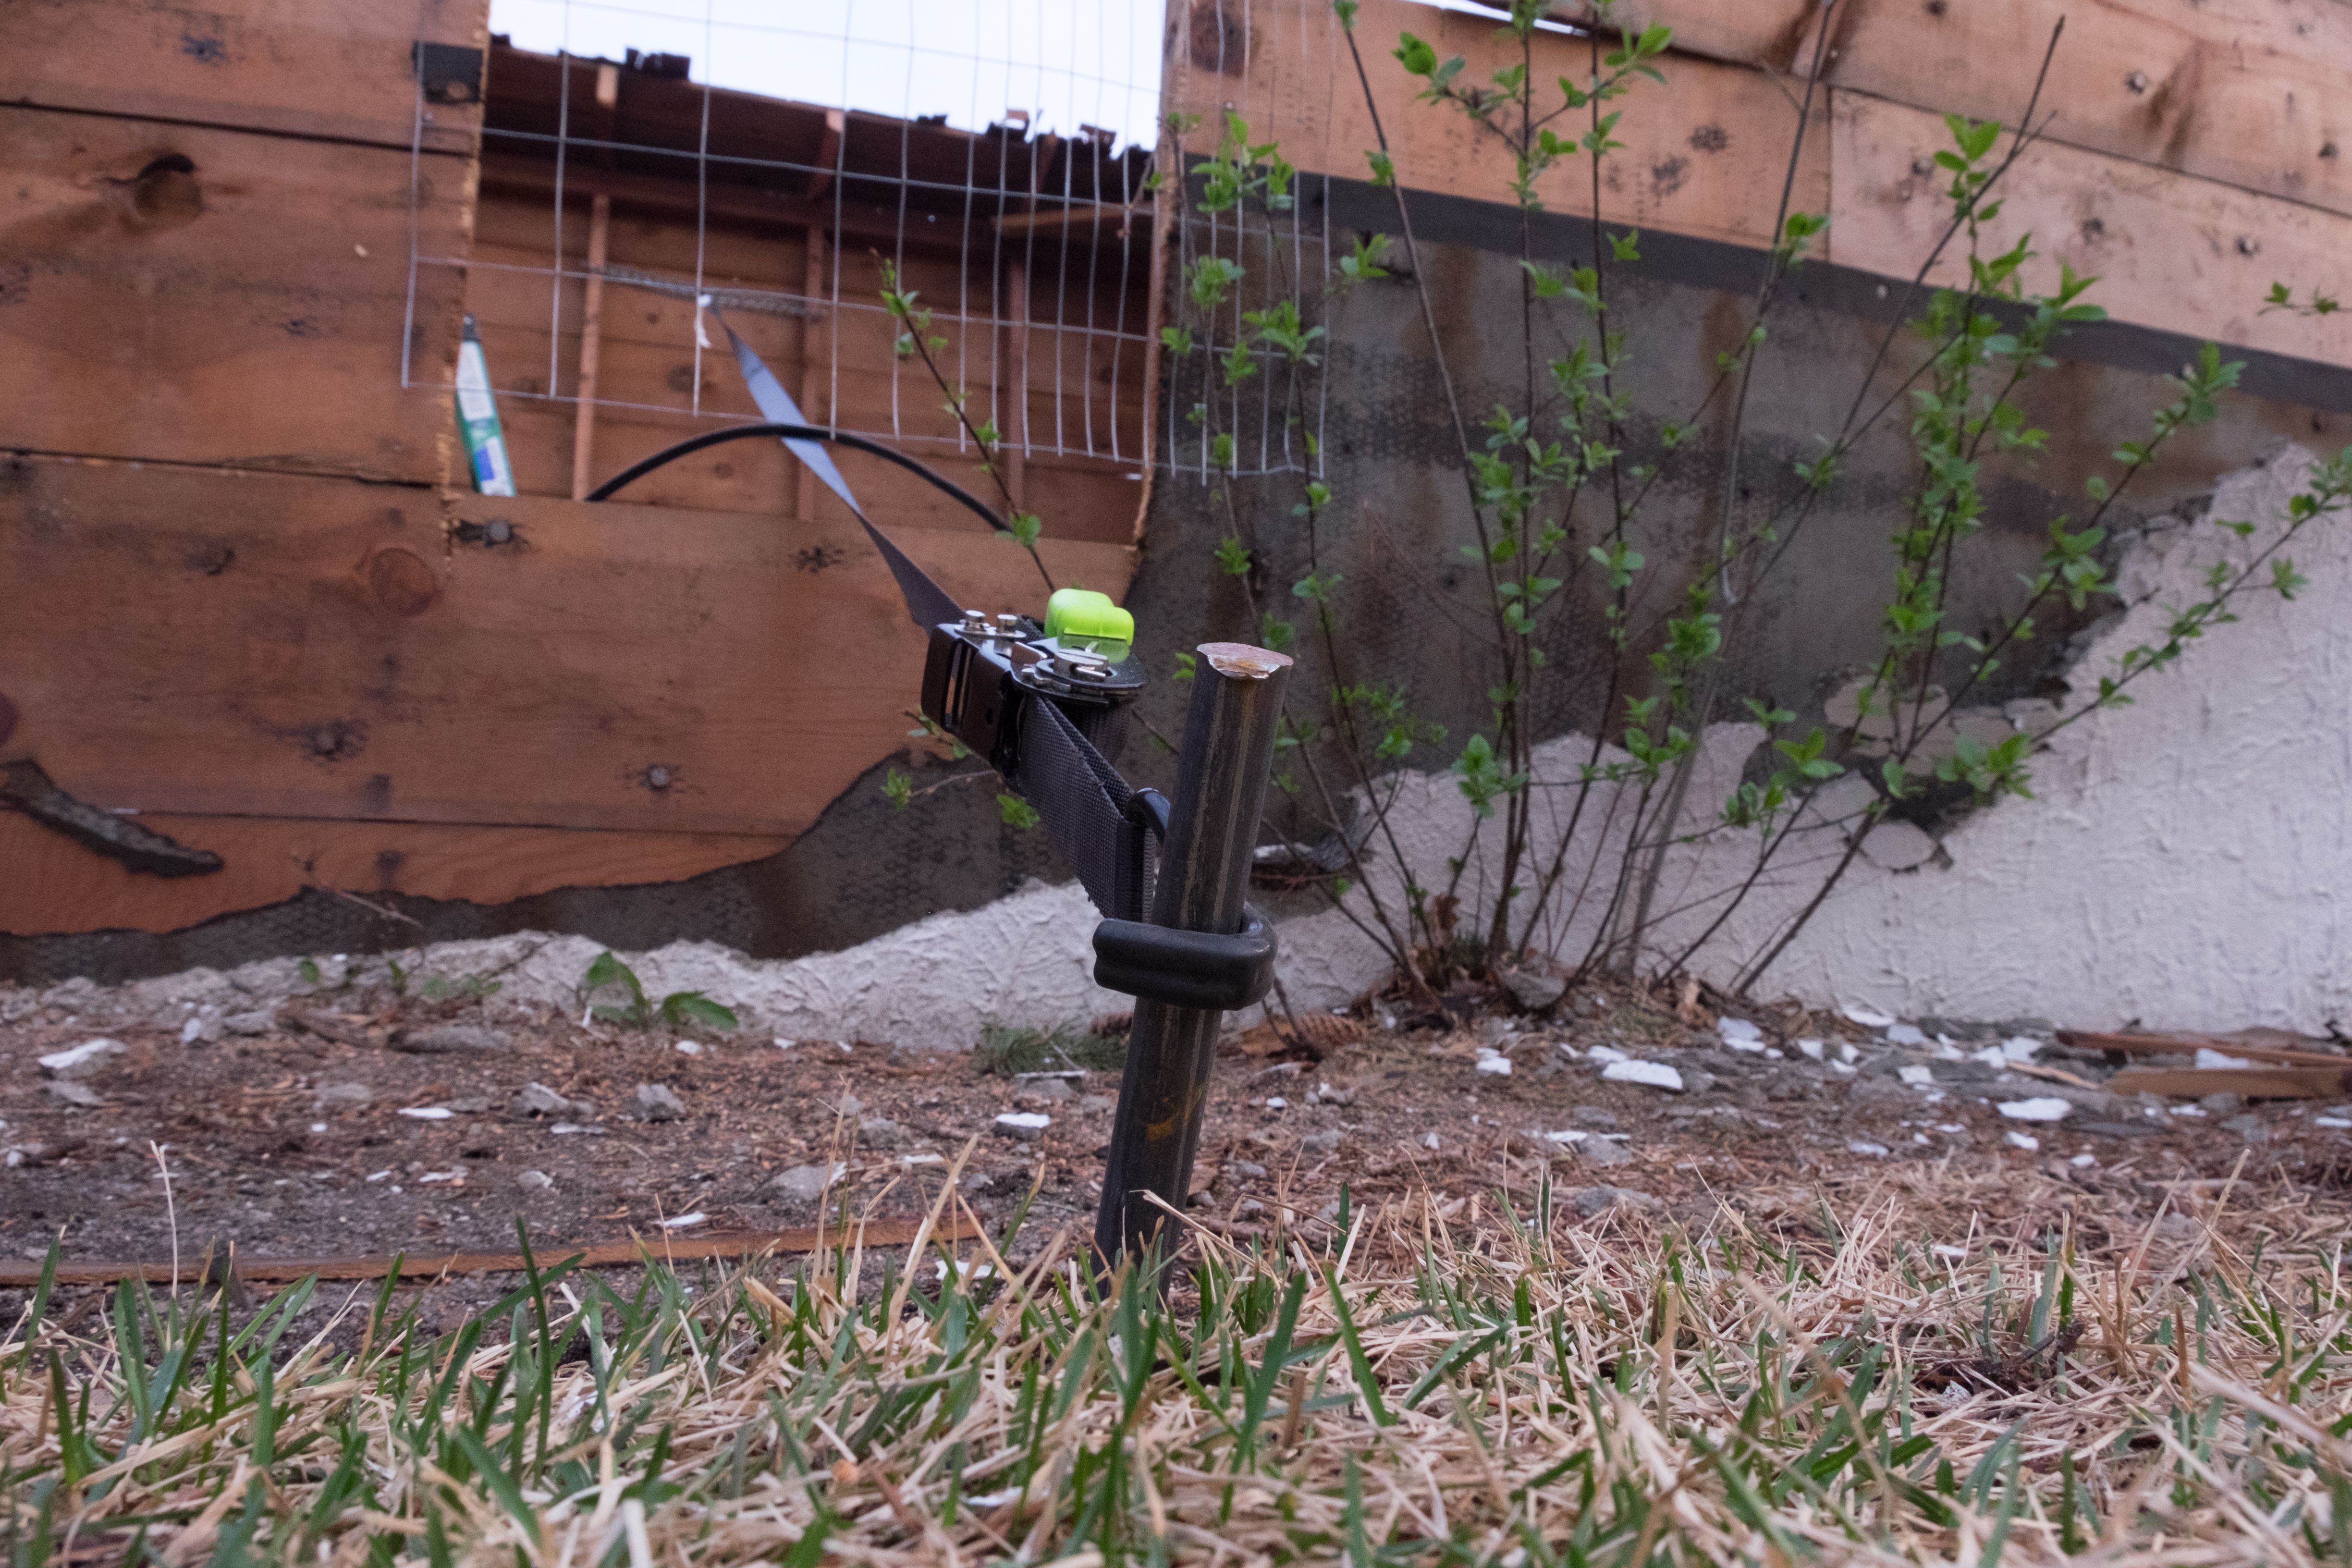
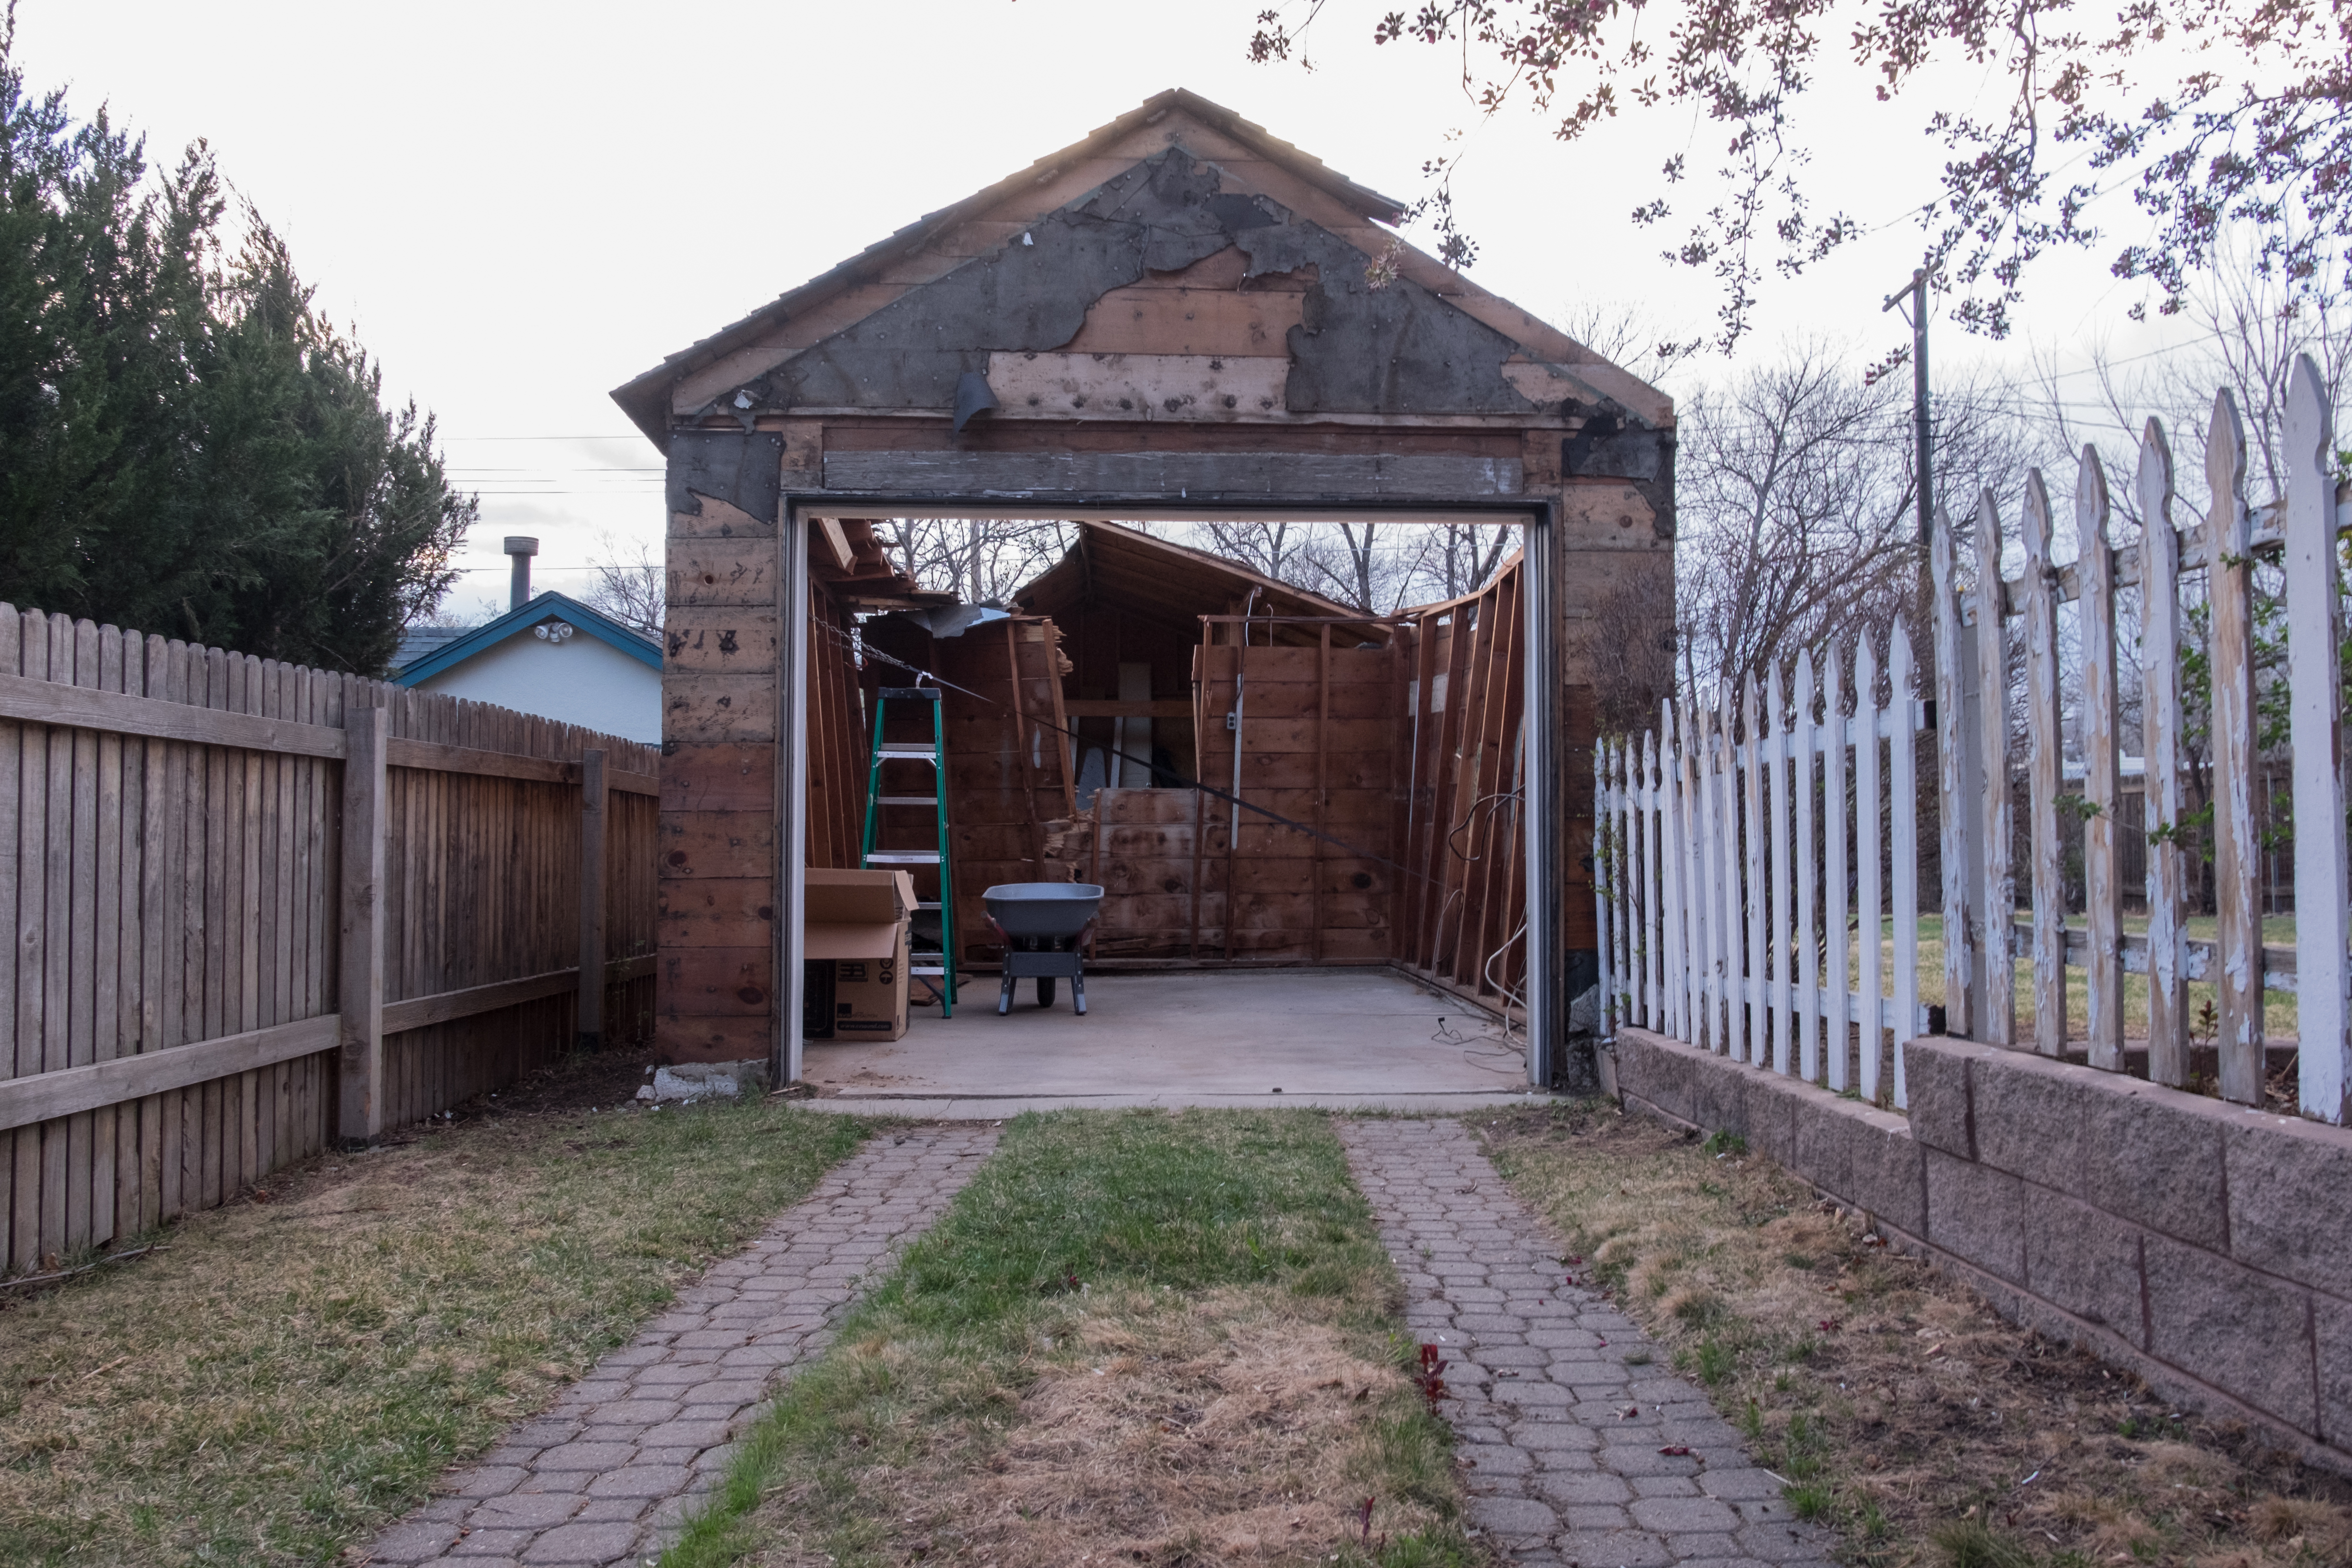
Insurance covered the damage, but it was a fairly low amount. Demolition was going to take a third of it, so I decided to it myself. This was tricky to take down without the wall falling on the neighbor’s fence. I rigged up a line to hold it in place as I took down the roof, stucco, and then finally the walls themselves. All went well without any additional damage.
Quotes for the rebuild were way over budget, so I ended up deciding to rebuild on my own. I hadn’t built anything bigger than a deck before, but I figured that with some careful planning and research, I could take it on.
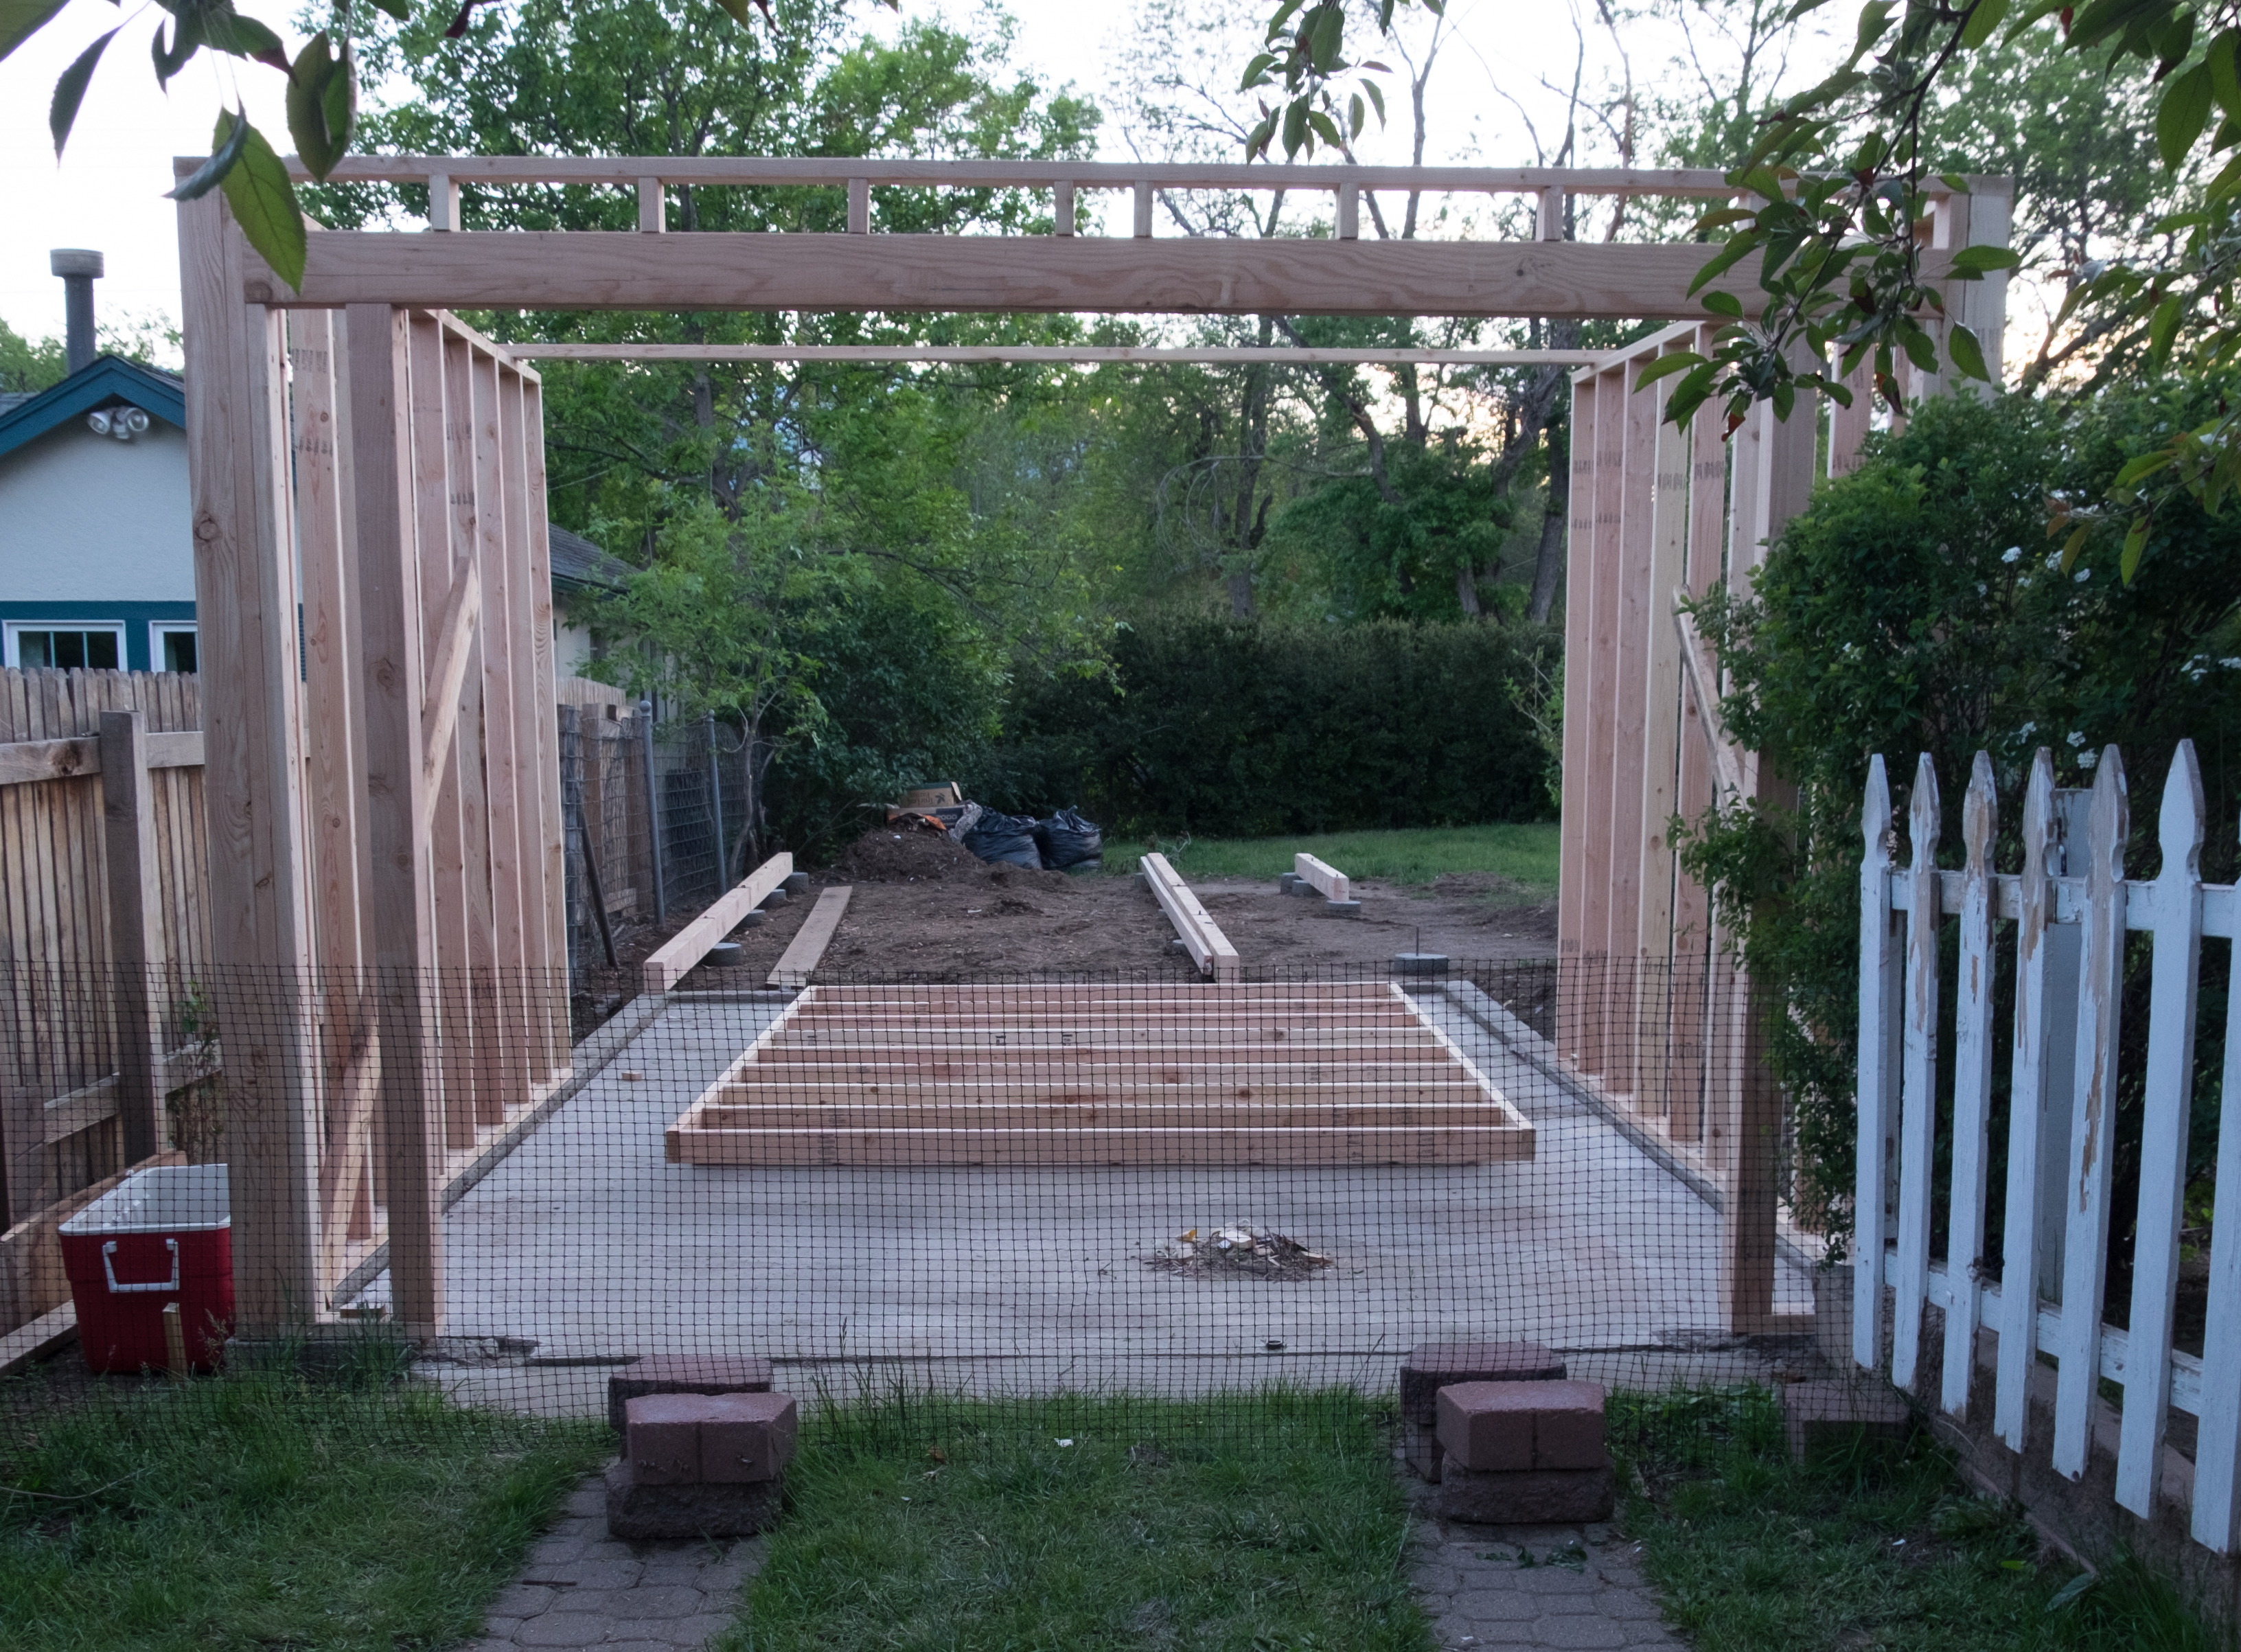
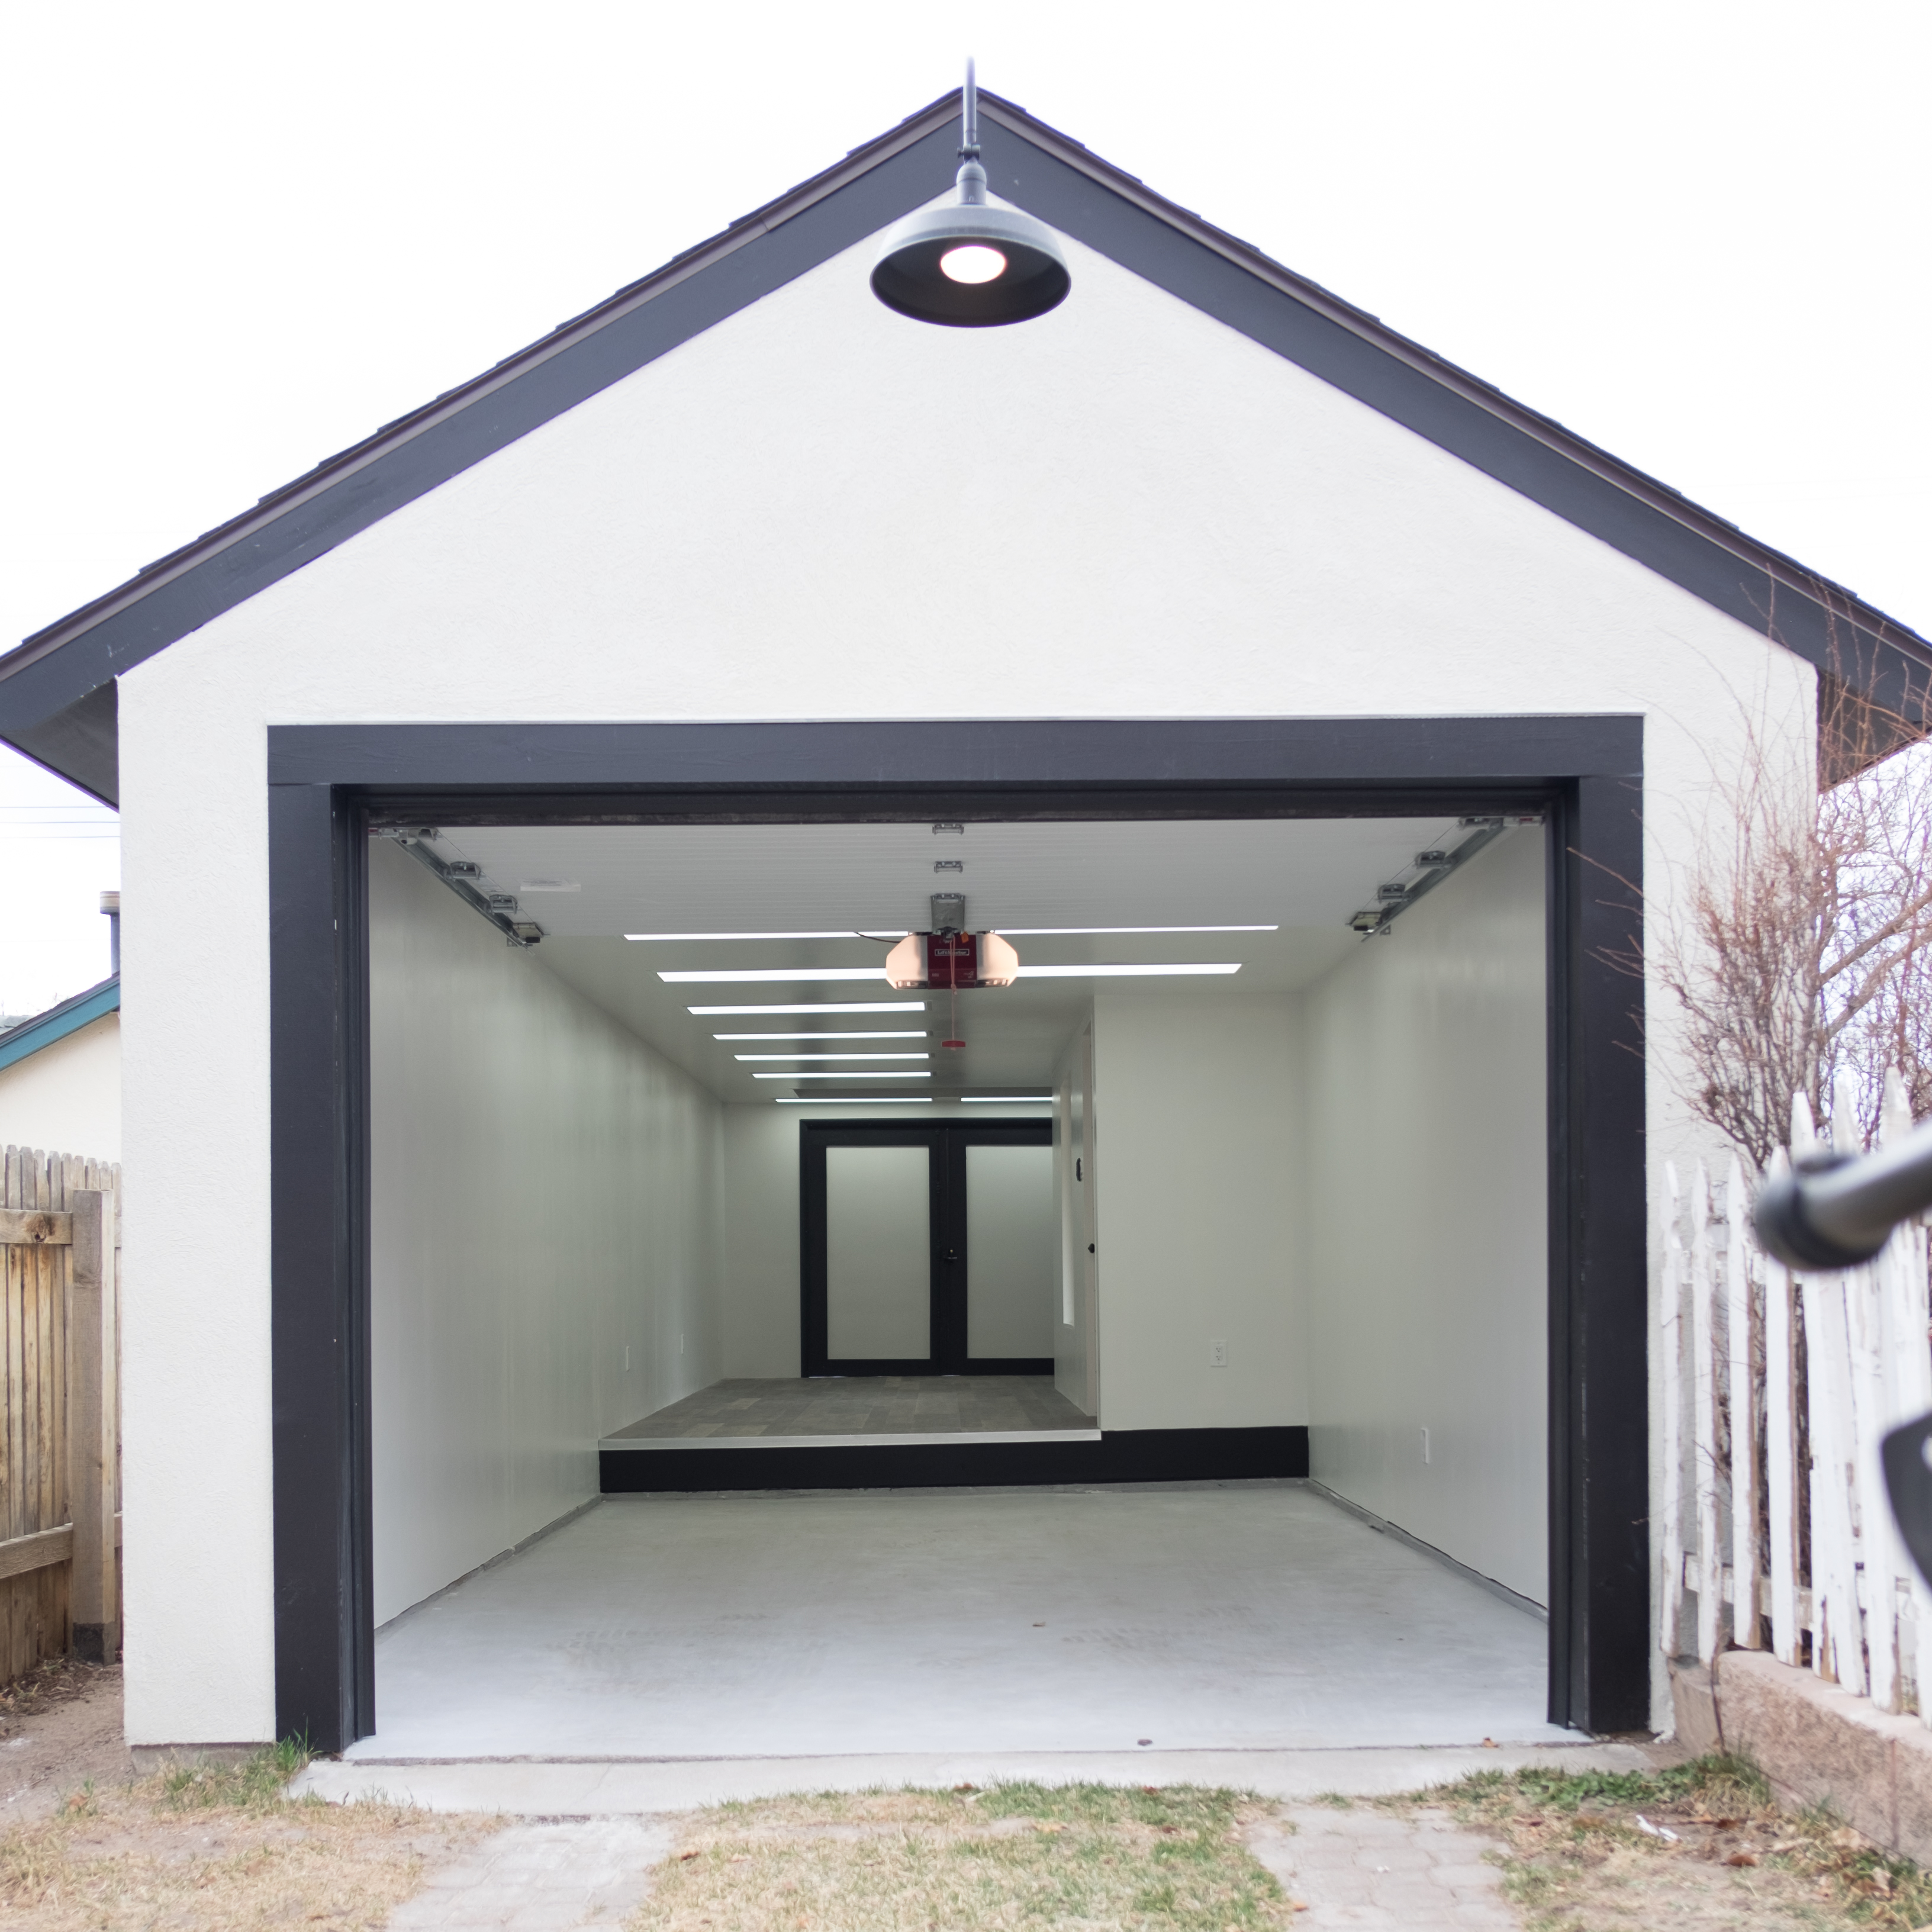
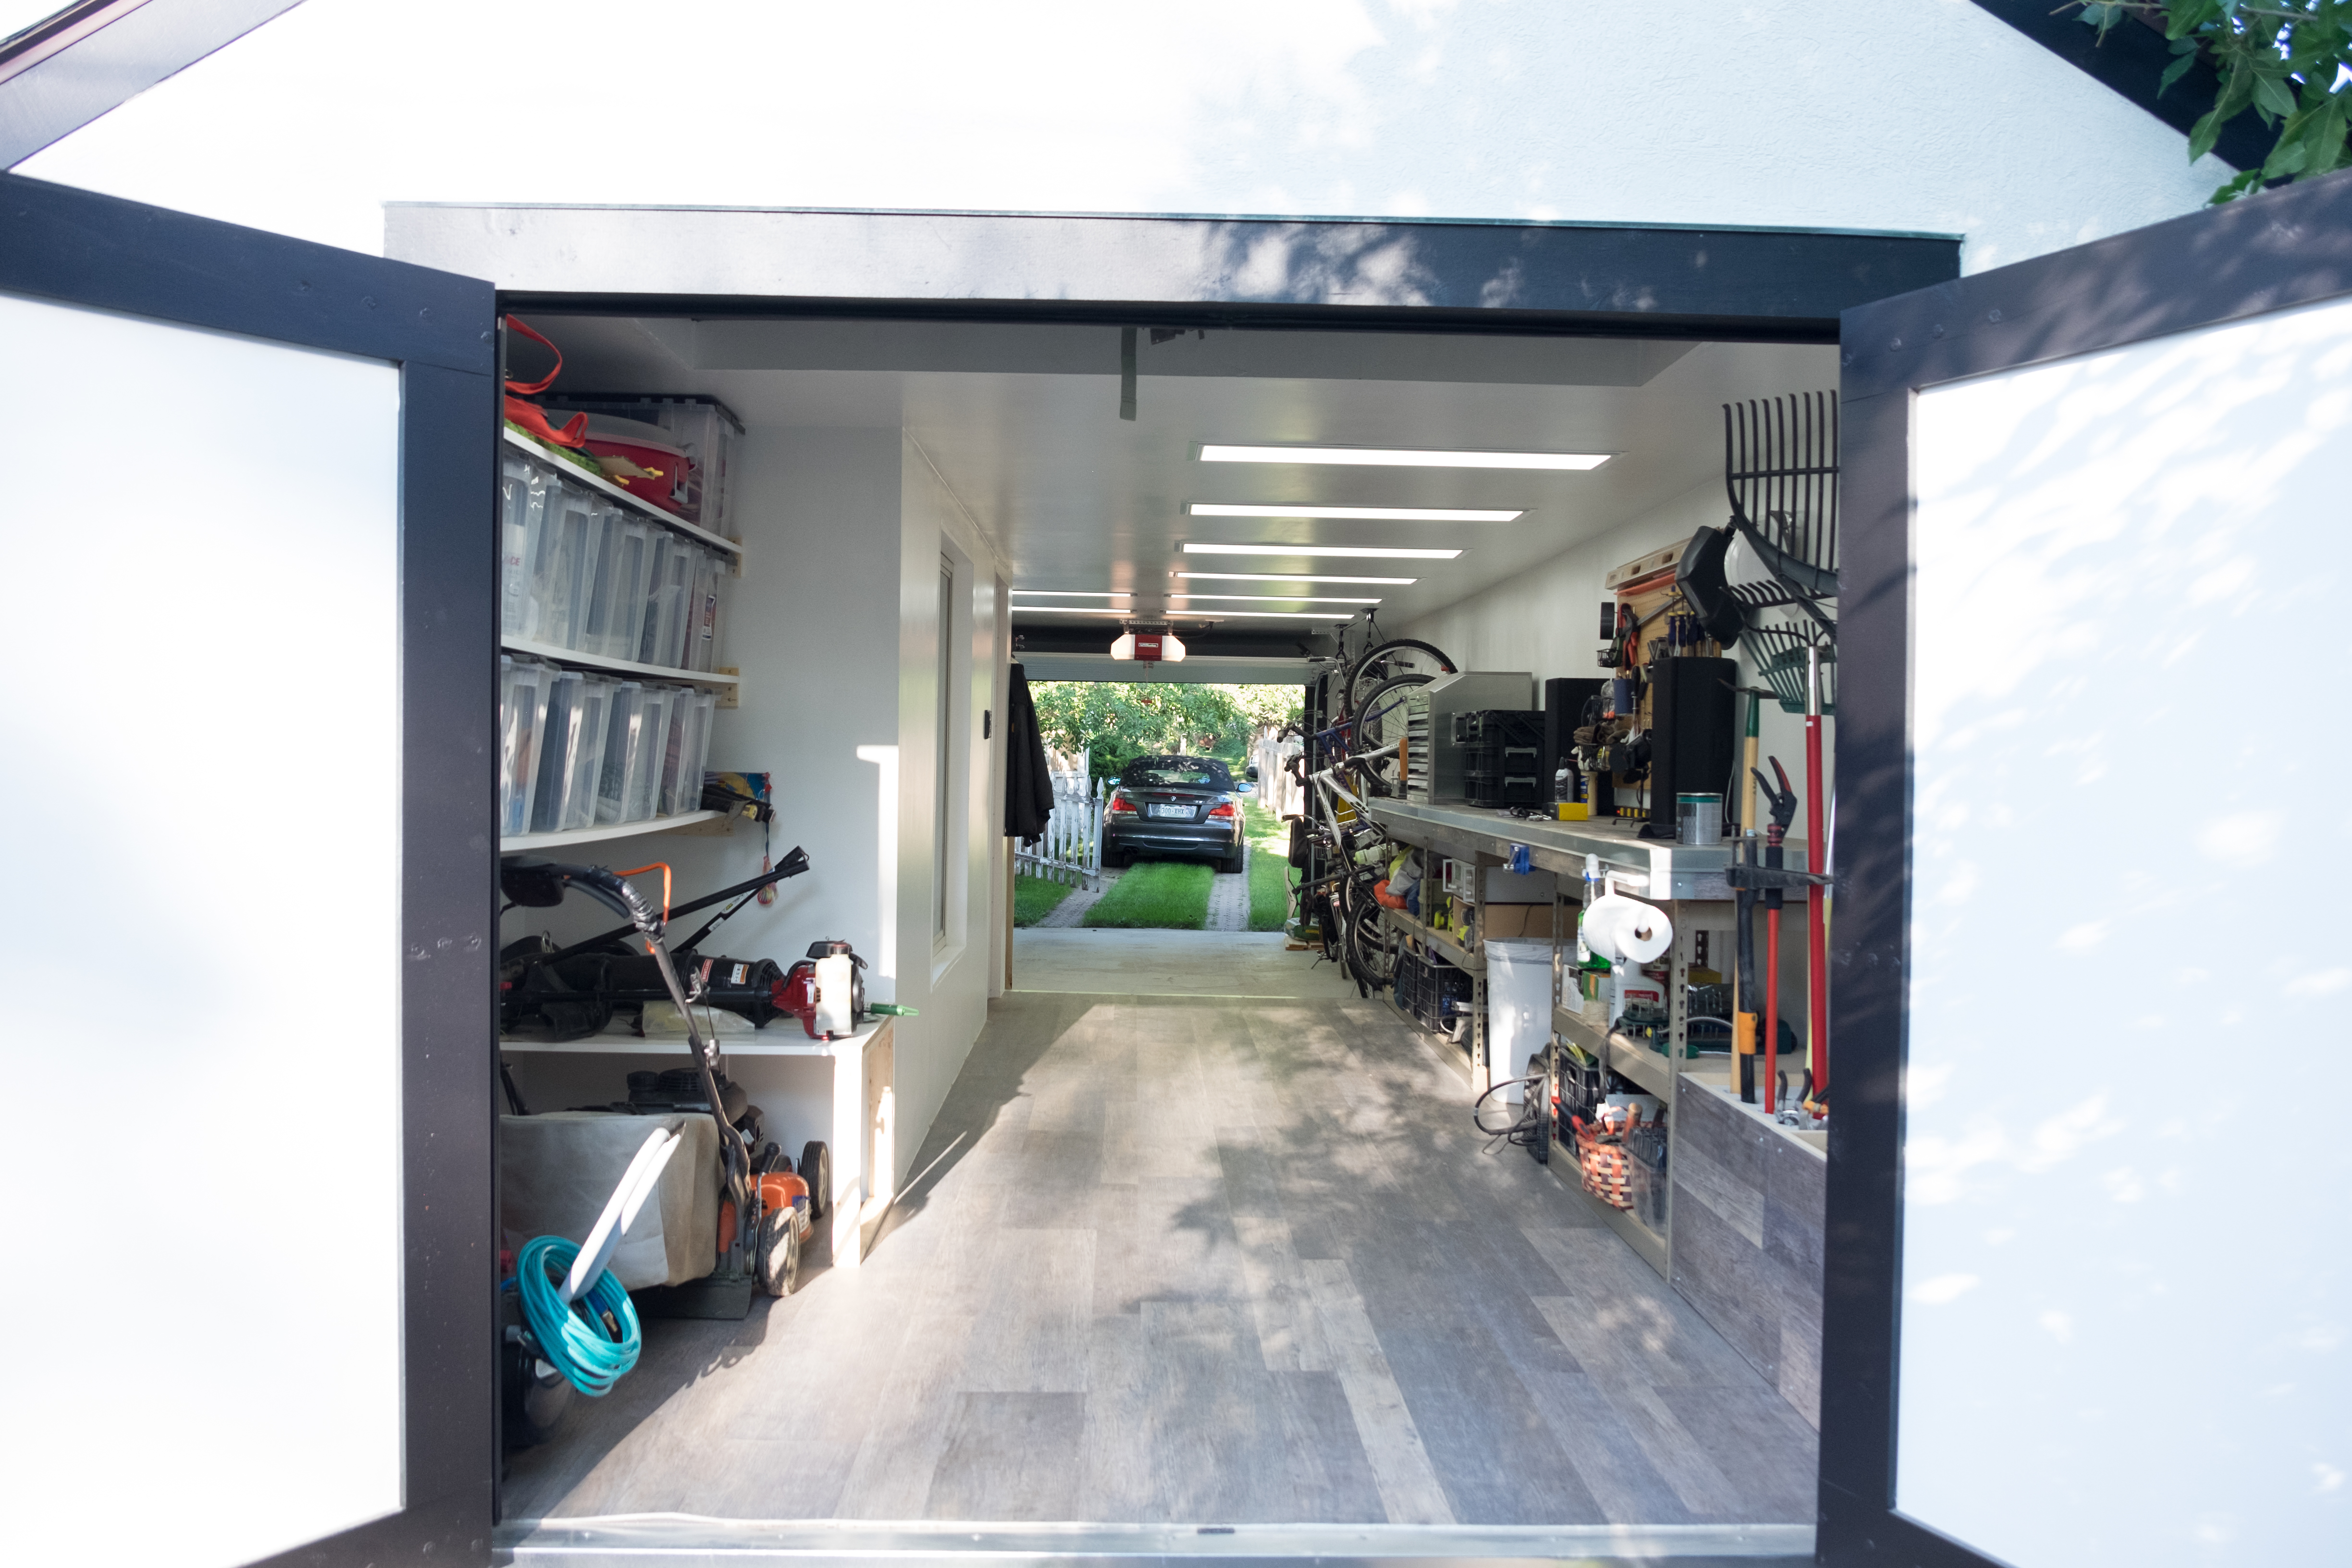
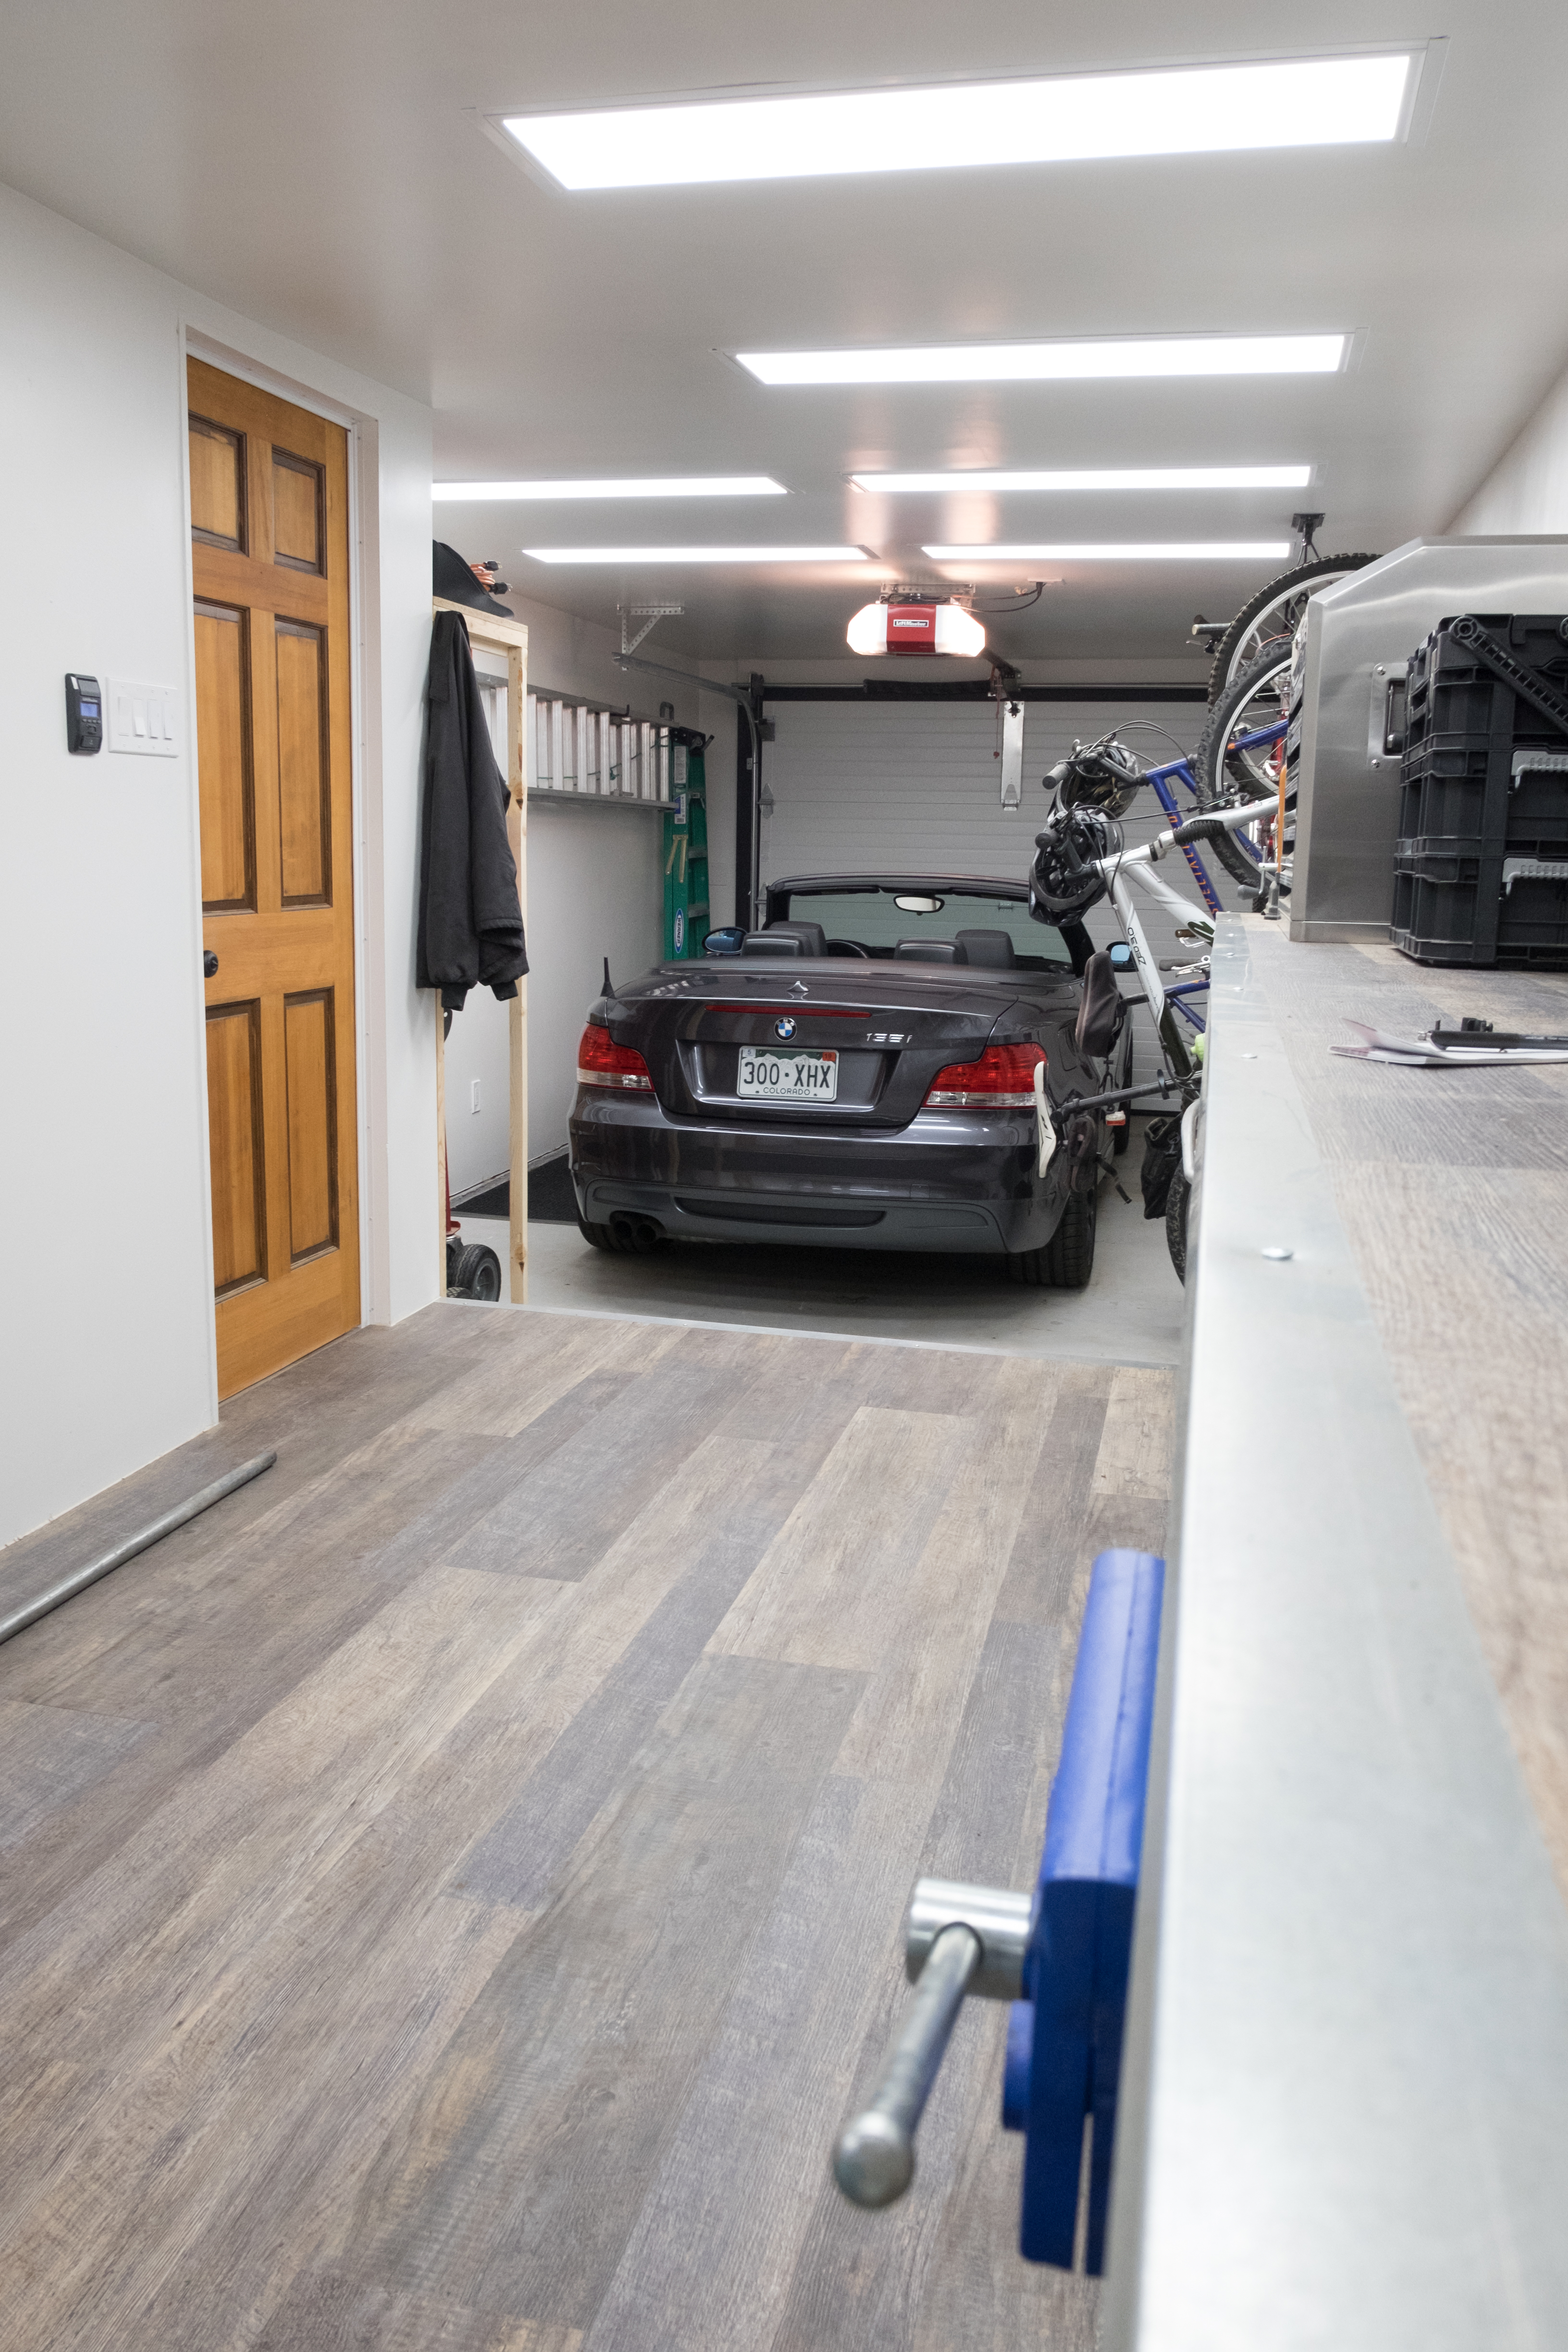
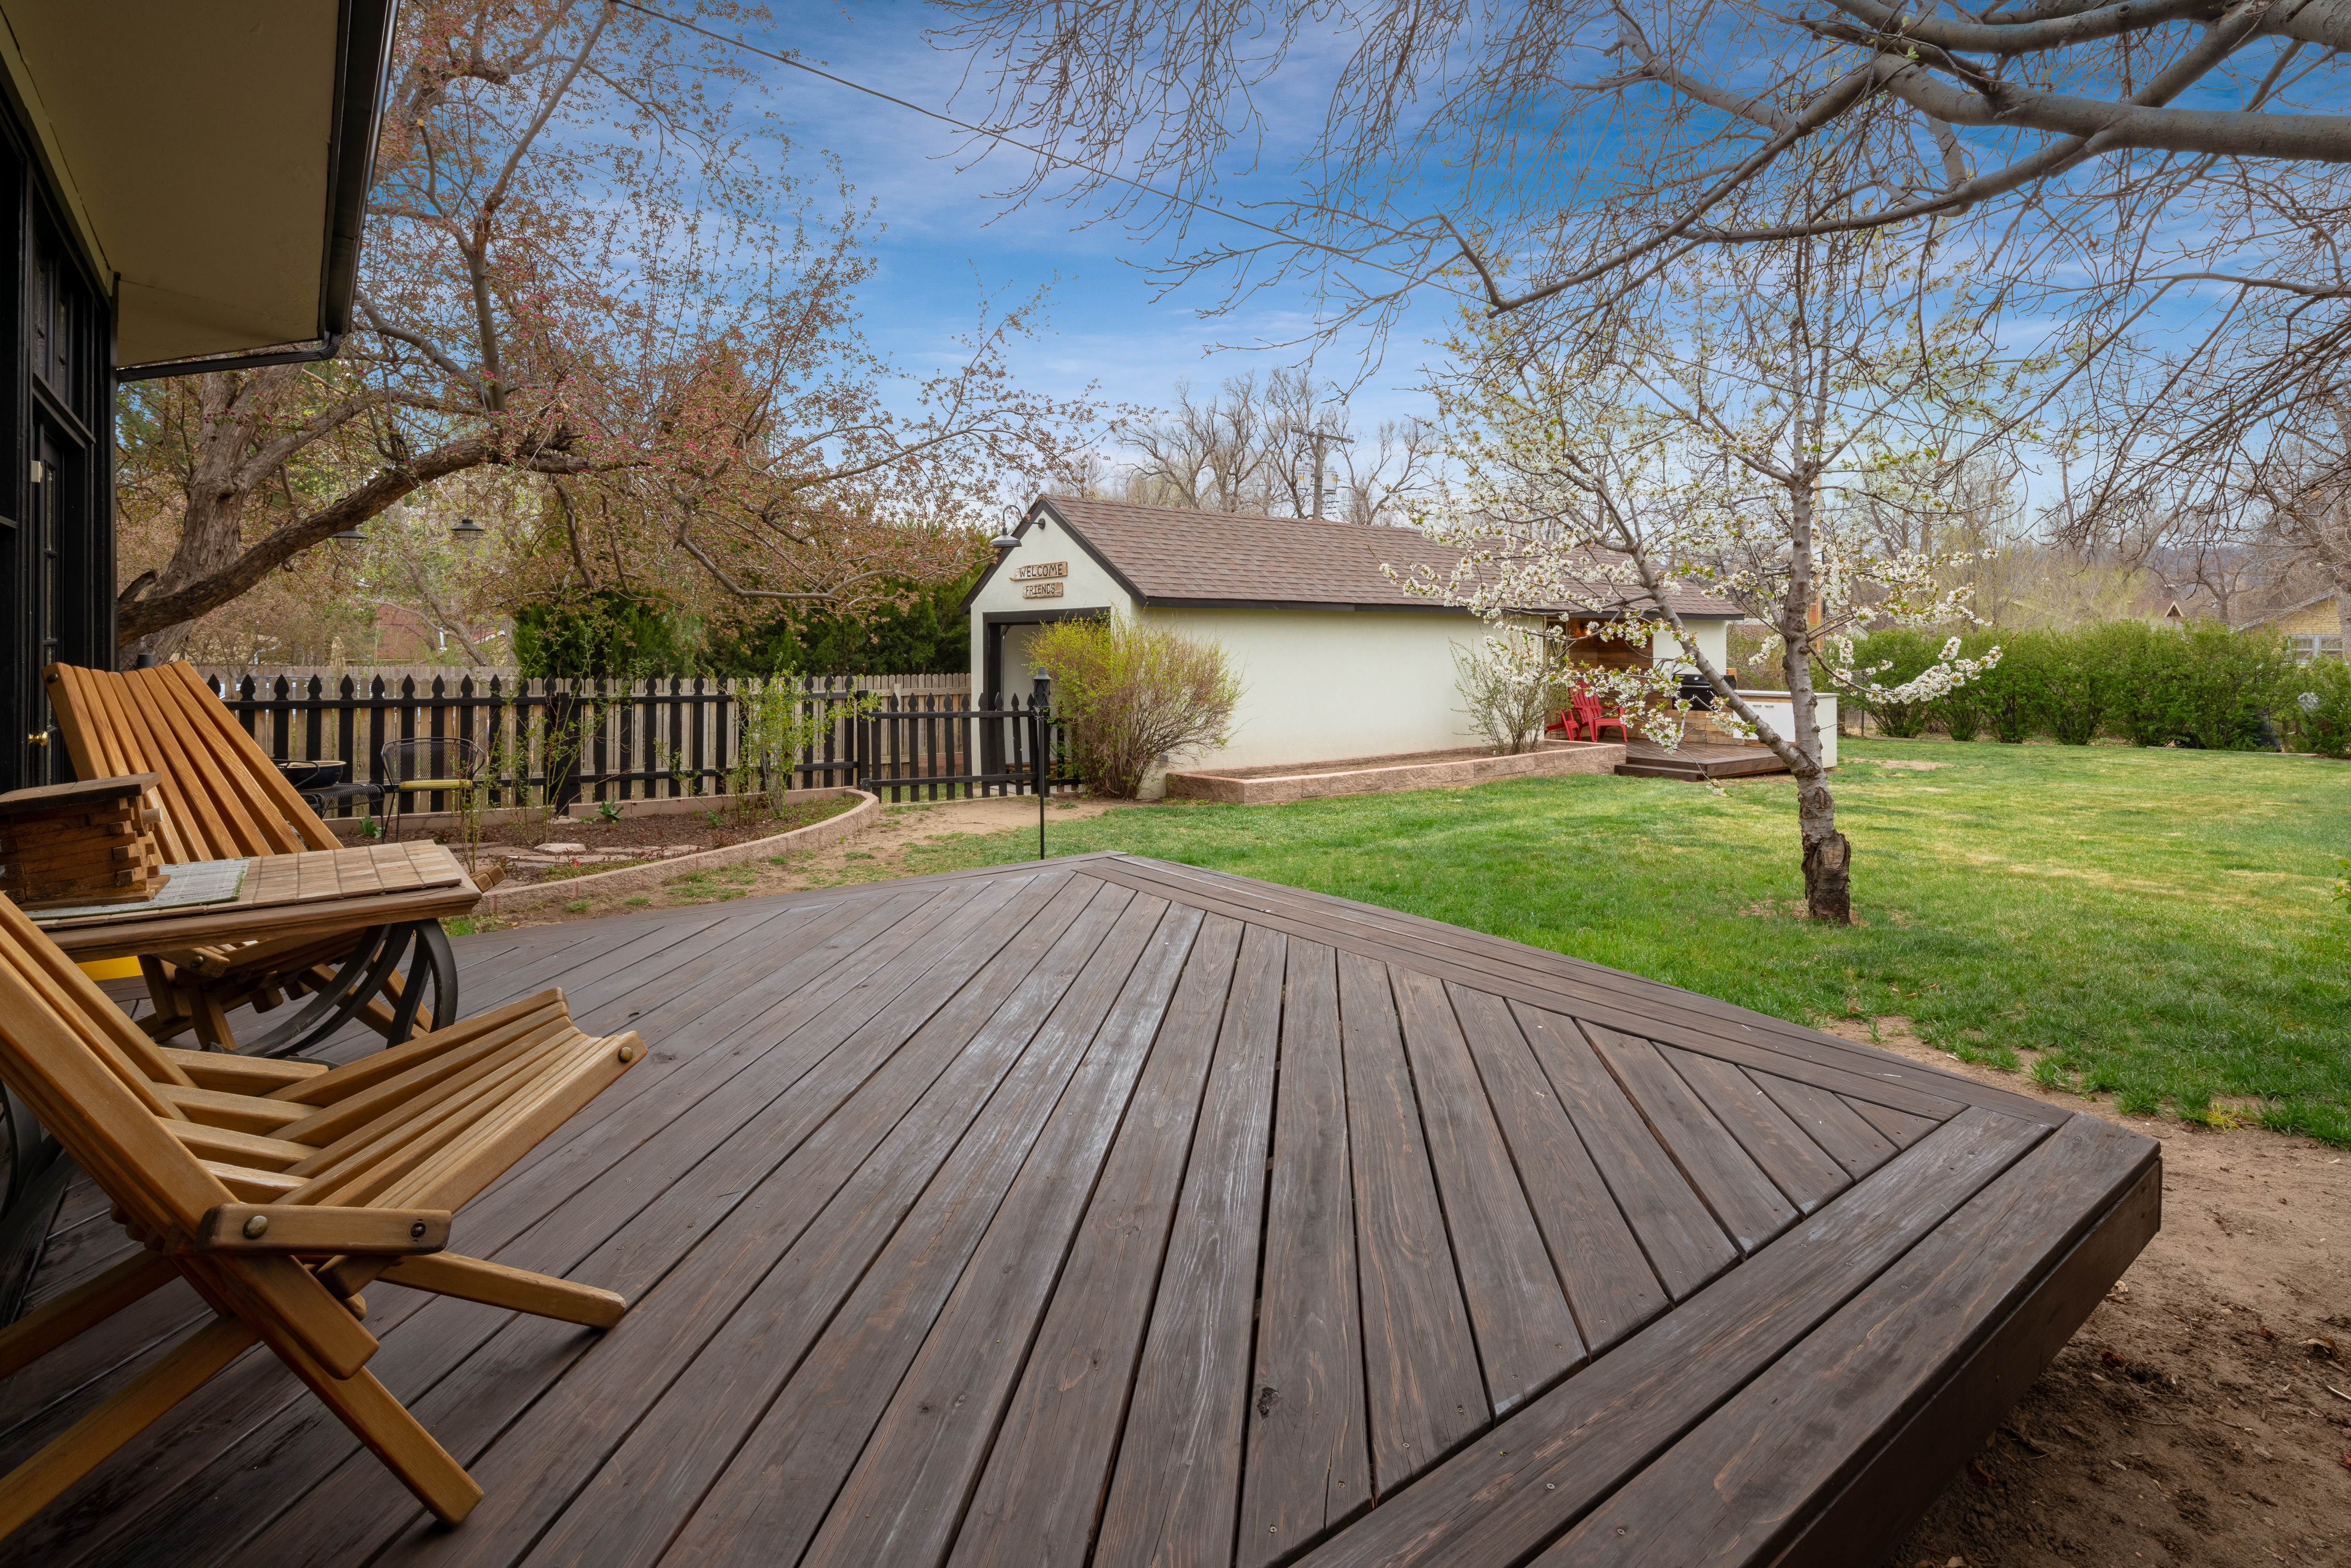
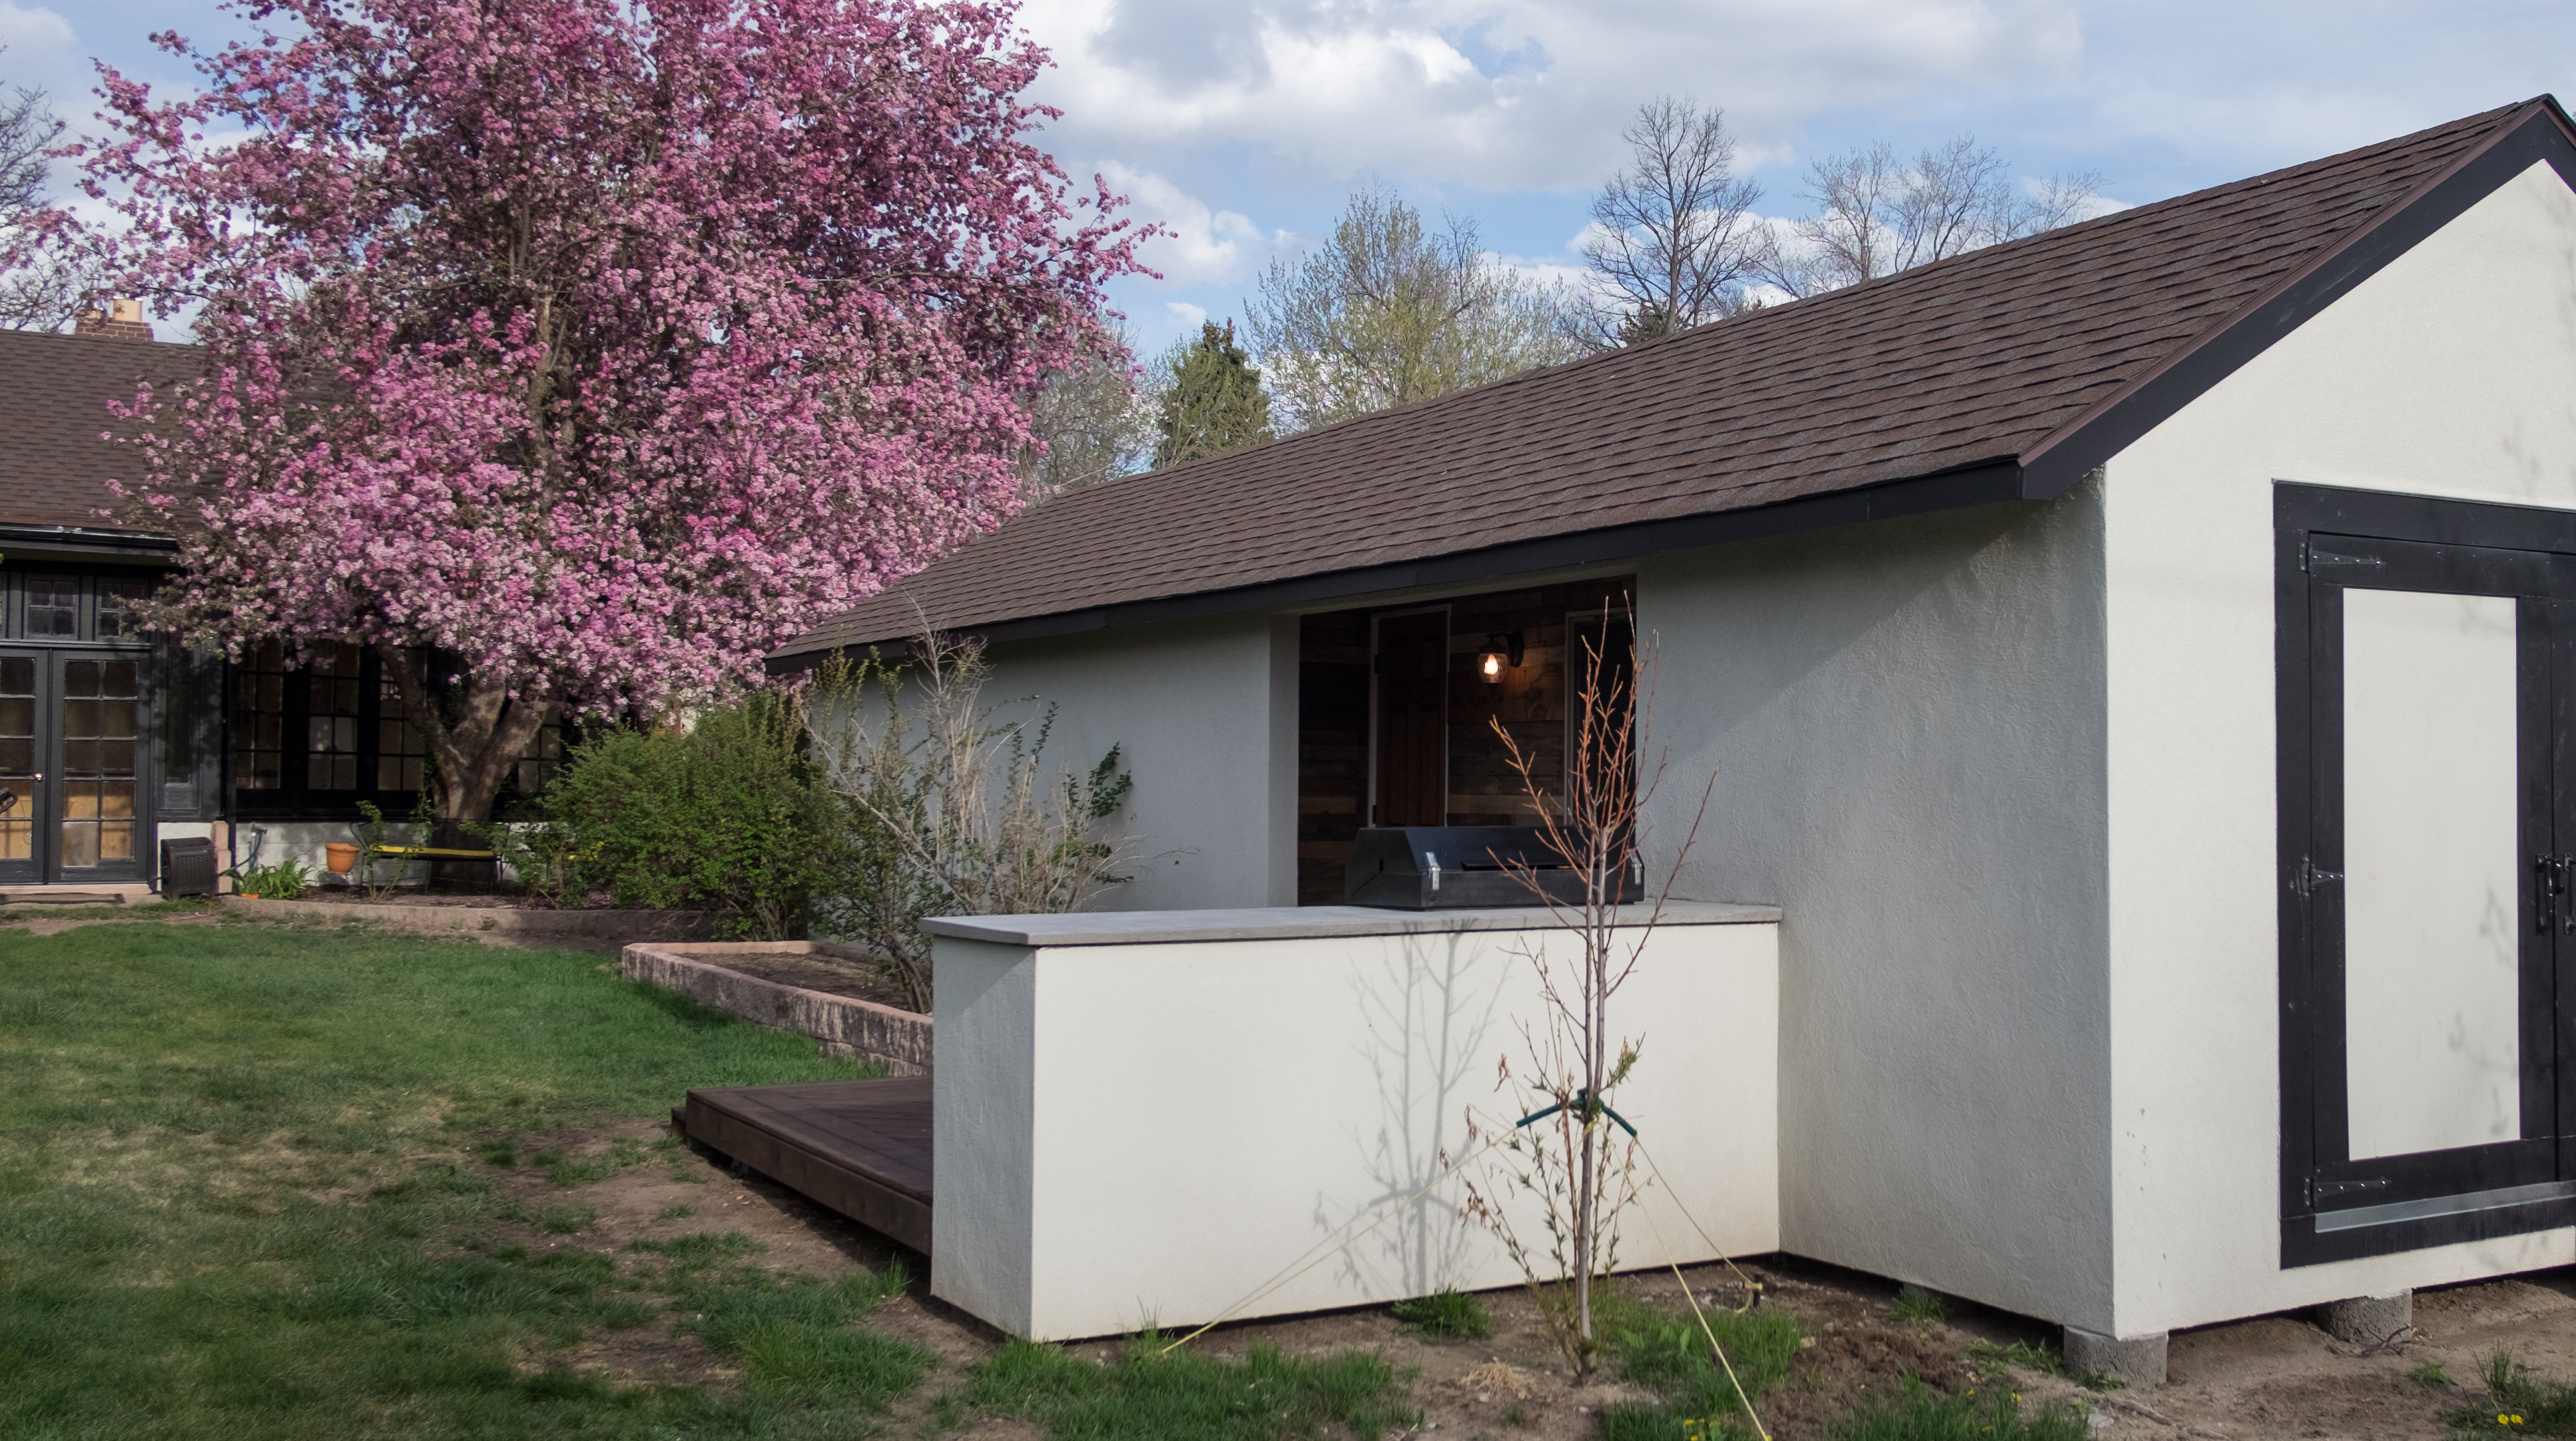
I drew up plans that used basically the same footprint as the old garage and shed. There would be a carport in the front half and a workshop in the back. This would be all one big room with the workshop on a raised floor that wouldn’t need a concrete slab underneath. Off the side would be a deck and built-in grill.
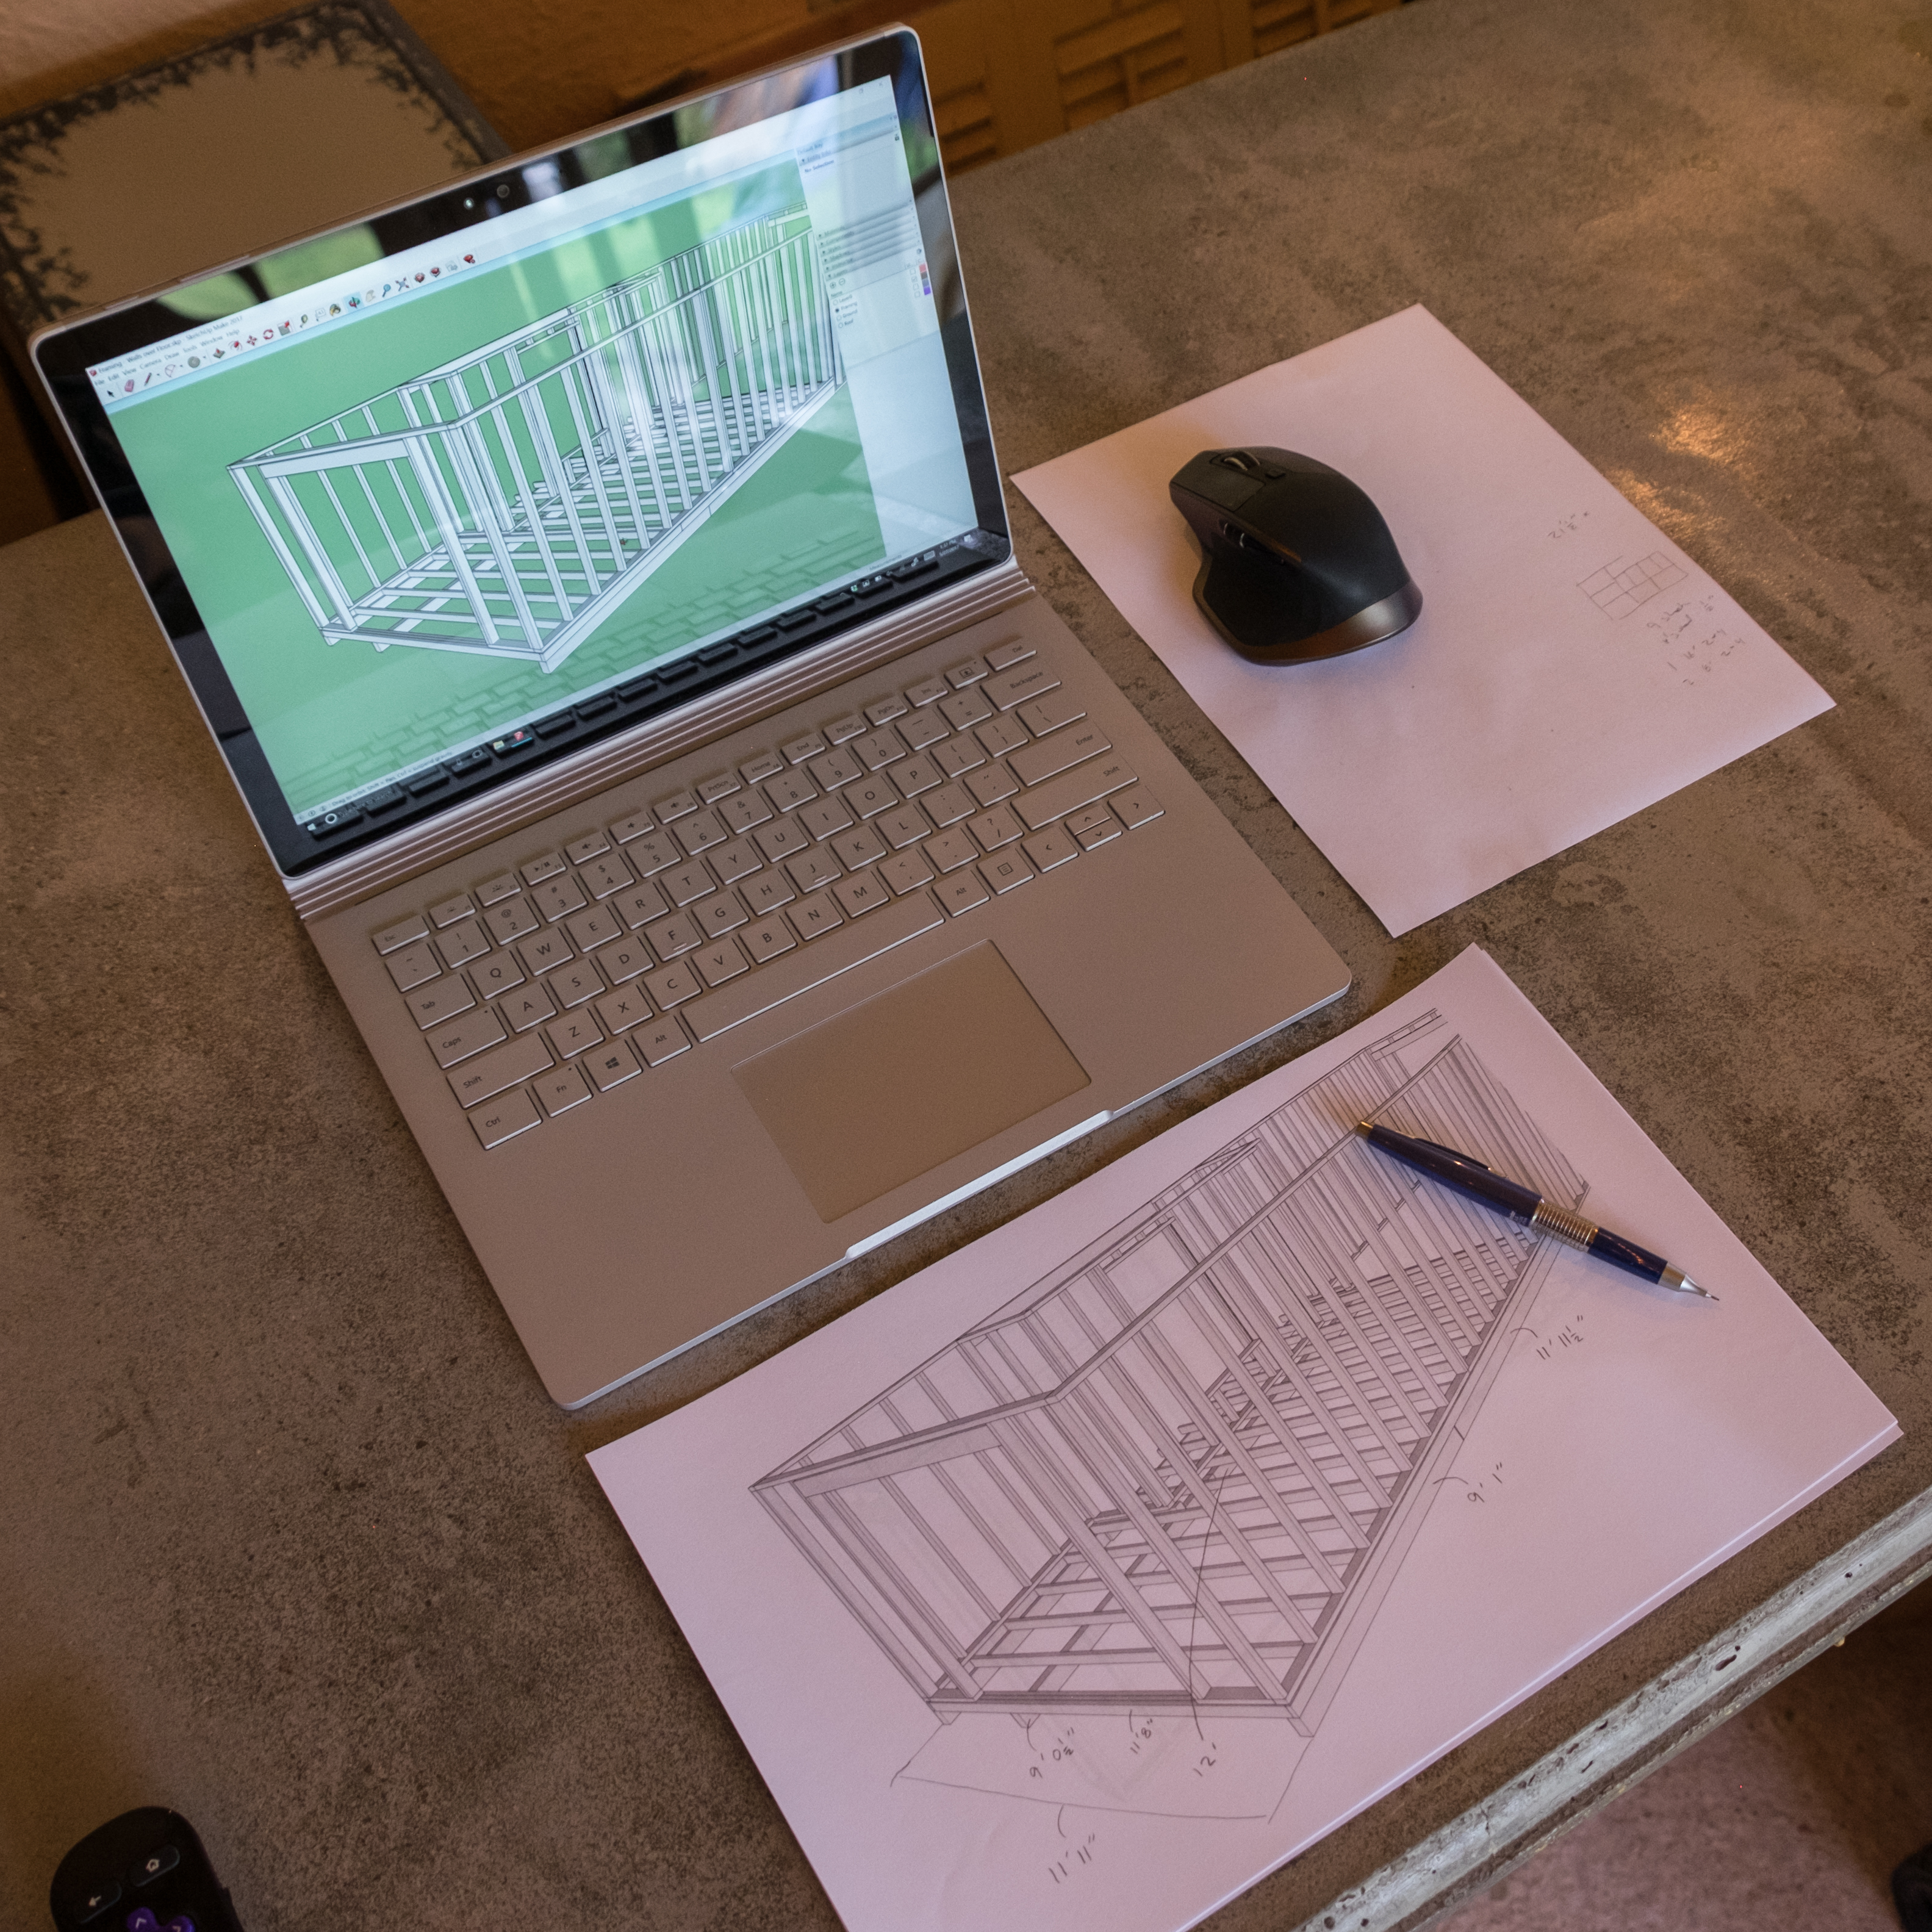
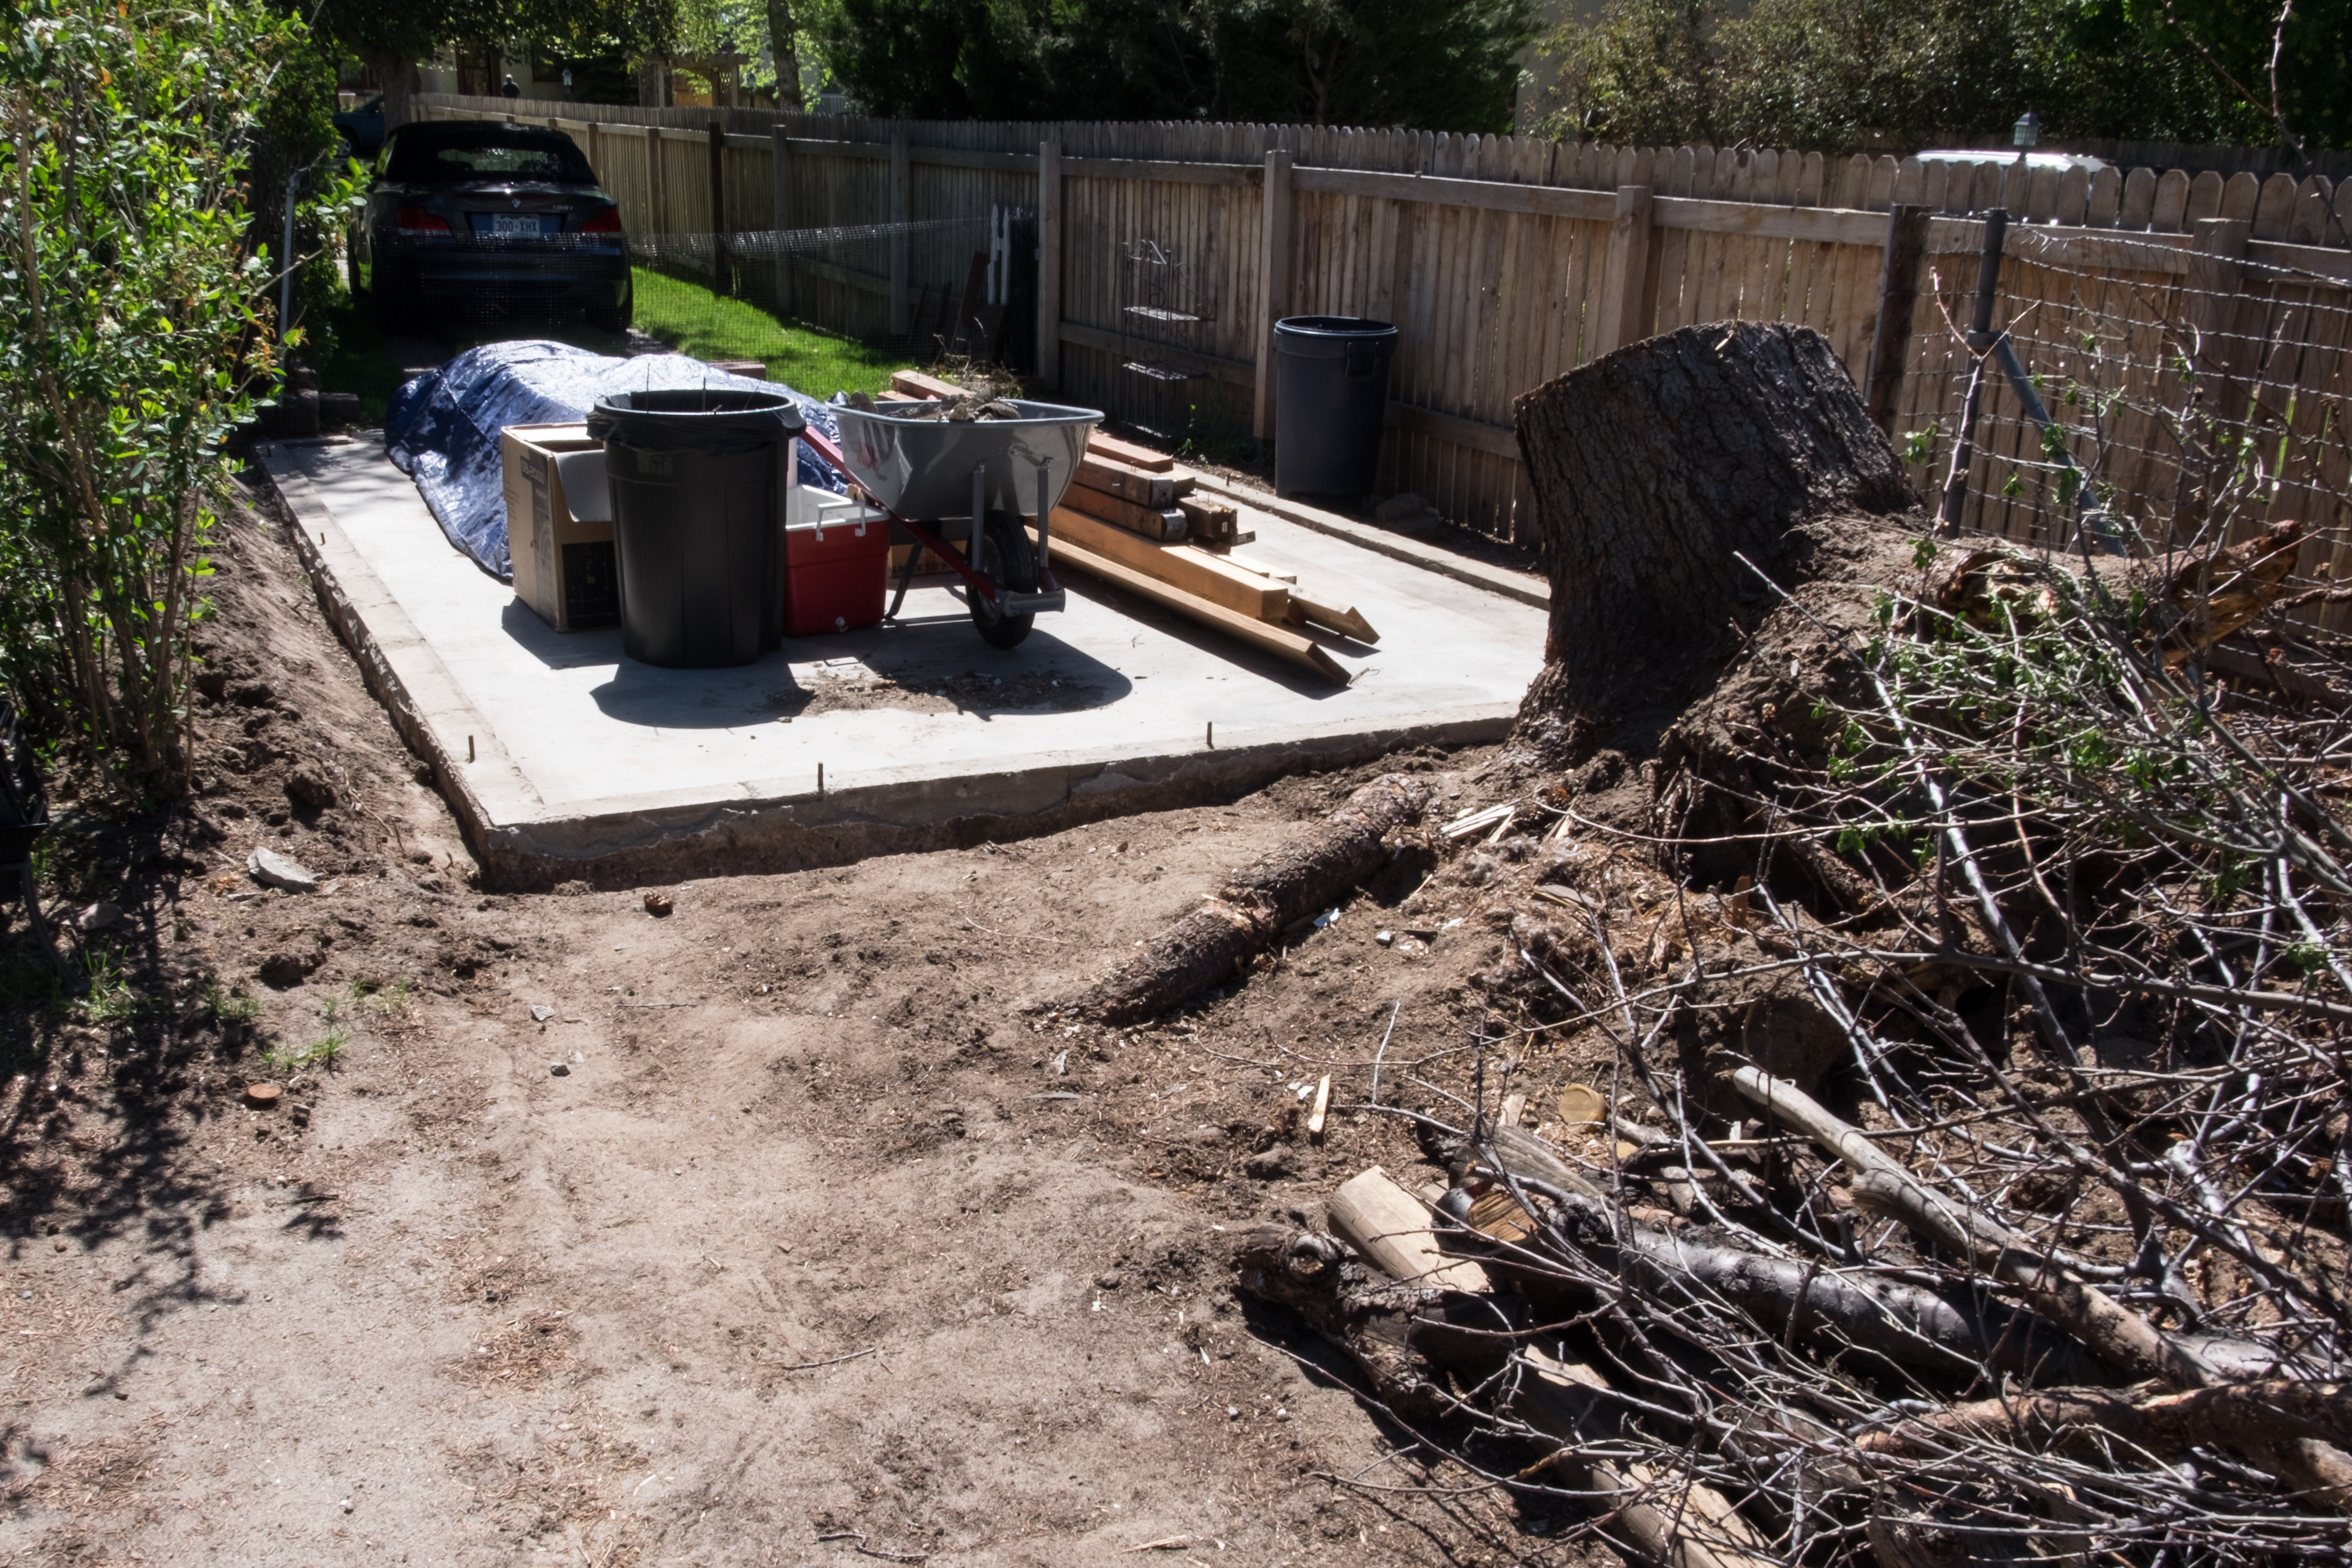
My first step was pouring the concrete pylons to support the workshop half of the garage. I calculated the expected weight they would need to hold, then made sure I had enough pylons to support roughly double that.

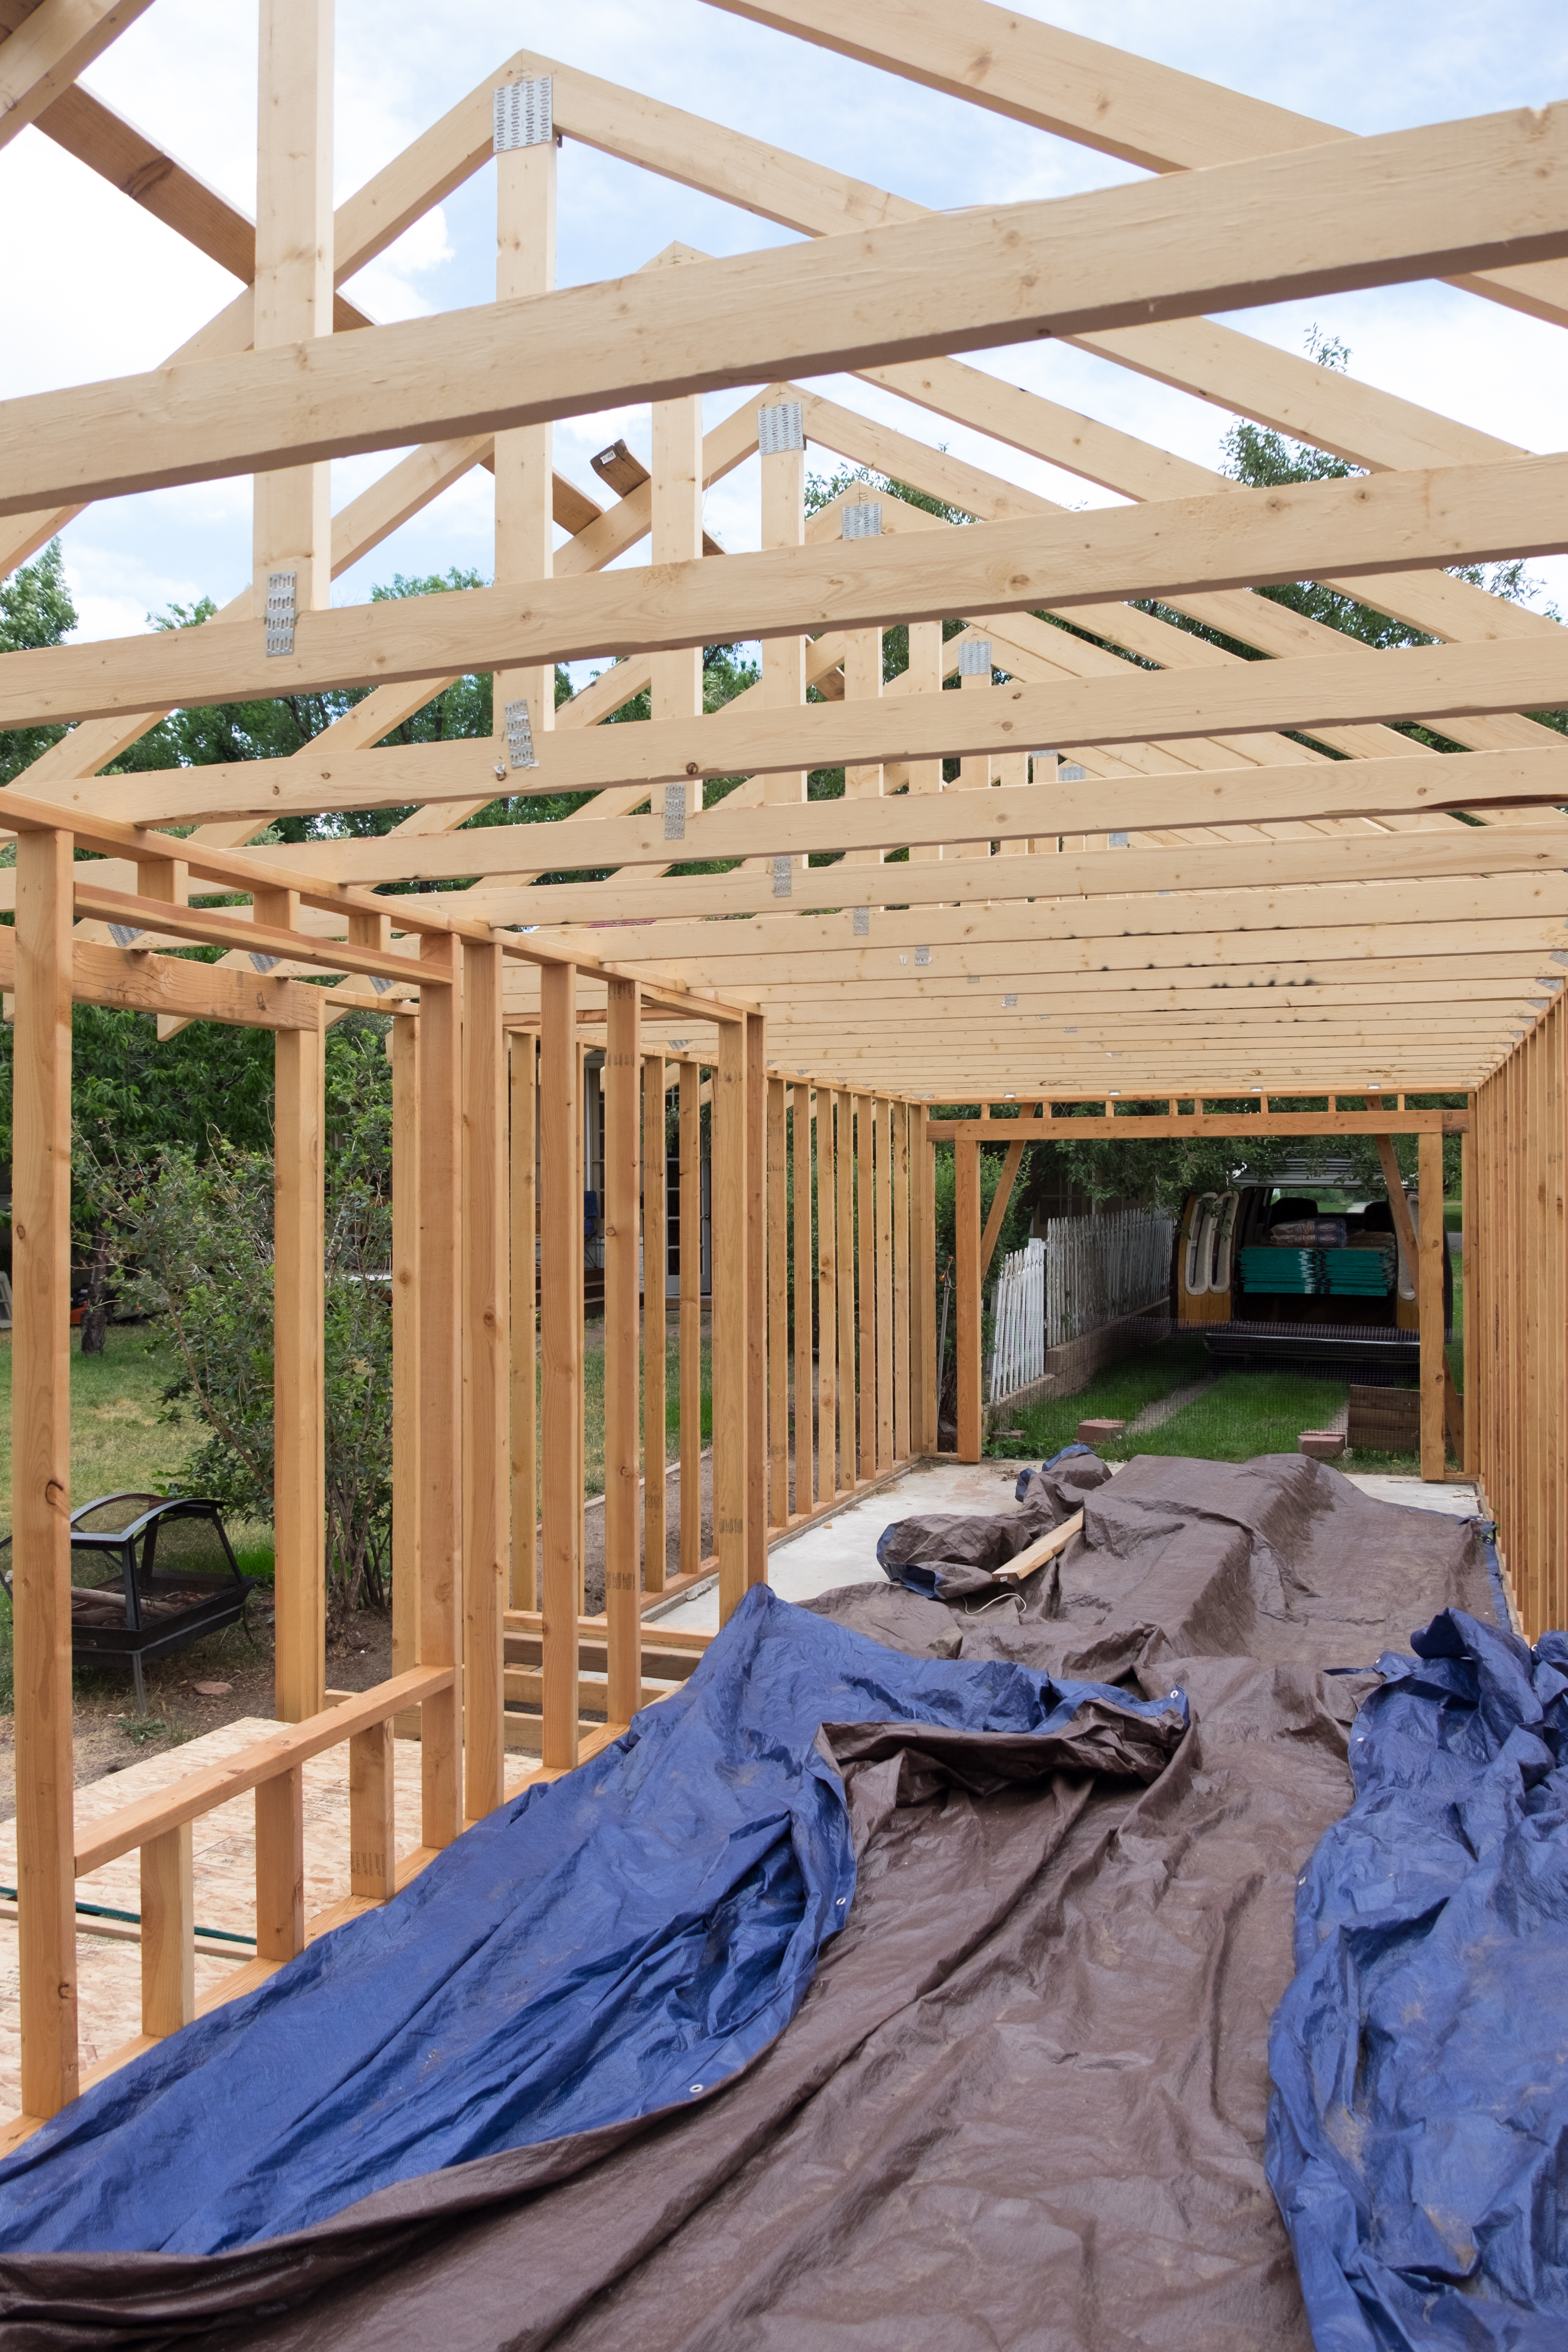
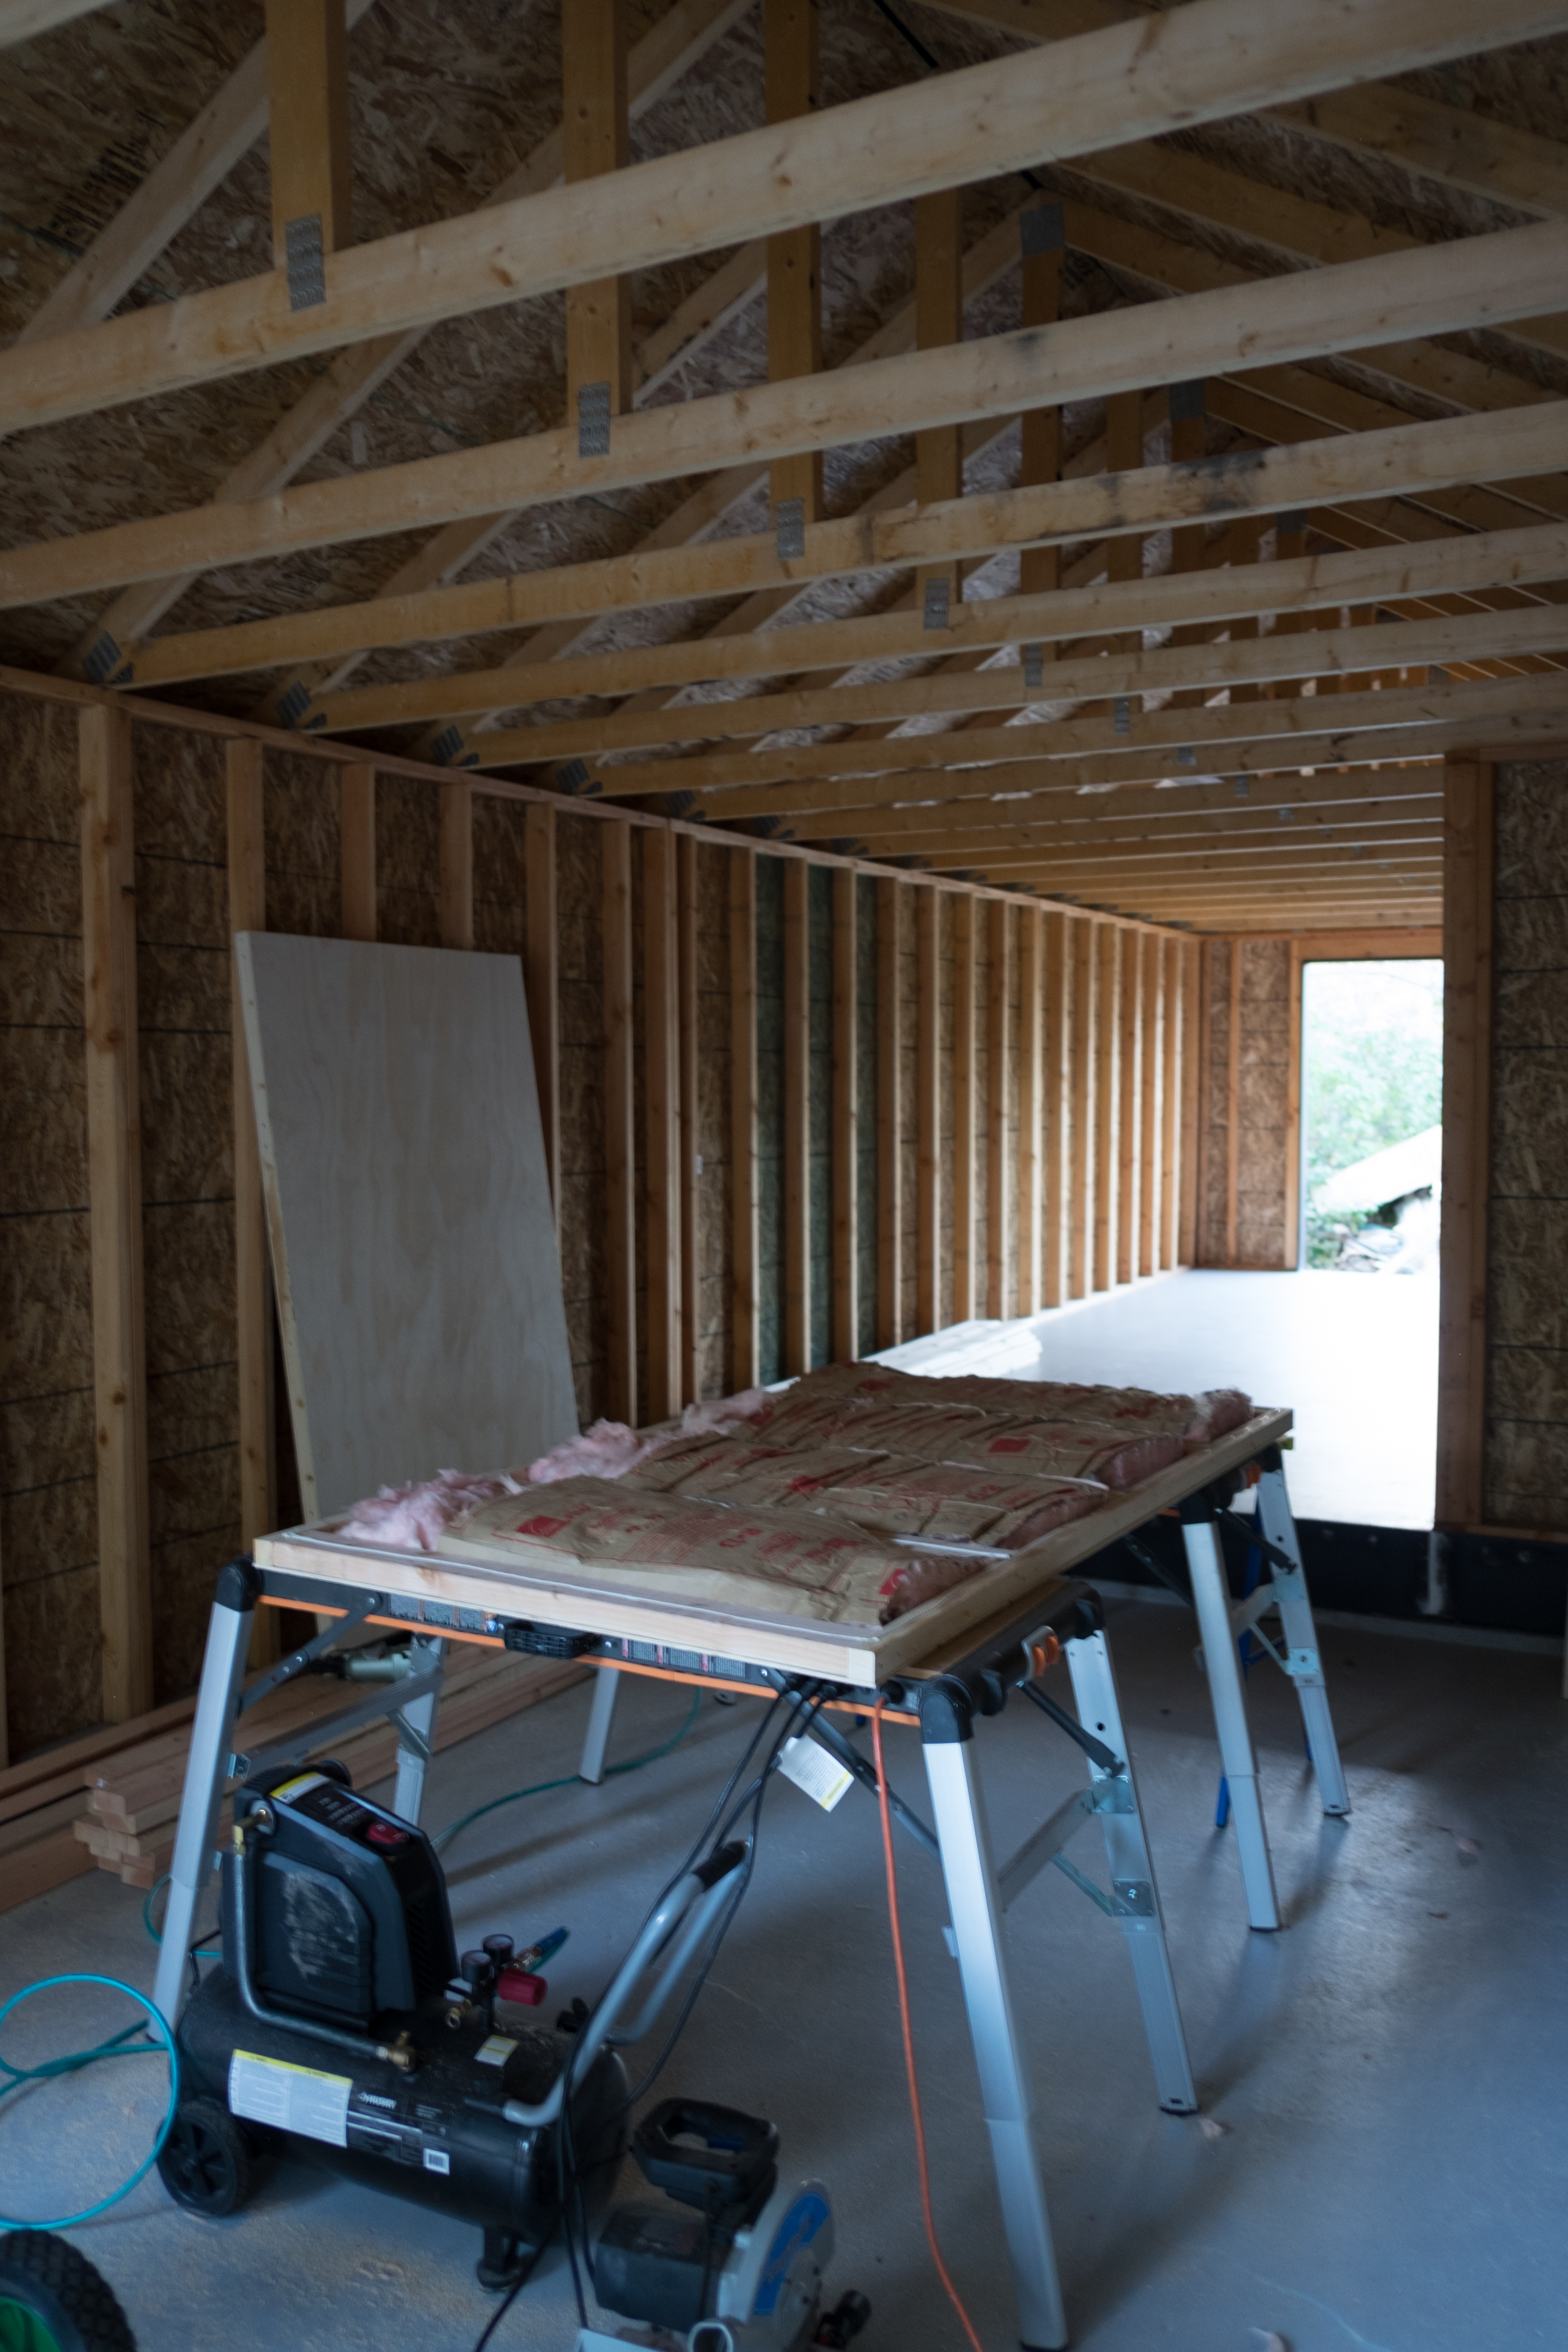
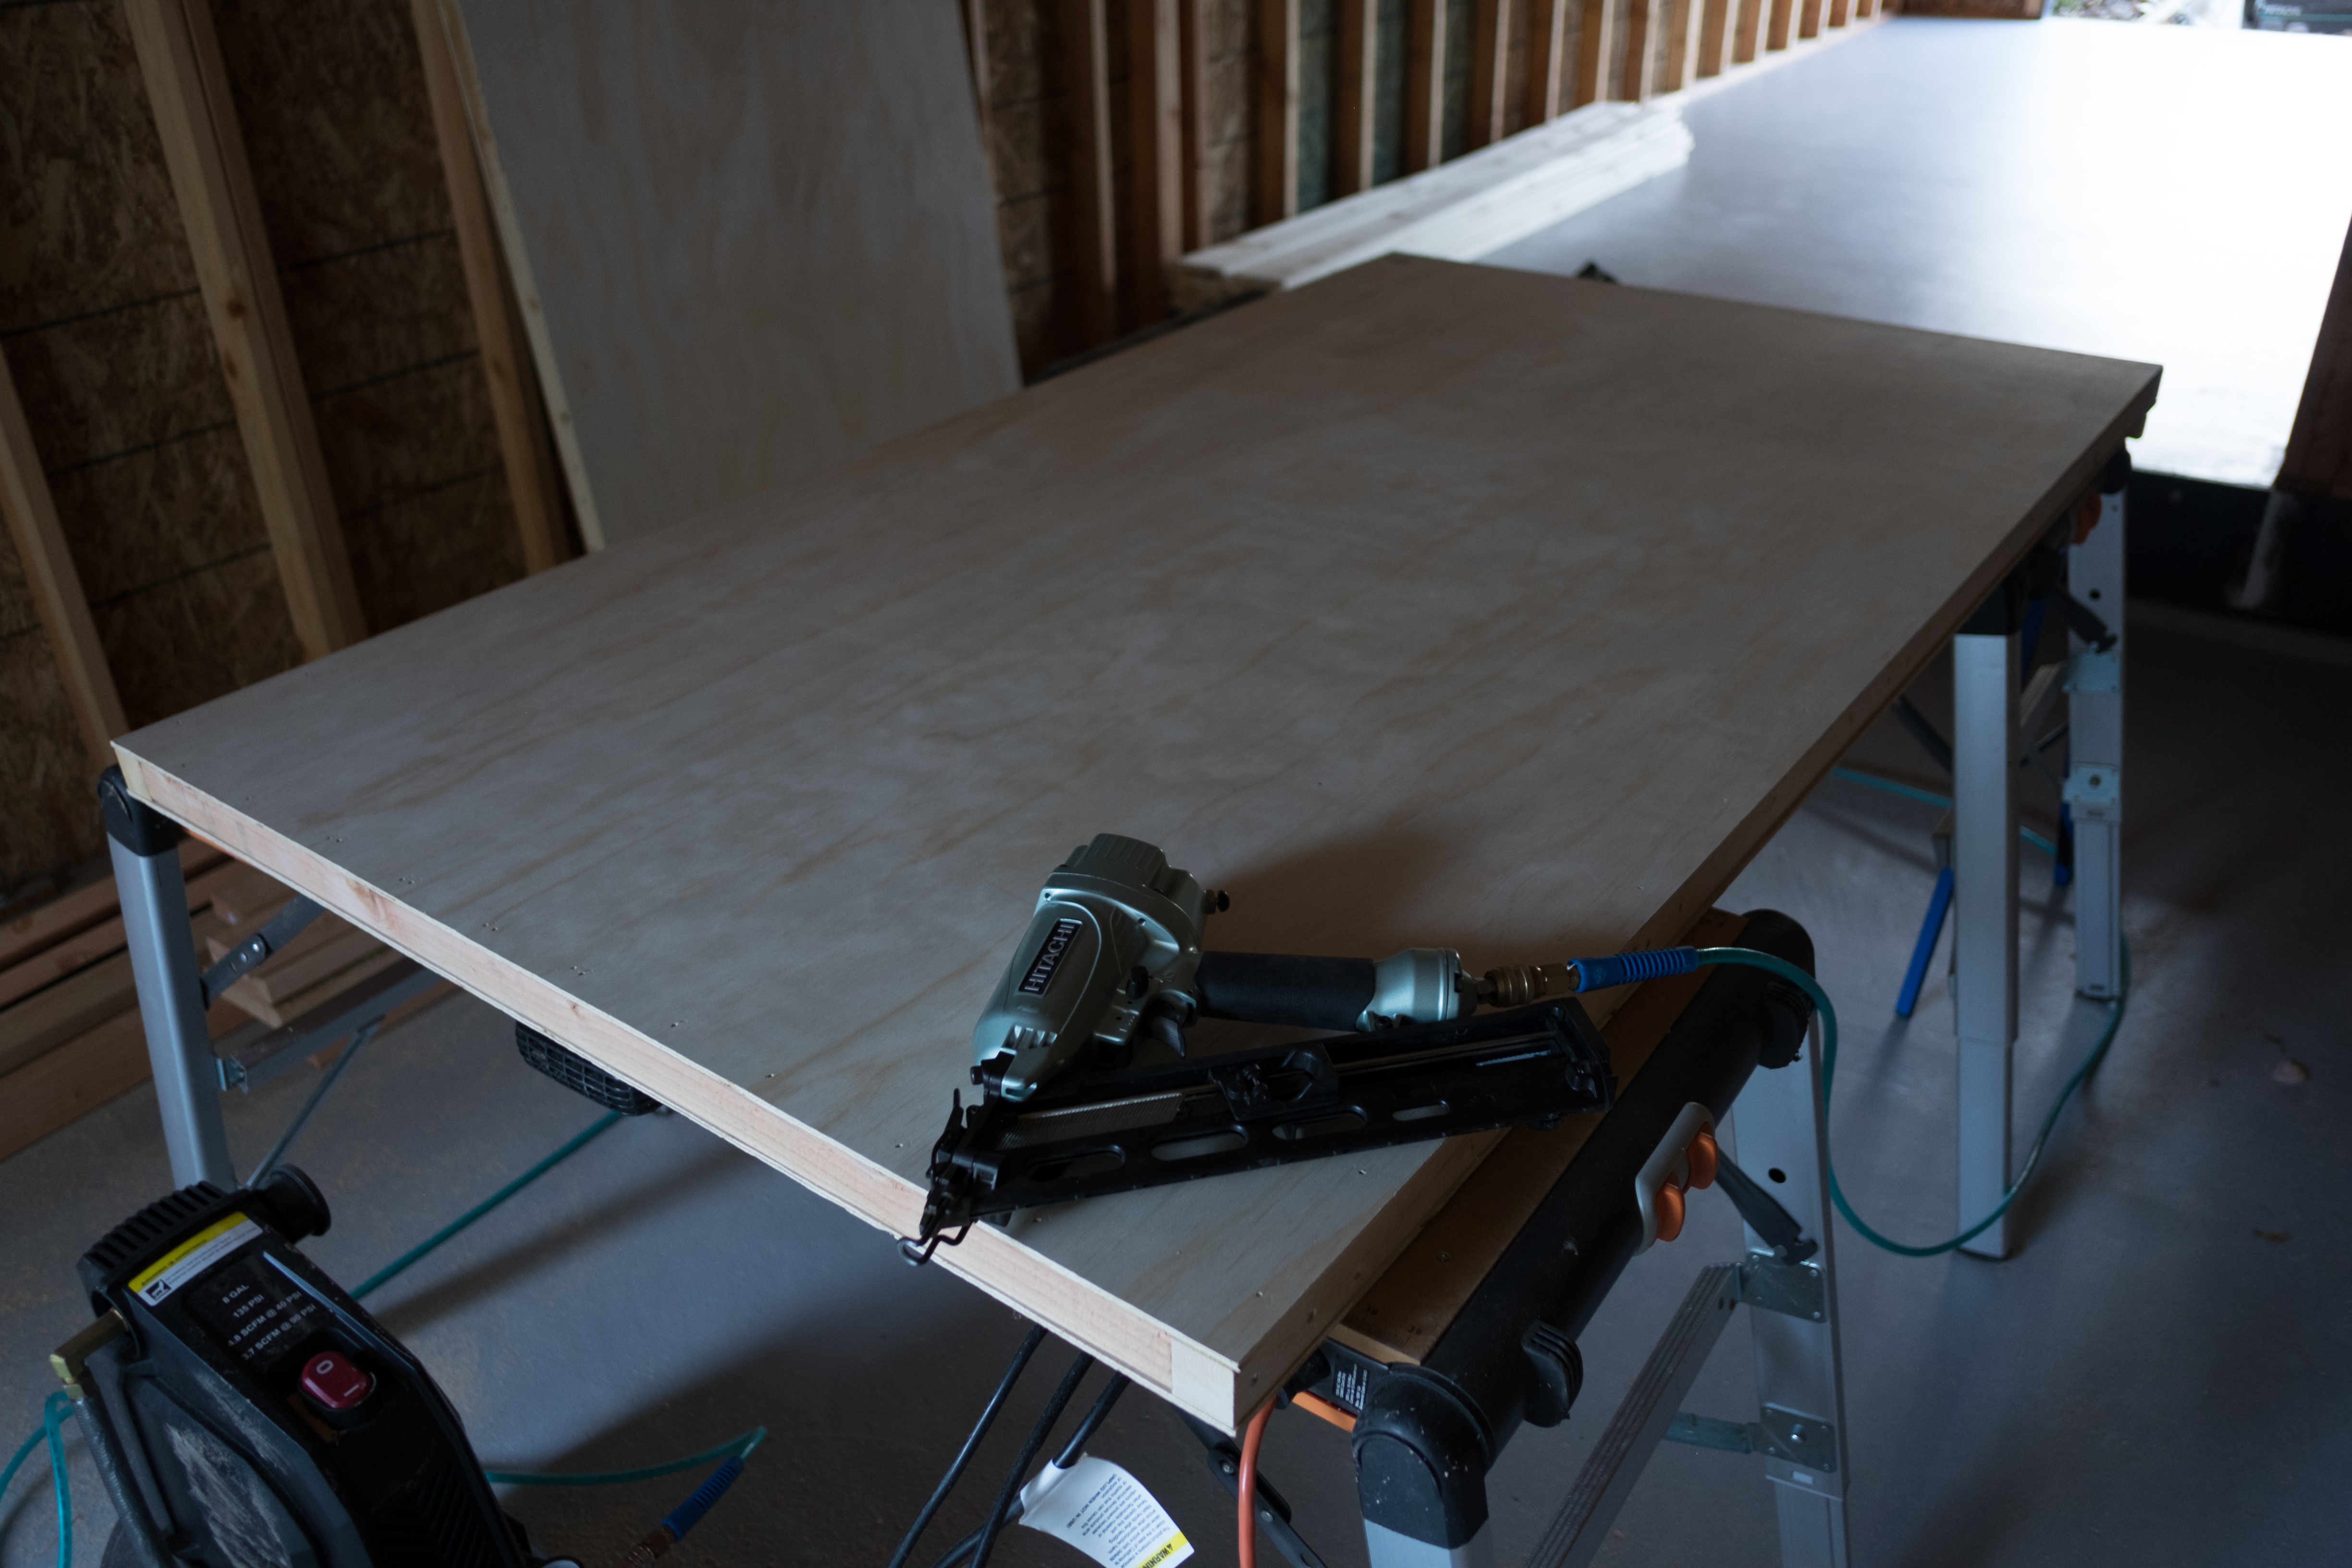
Next came framing. I’d never done any framing before, but it wasn’t too bad. Once I put together jigs and streamlined the process, this went fairly quickly.

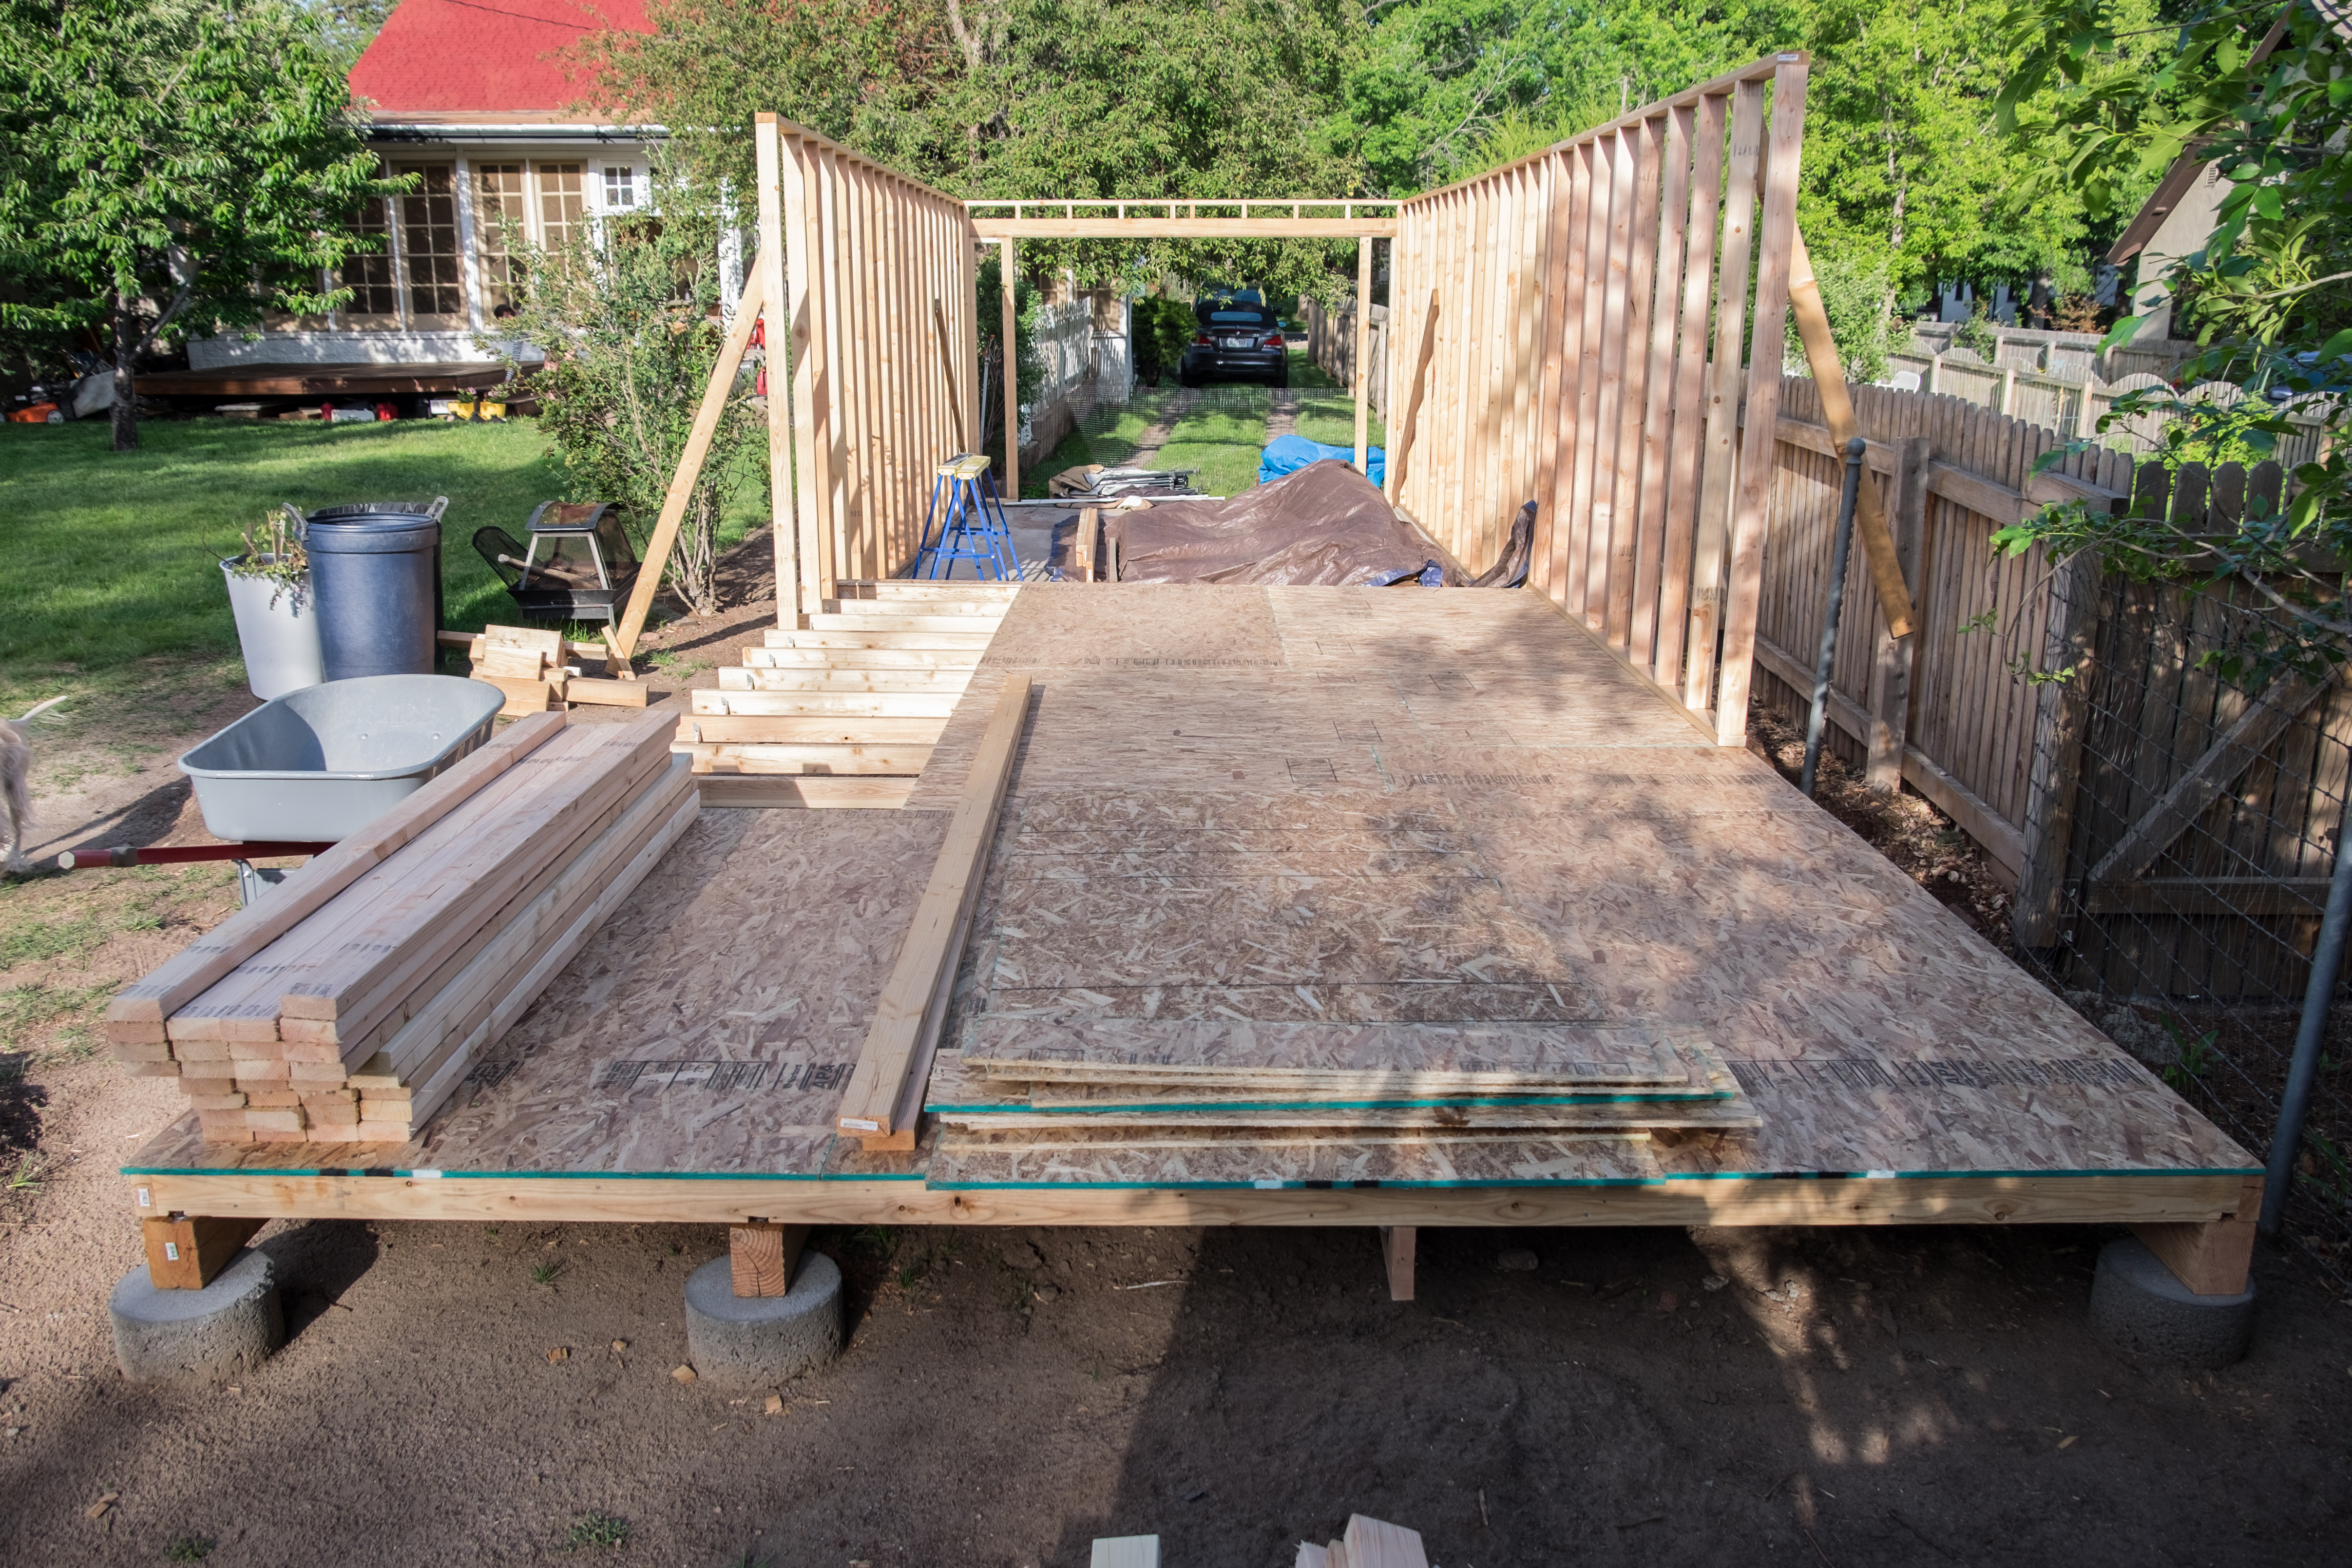

With the walls up, it was time to do the roof trusses. I had these built for me. Not only did it save a bunch of time, it cost basically the same amount as materials alone. They dropped off my order and I installed.
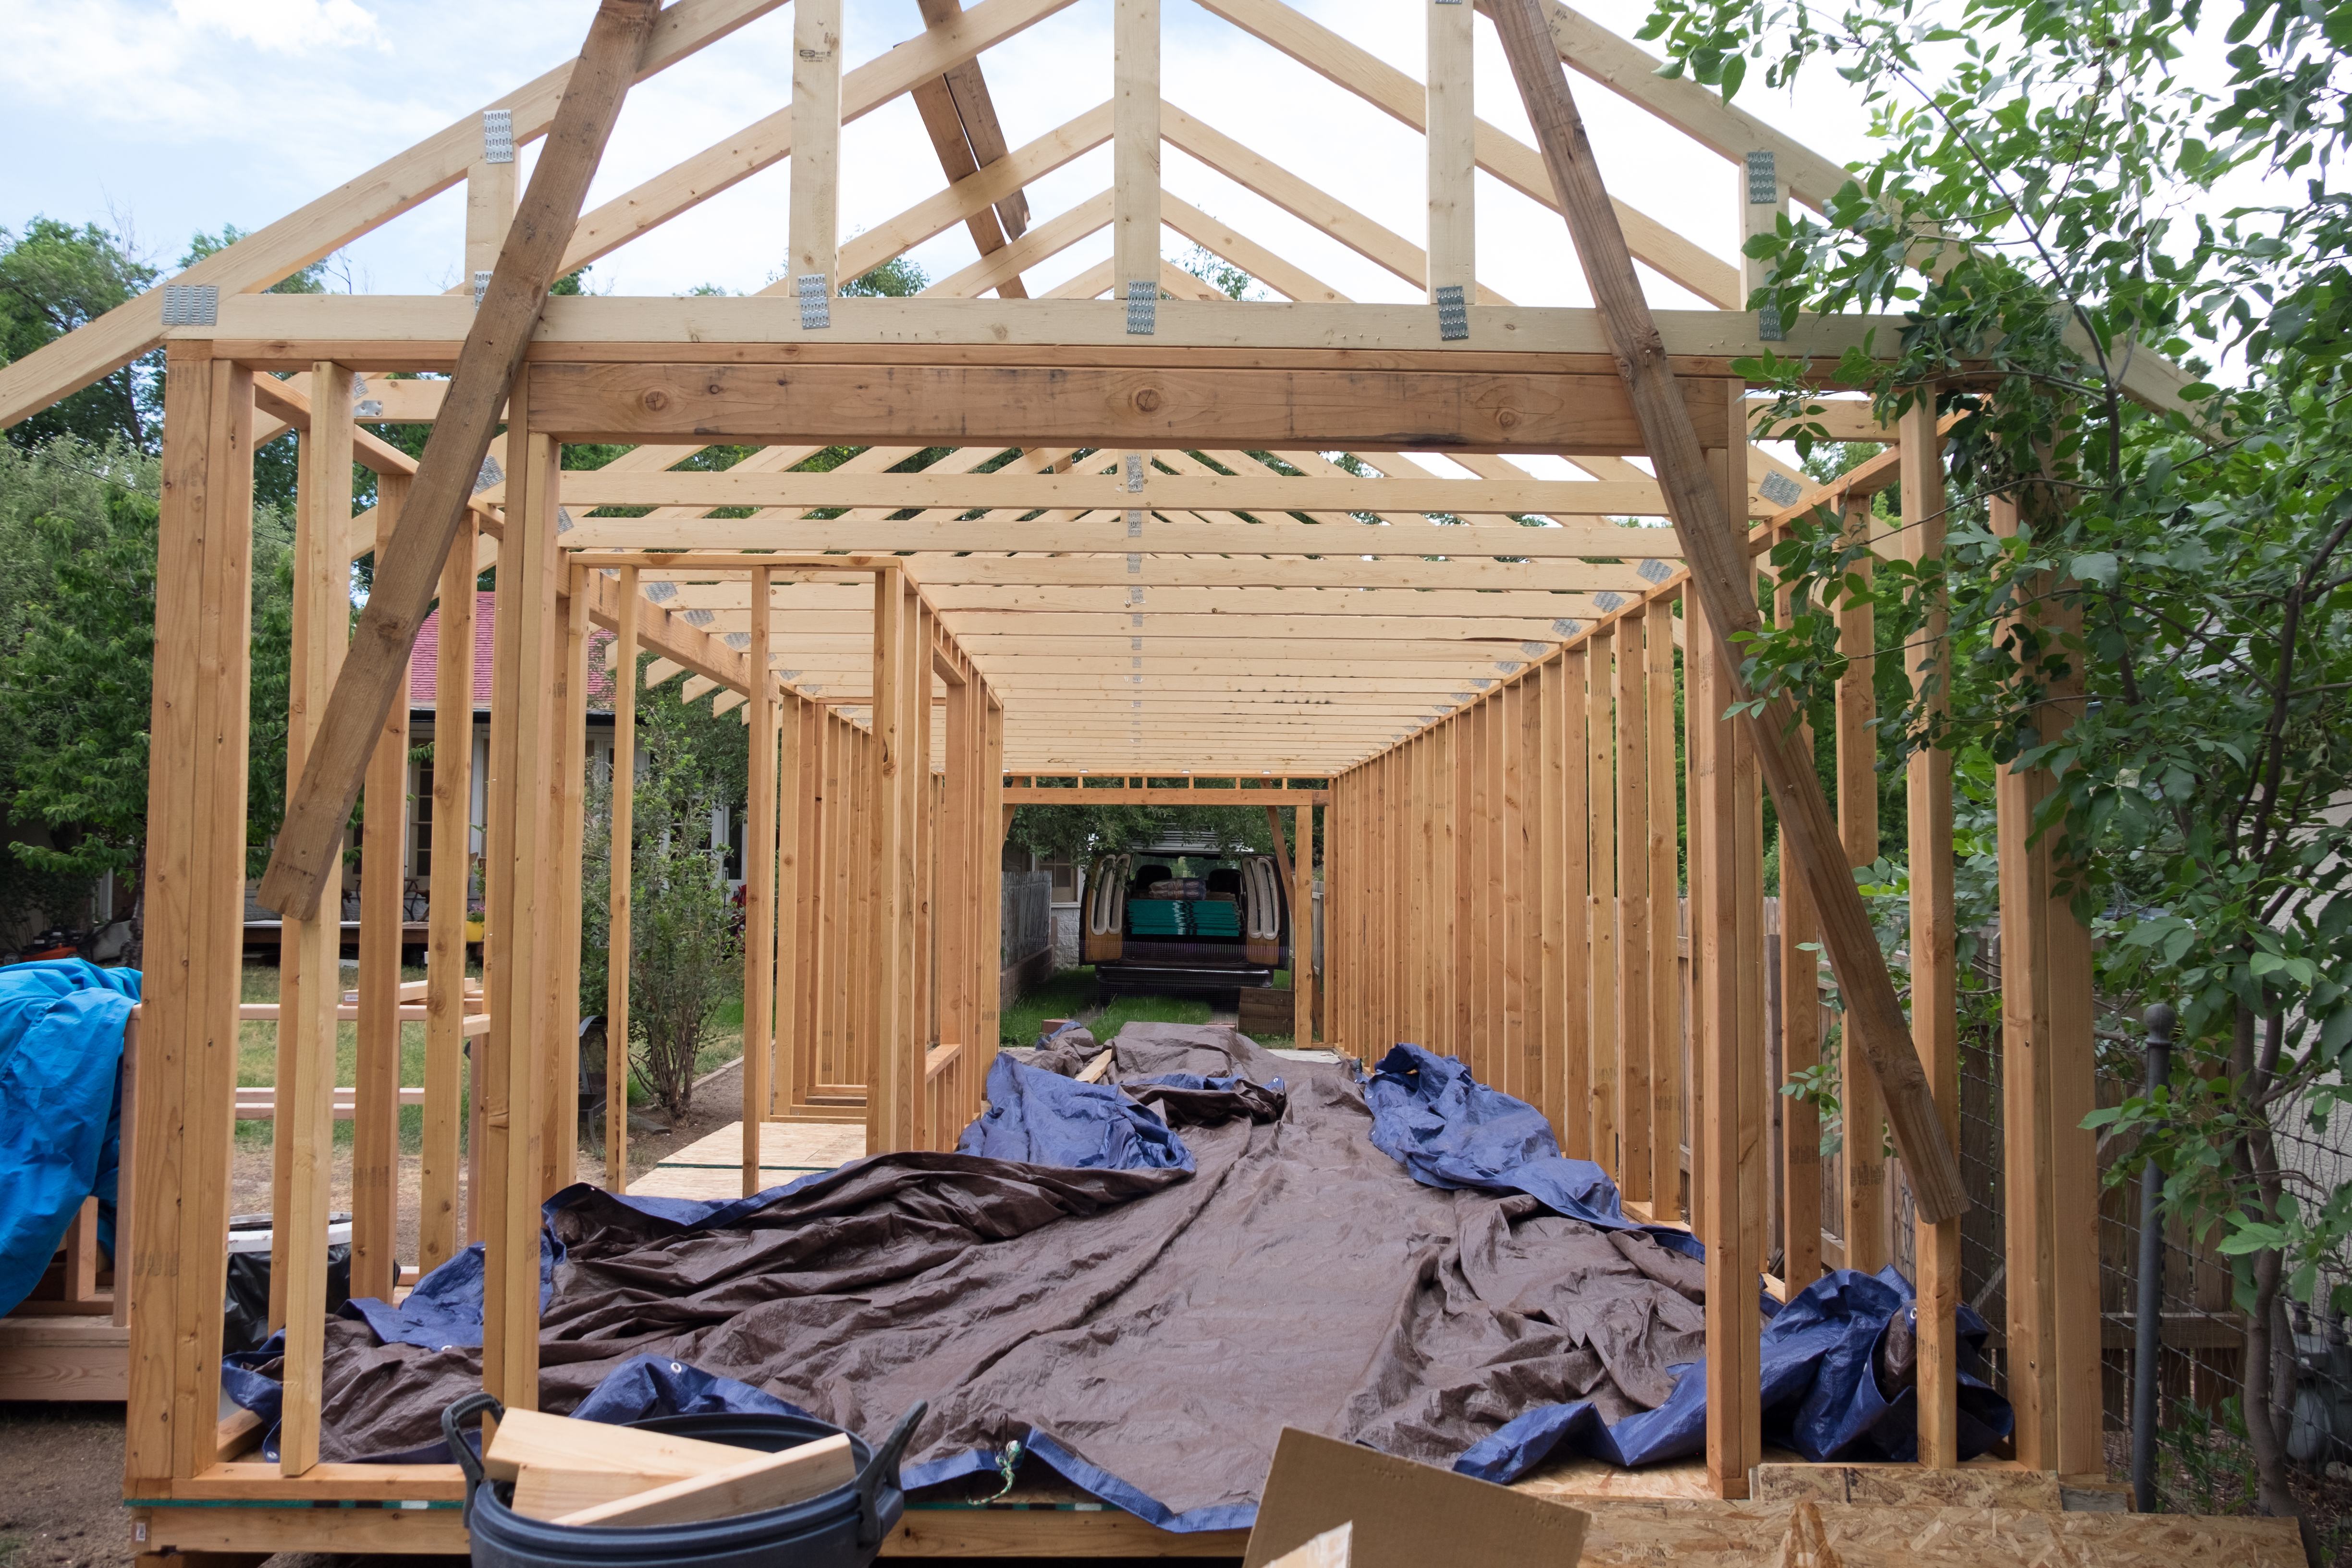
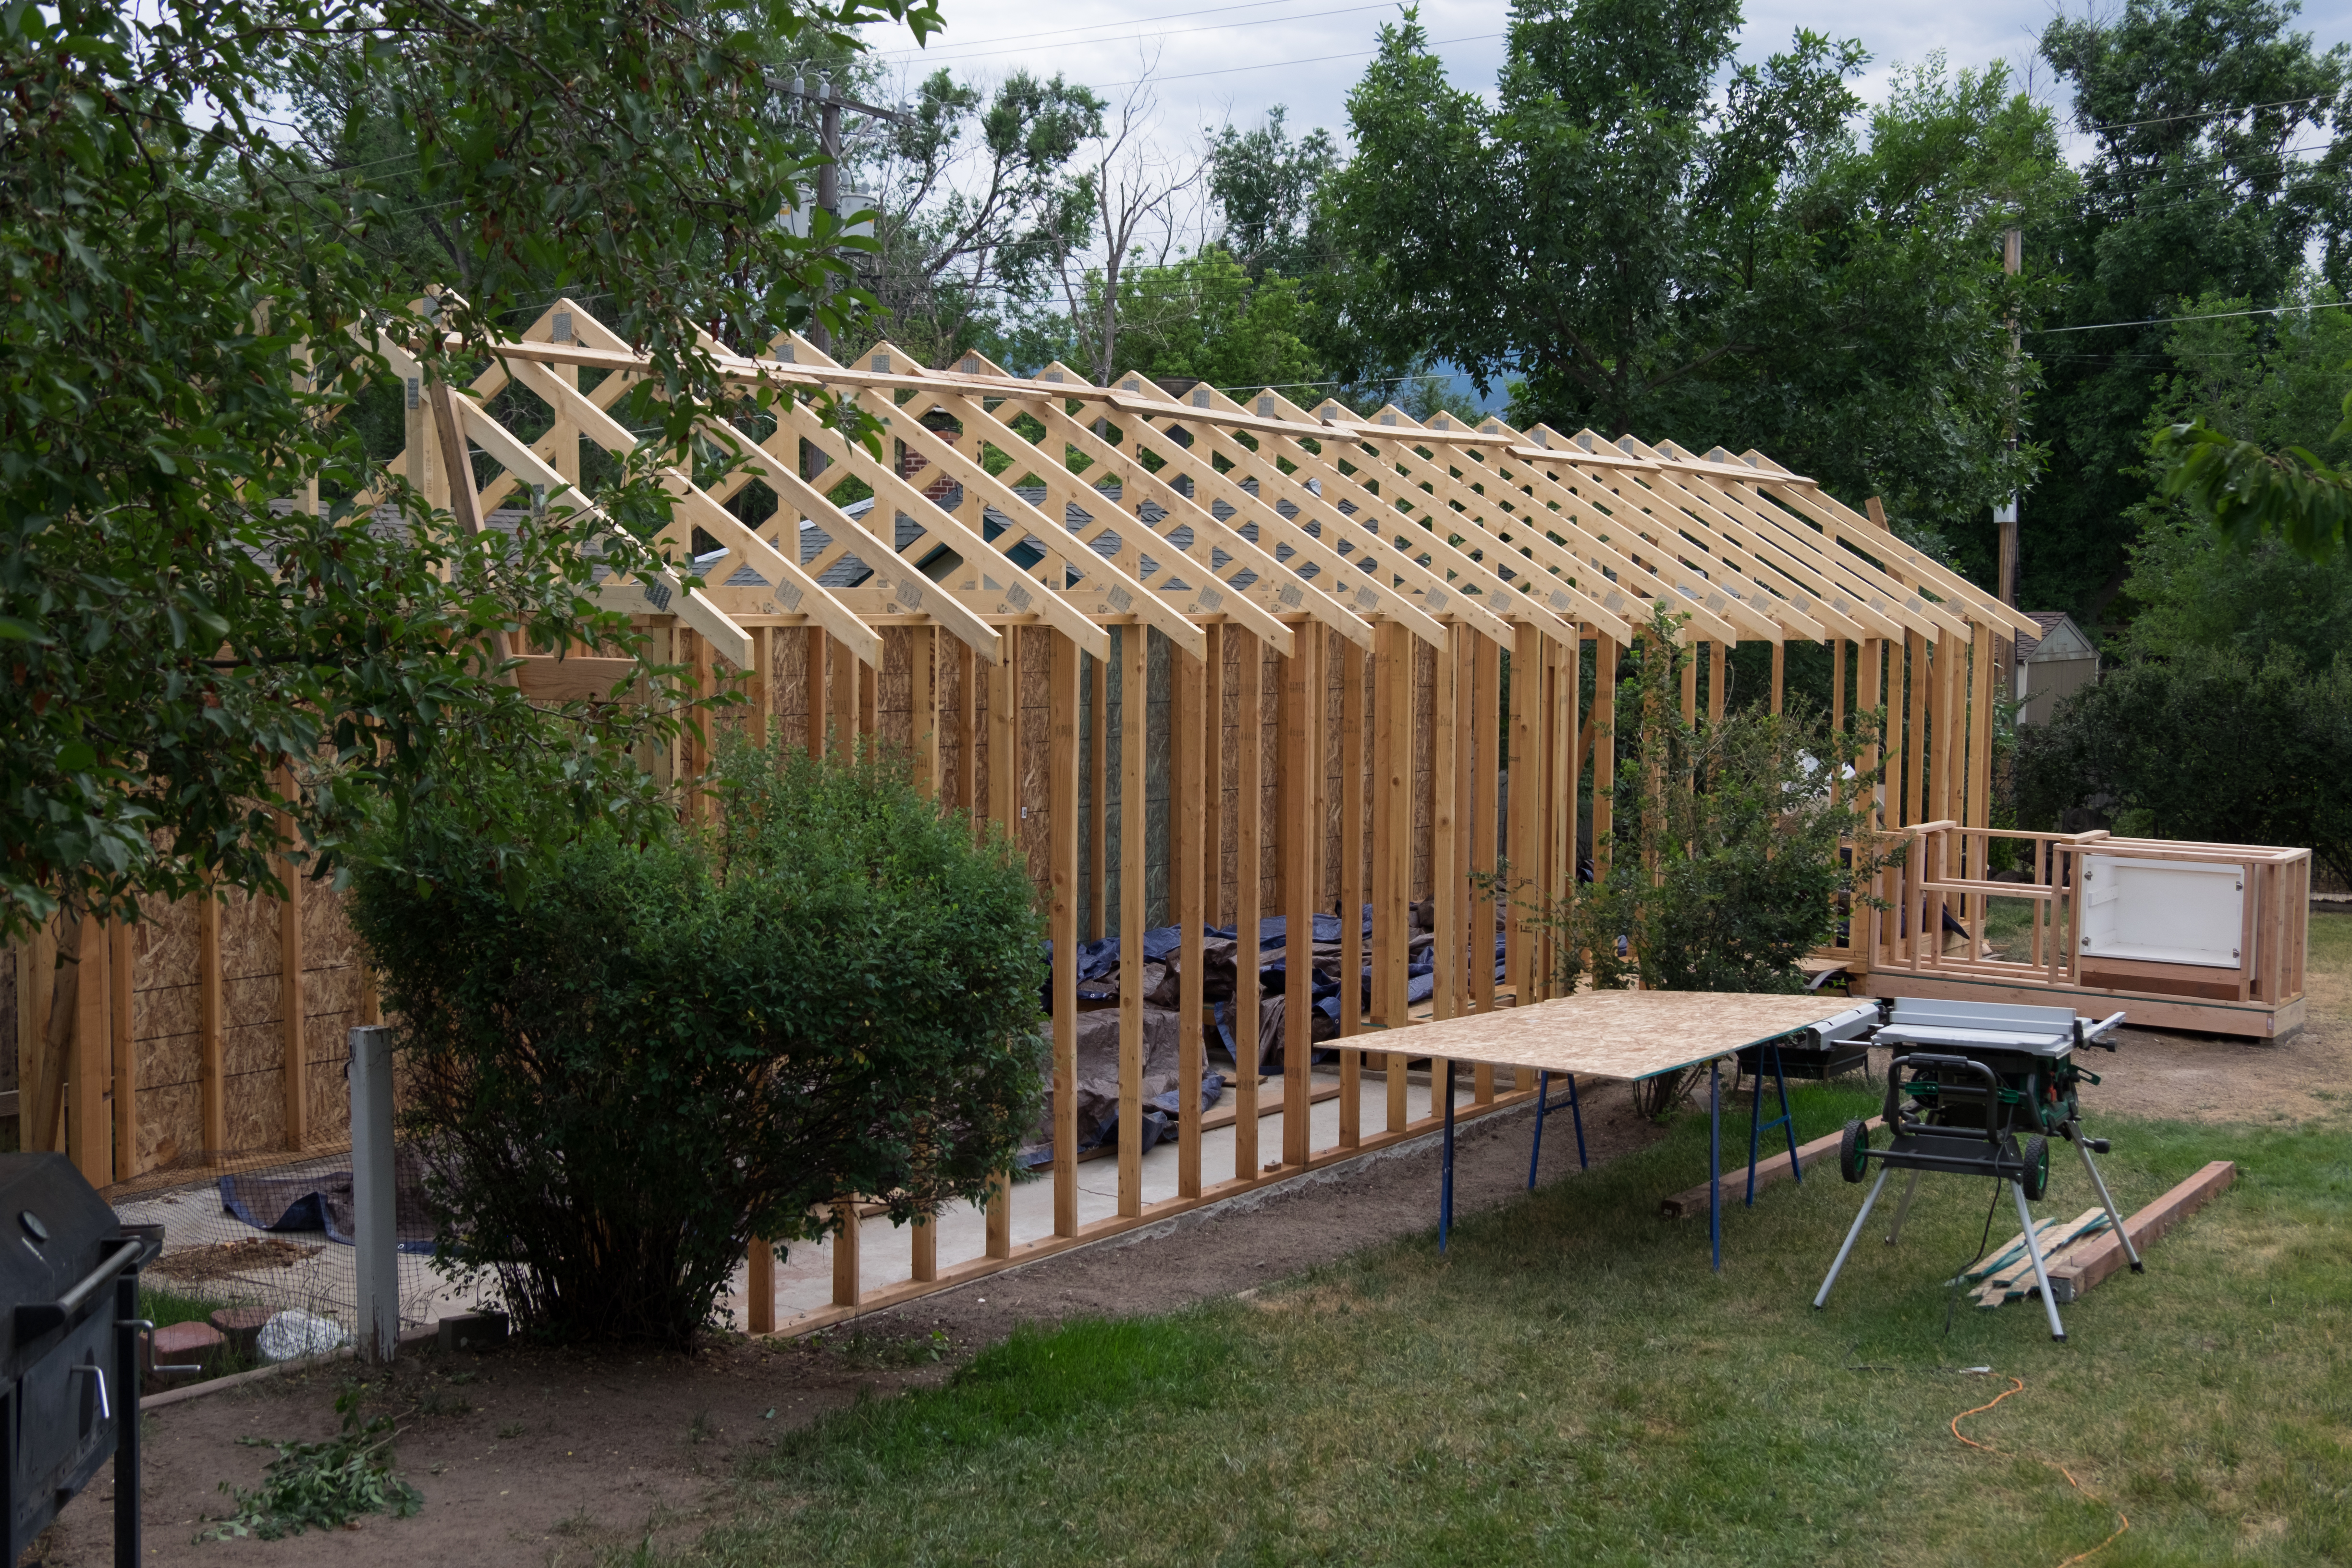
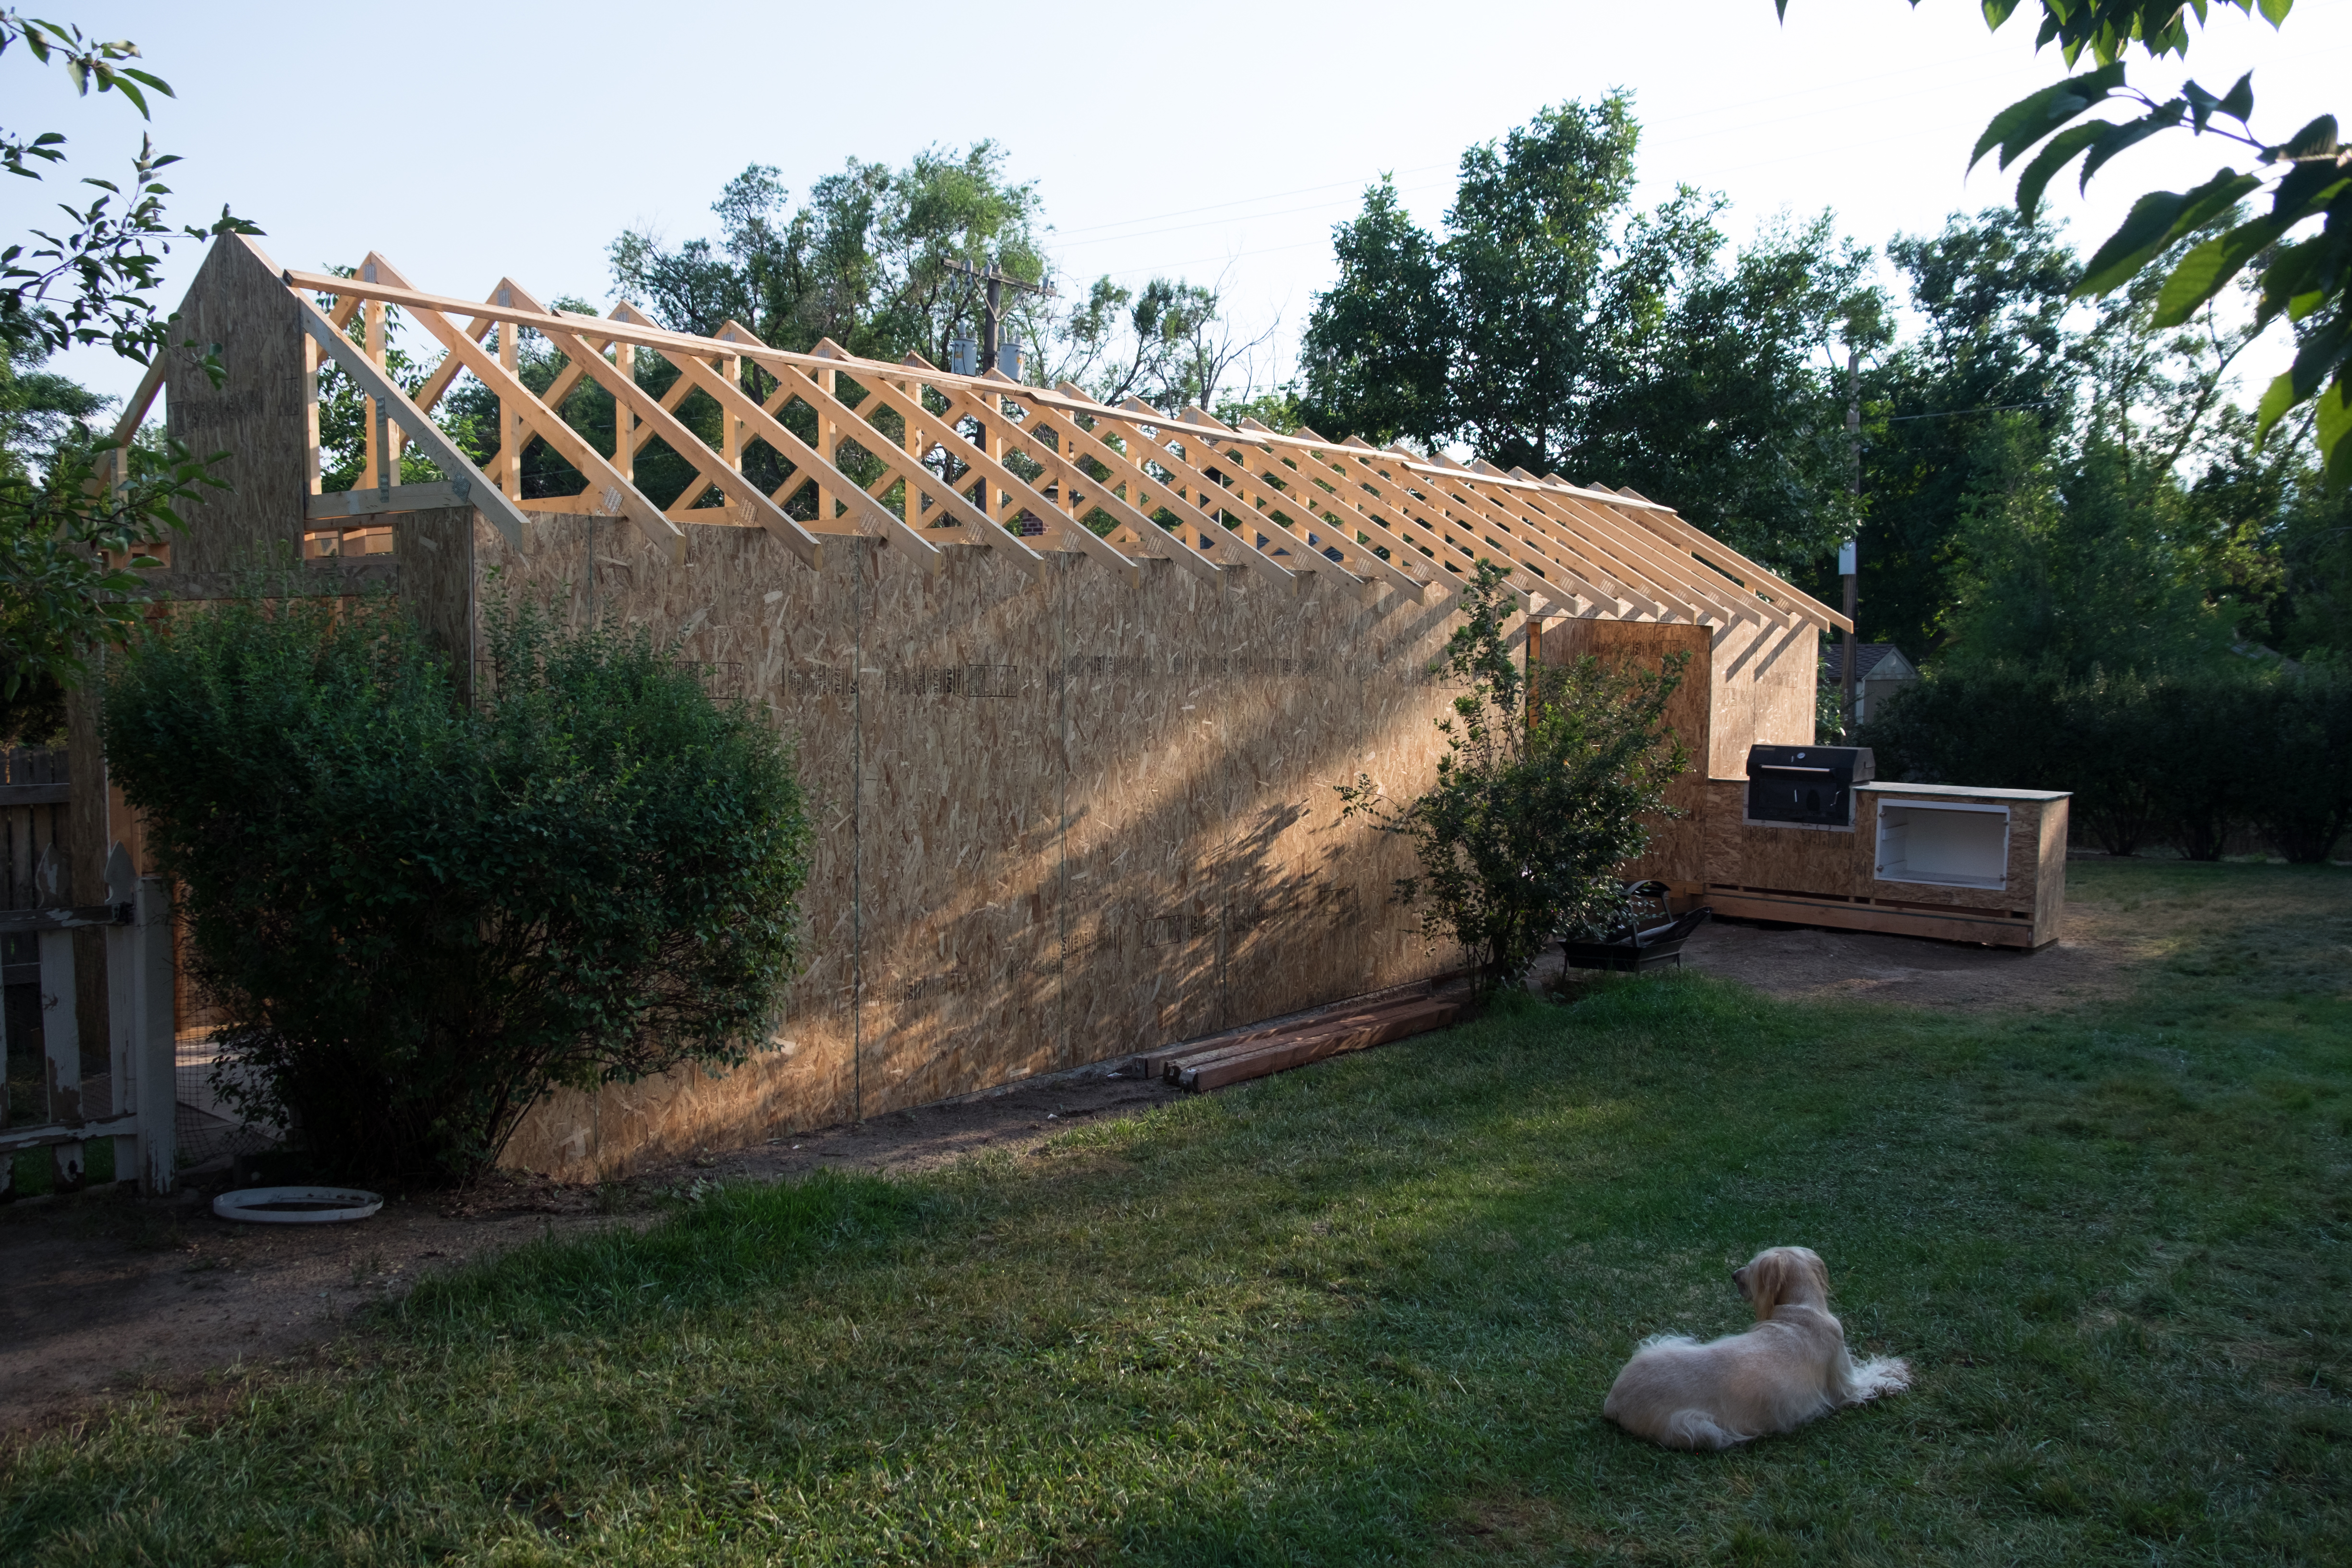
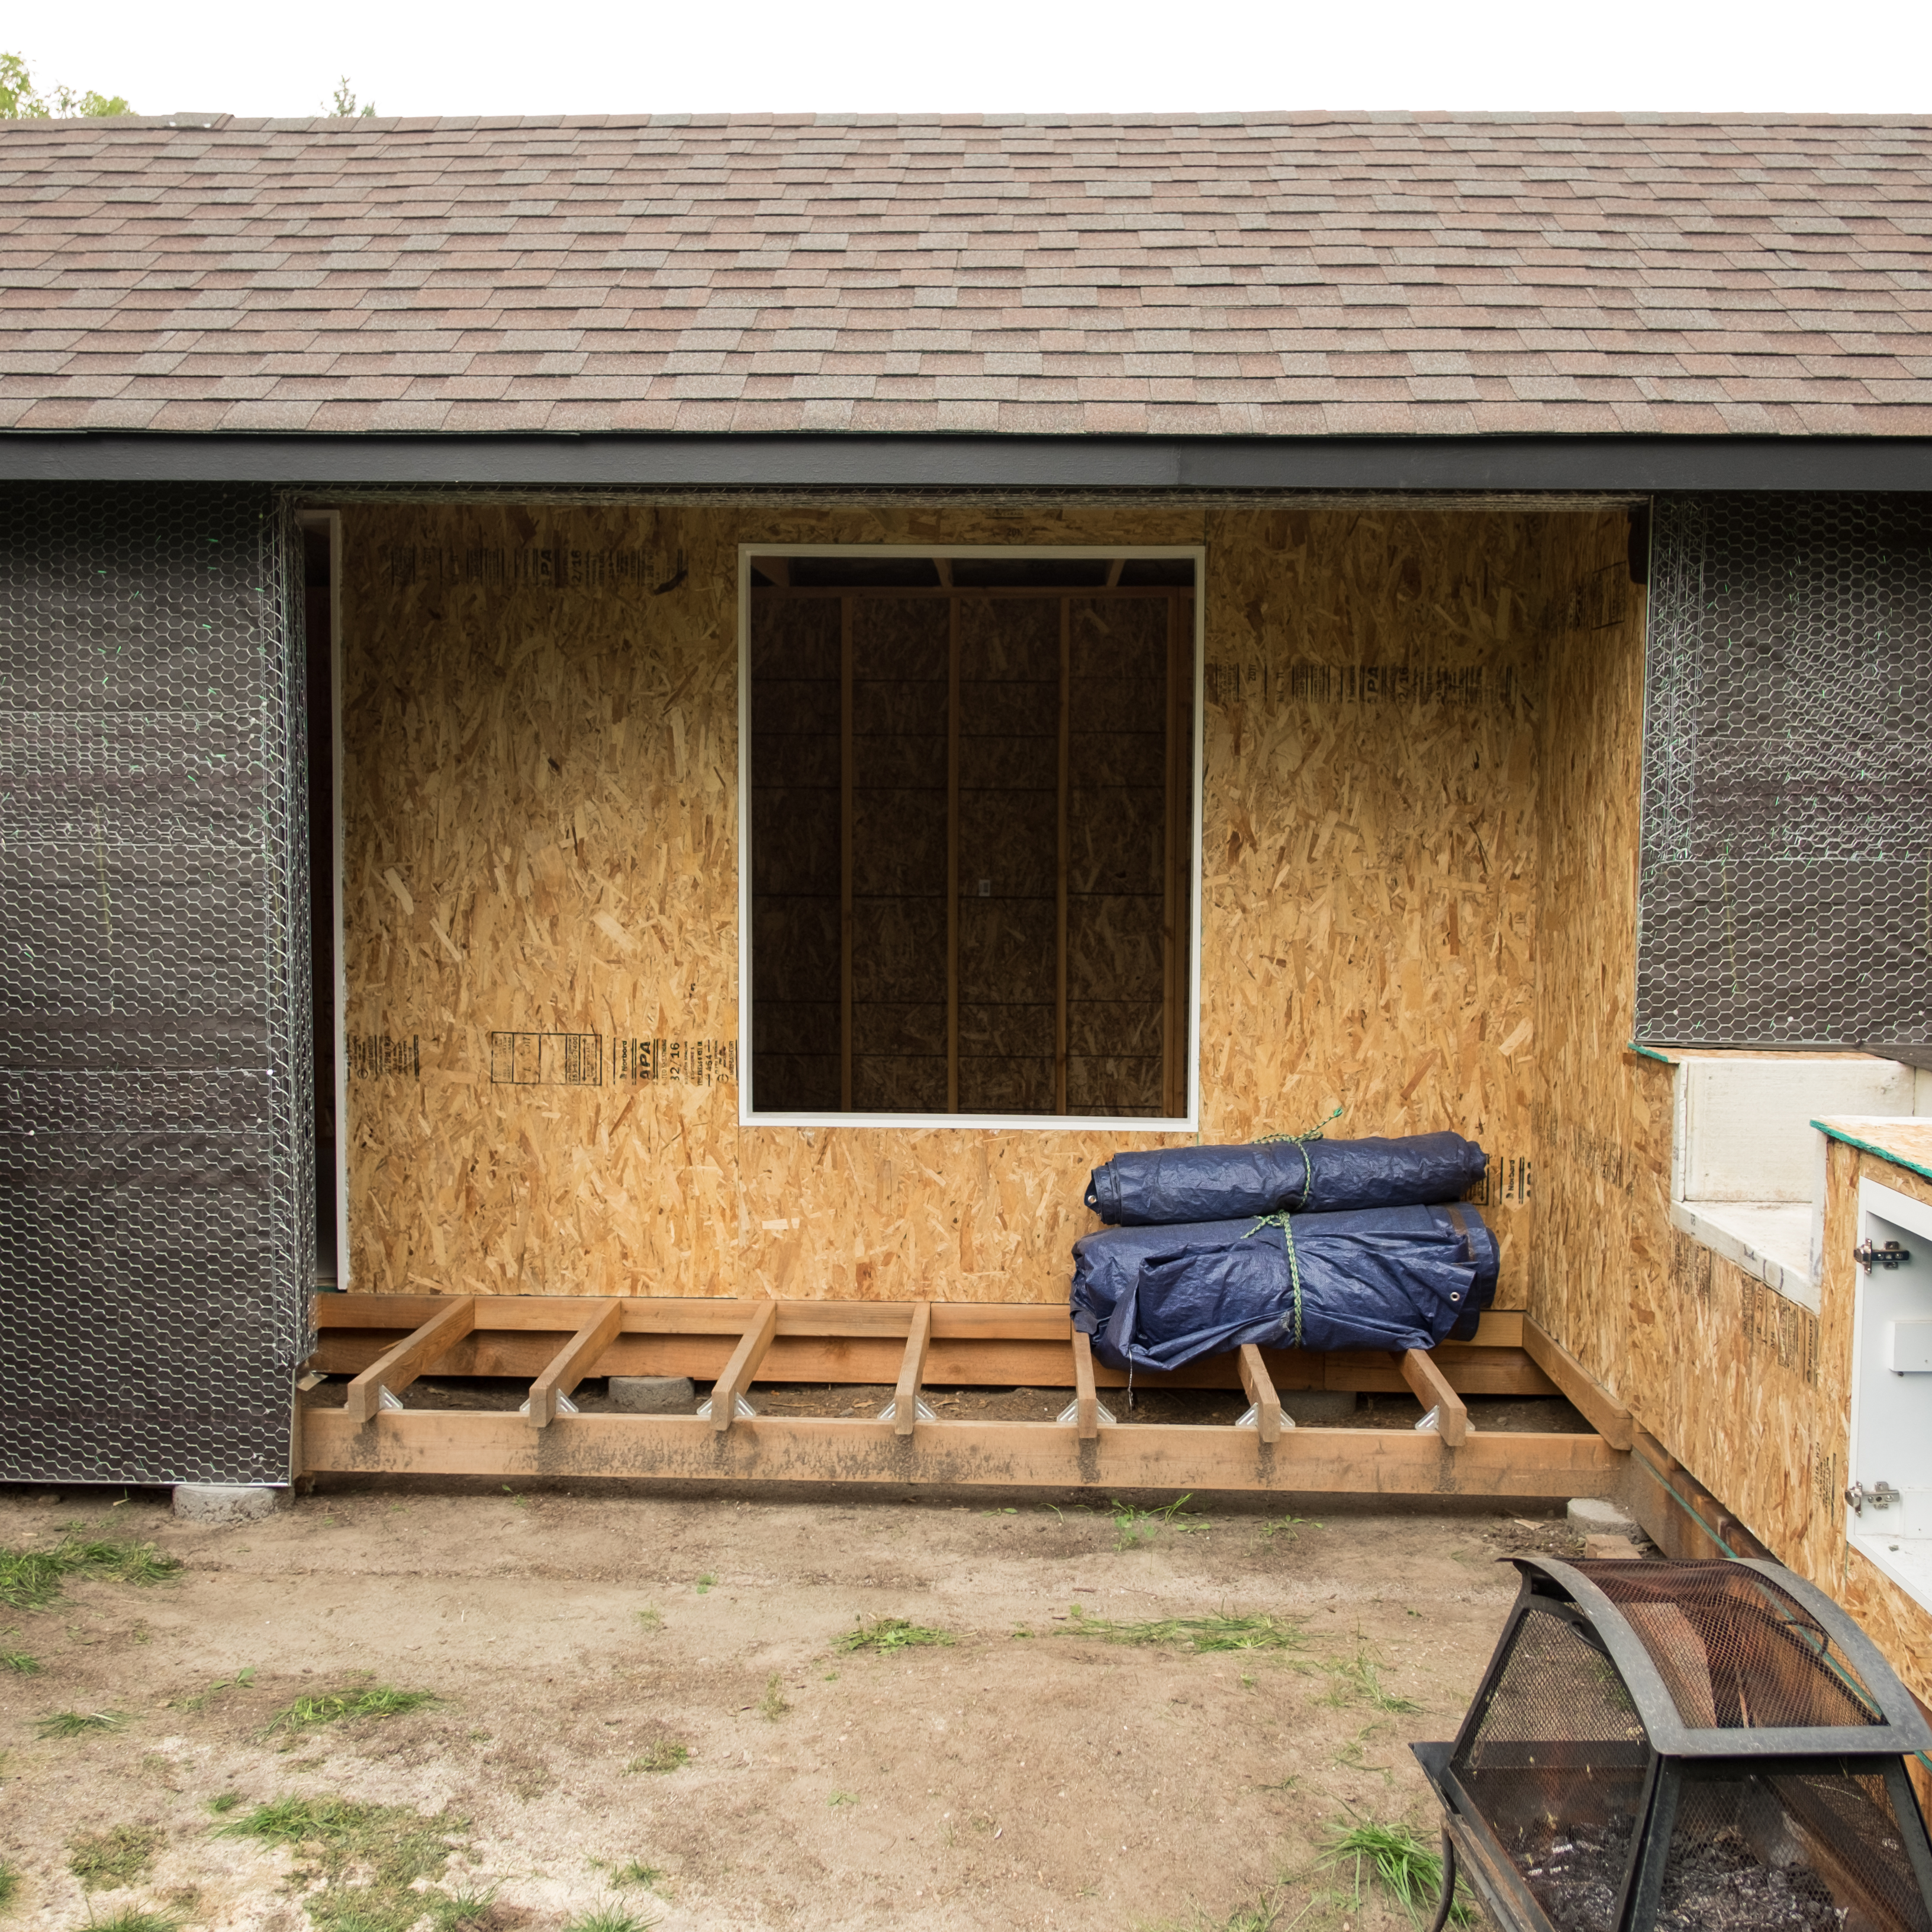
I then added the sheathing on the outside.
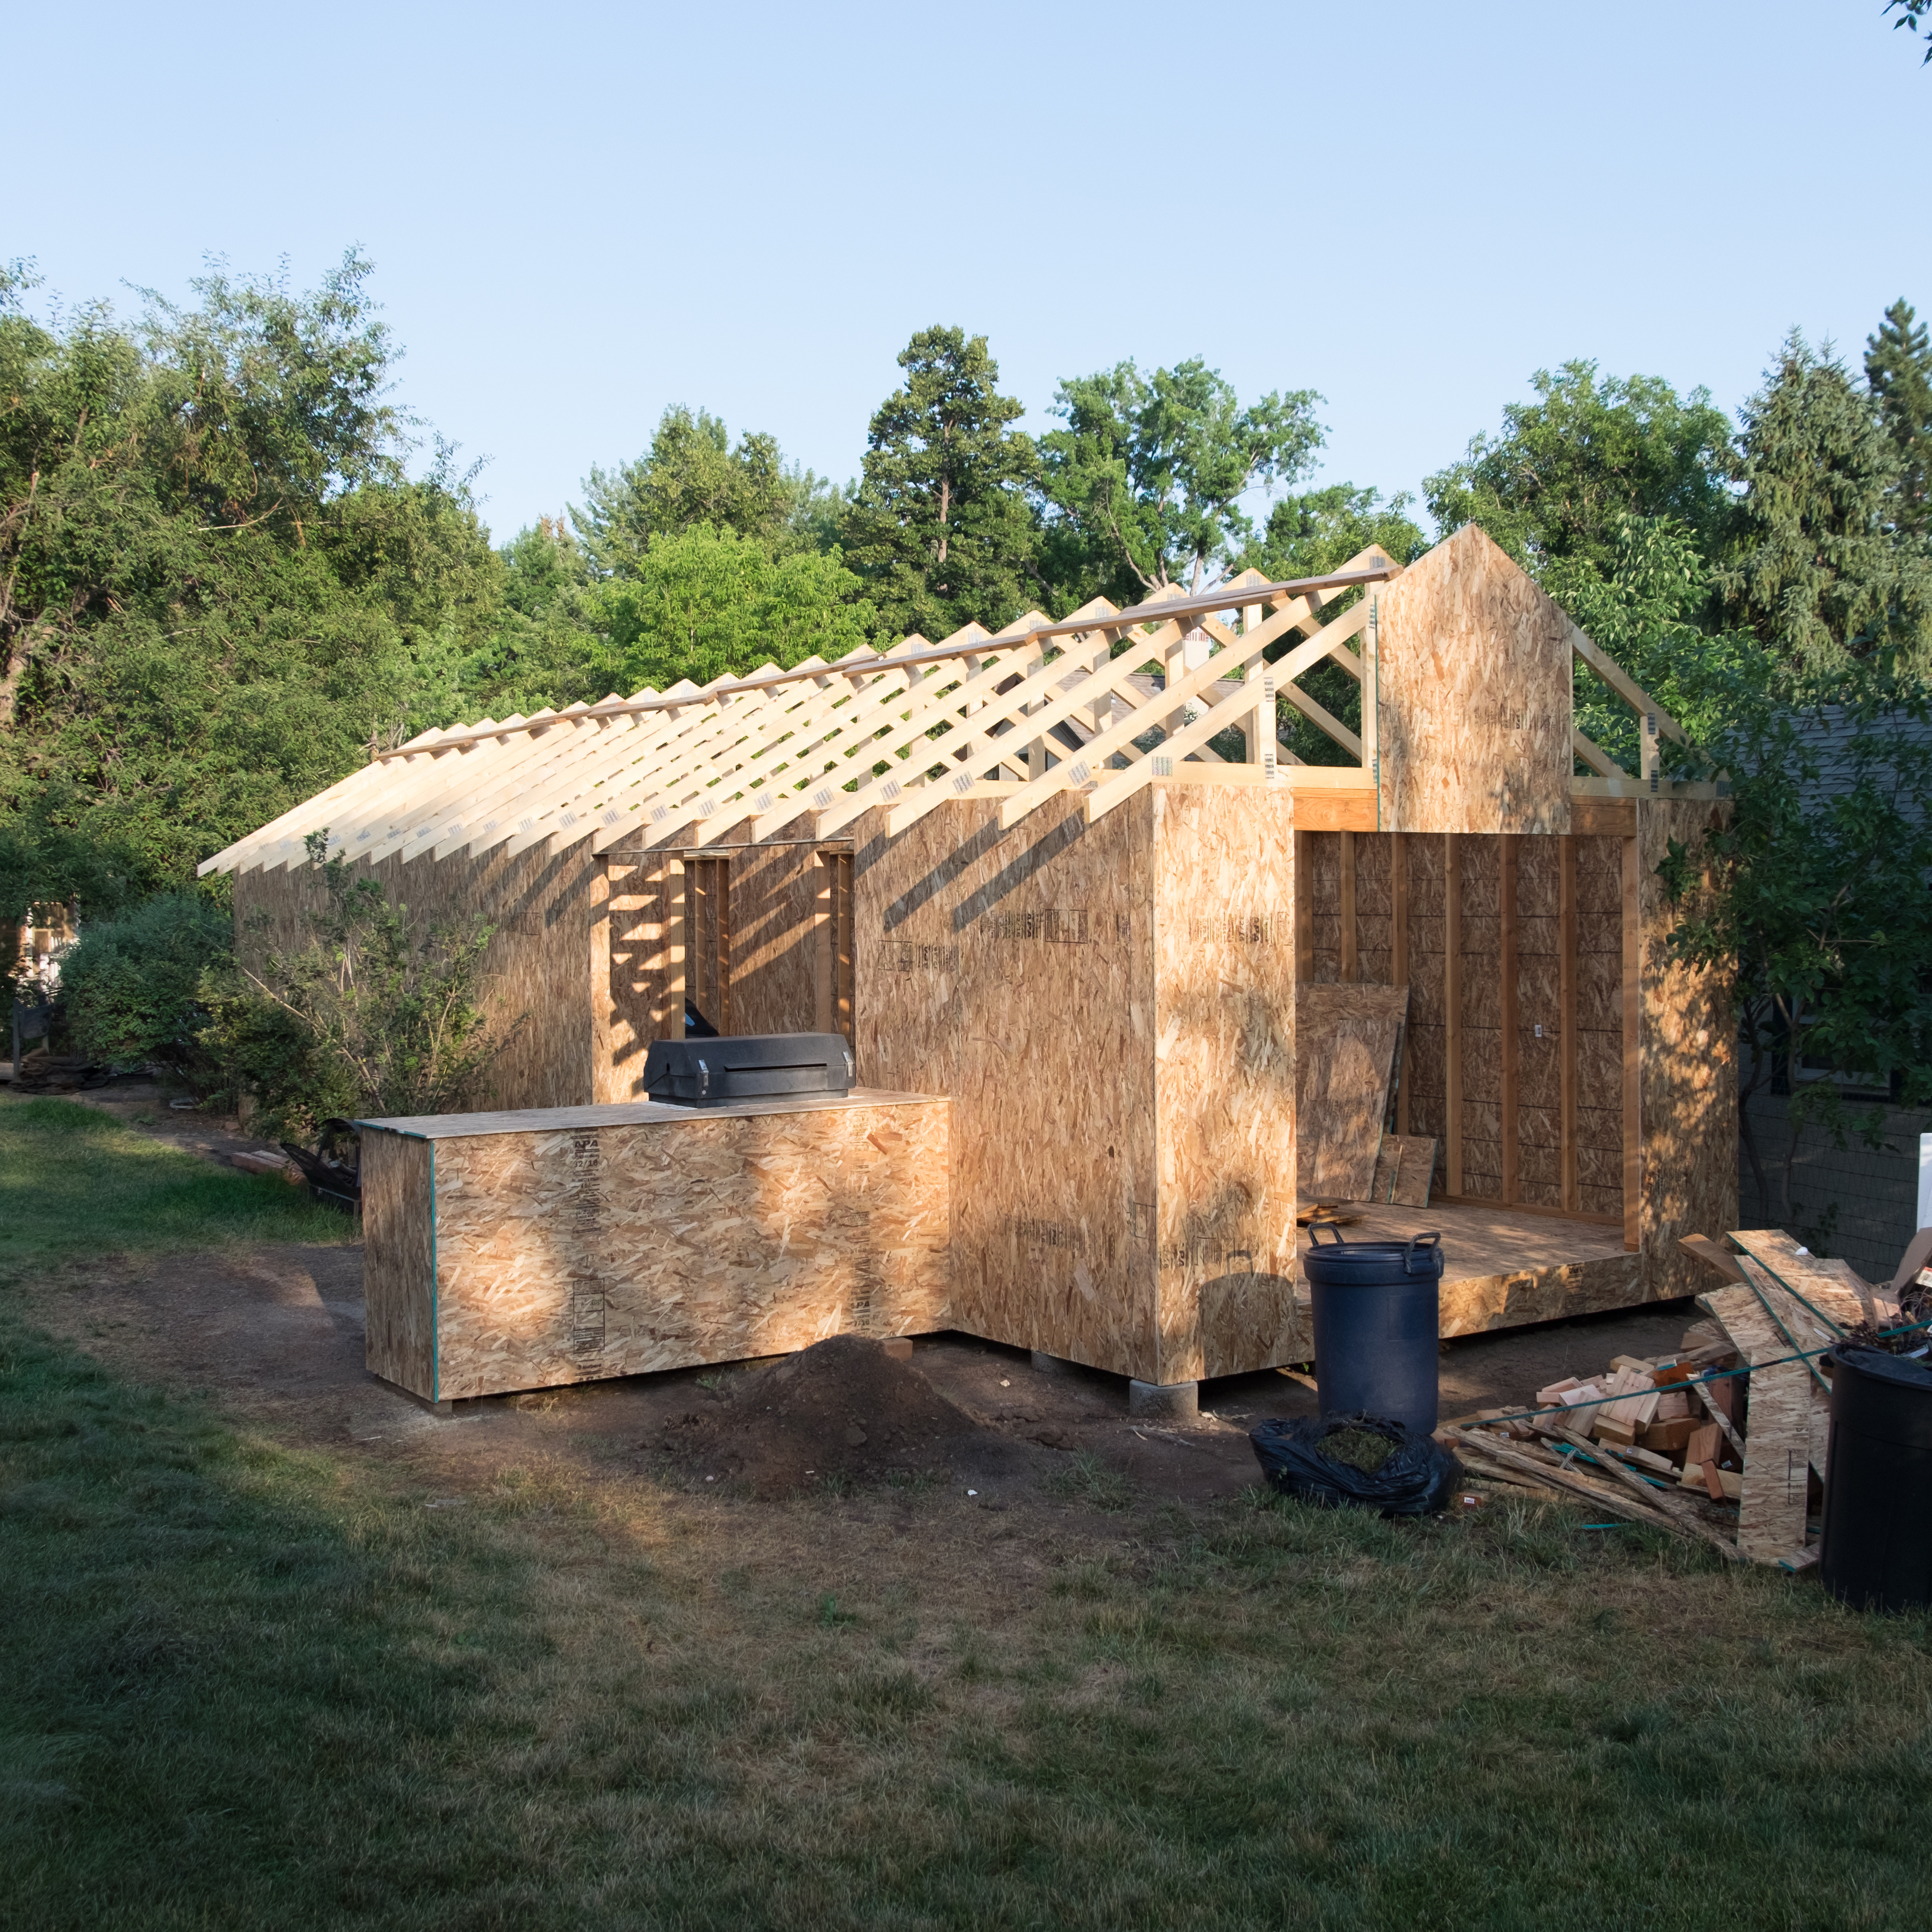
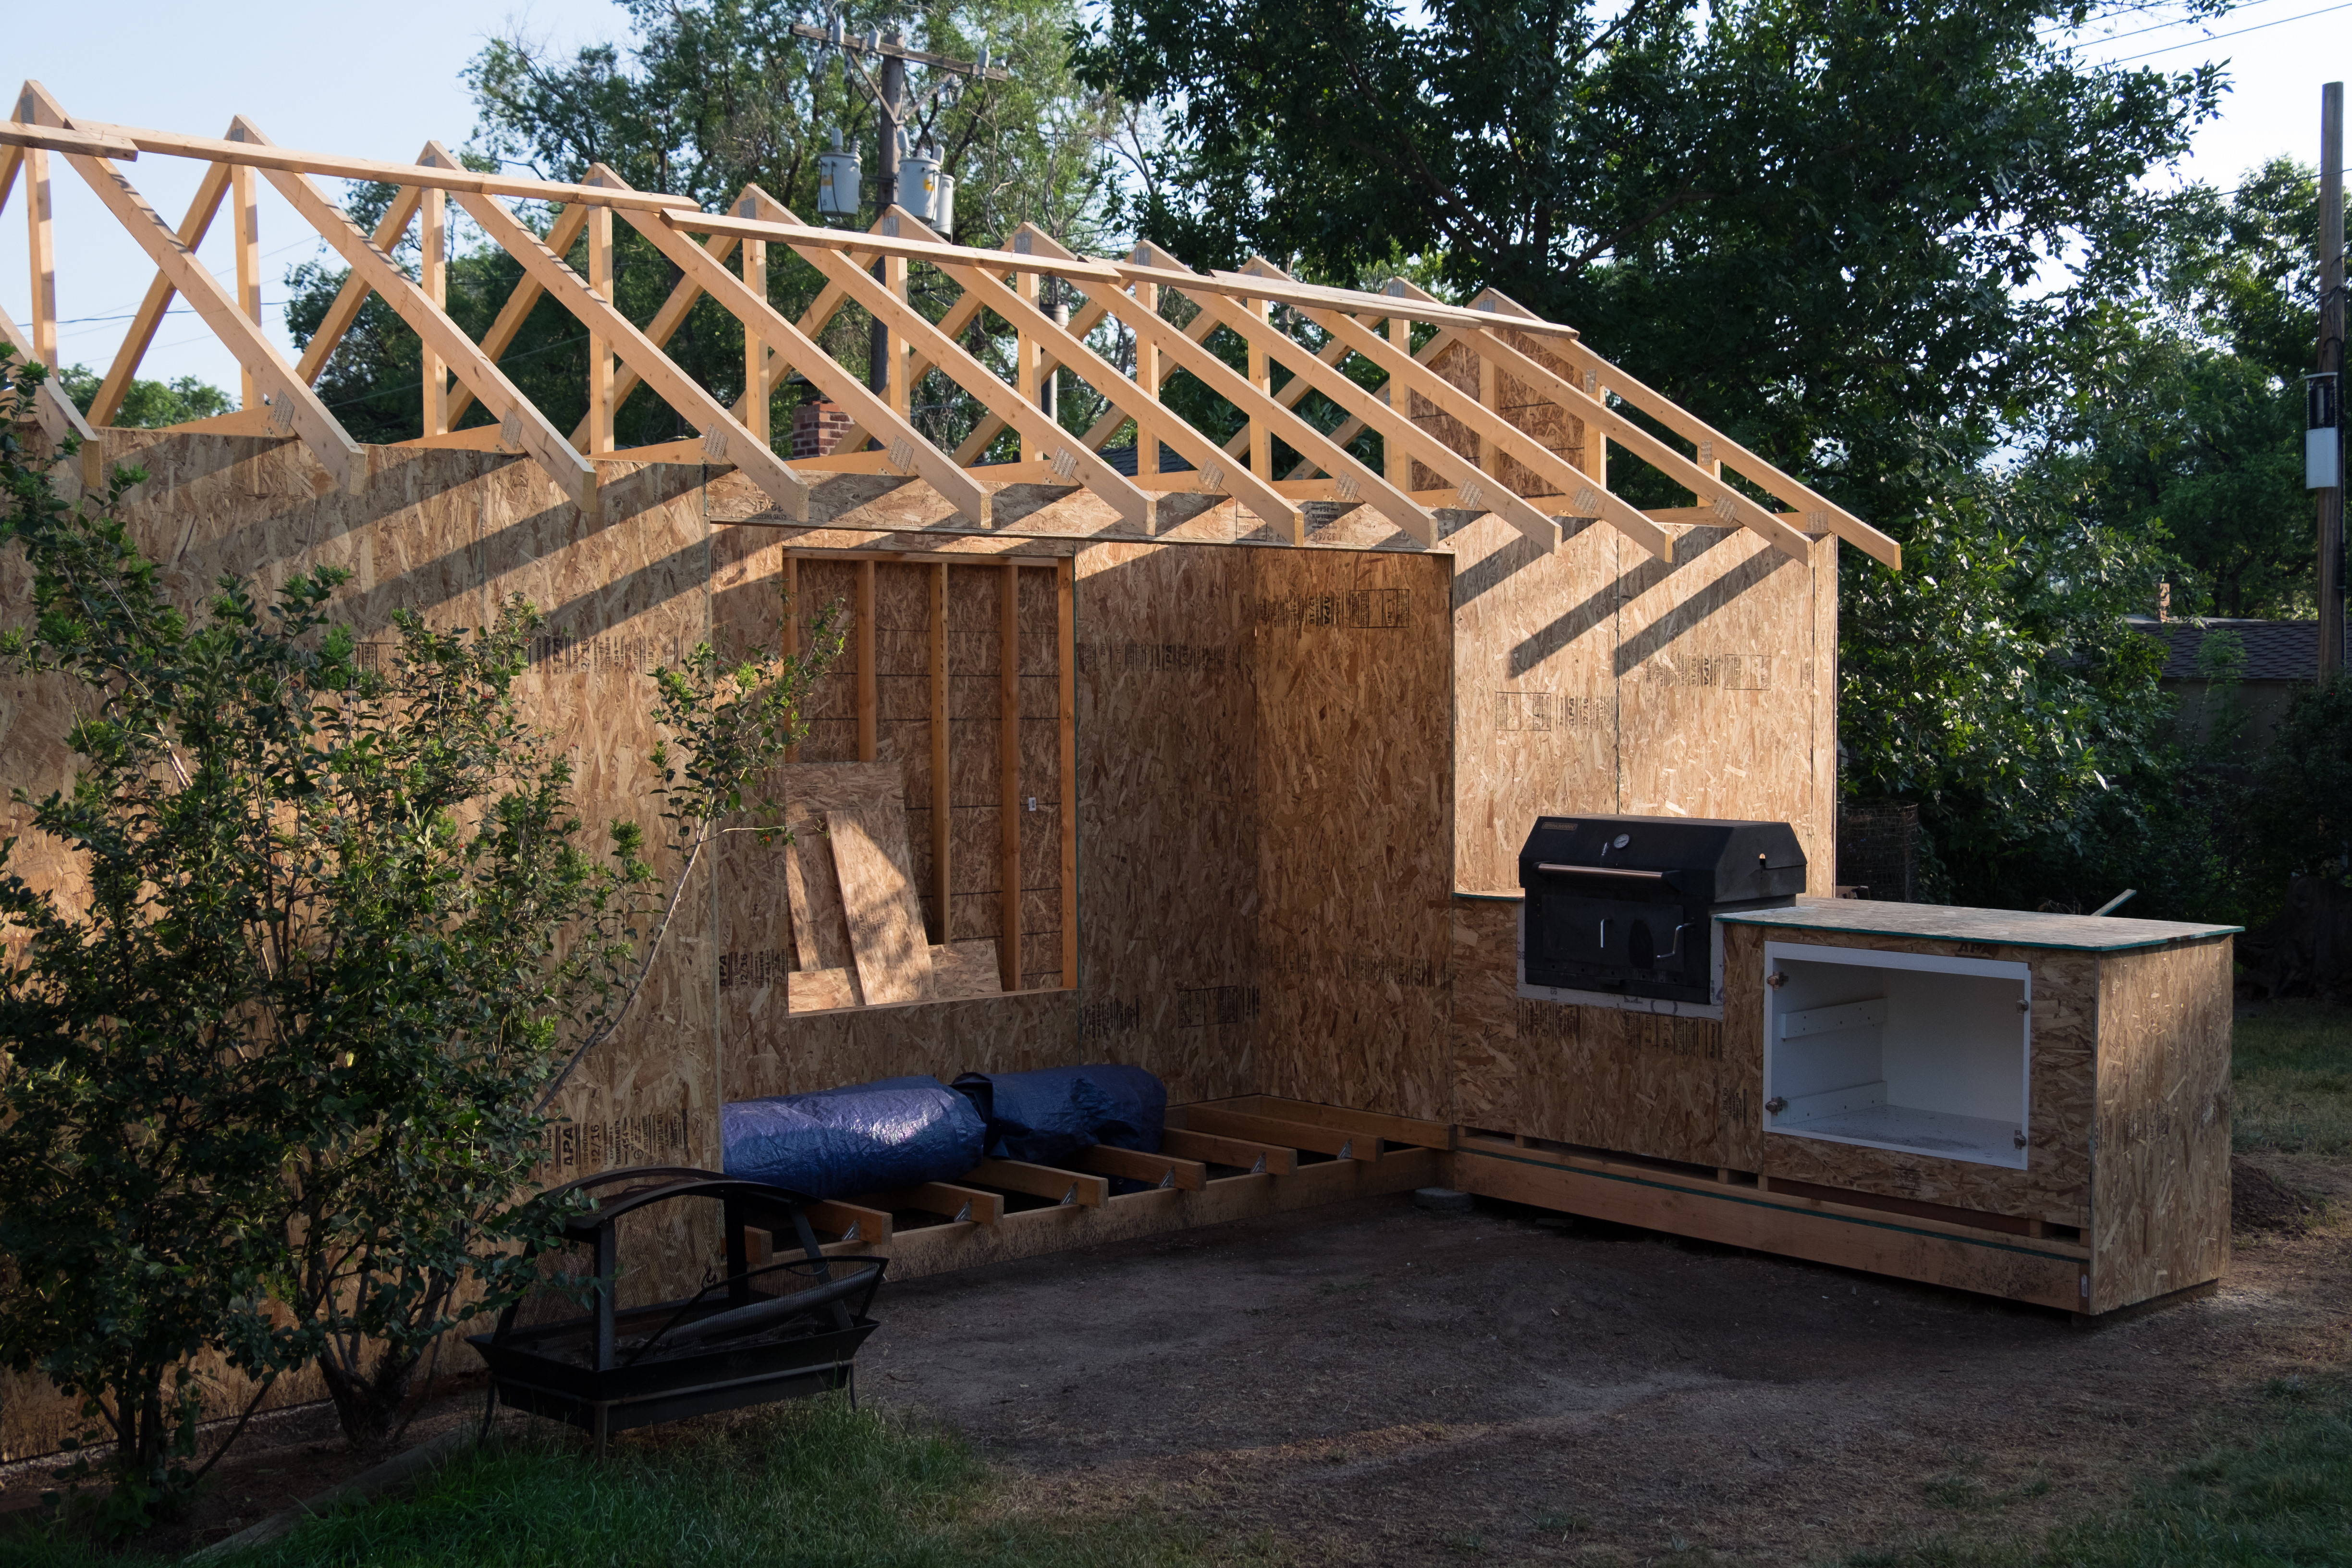
During this step, I build the concrete box to hold the grill. Since I wanted to install my old charcoal grill, and it’s set in a wood frame, I needed to take extra care in make sure heat wouldn’t be an issue. I test fit the grill and ran it for a couple hours while I had a thermometer inserted in the wood frame.
The structure is now complete and ready for roofing and stucco. I hired these out. Things were starting to come together.
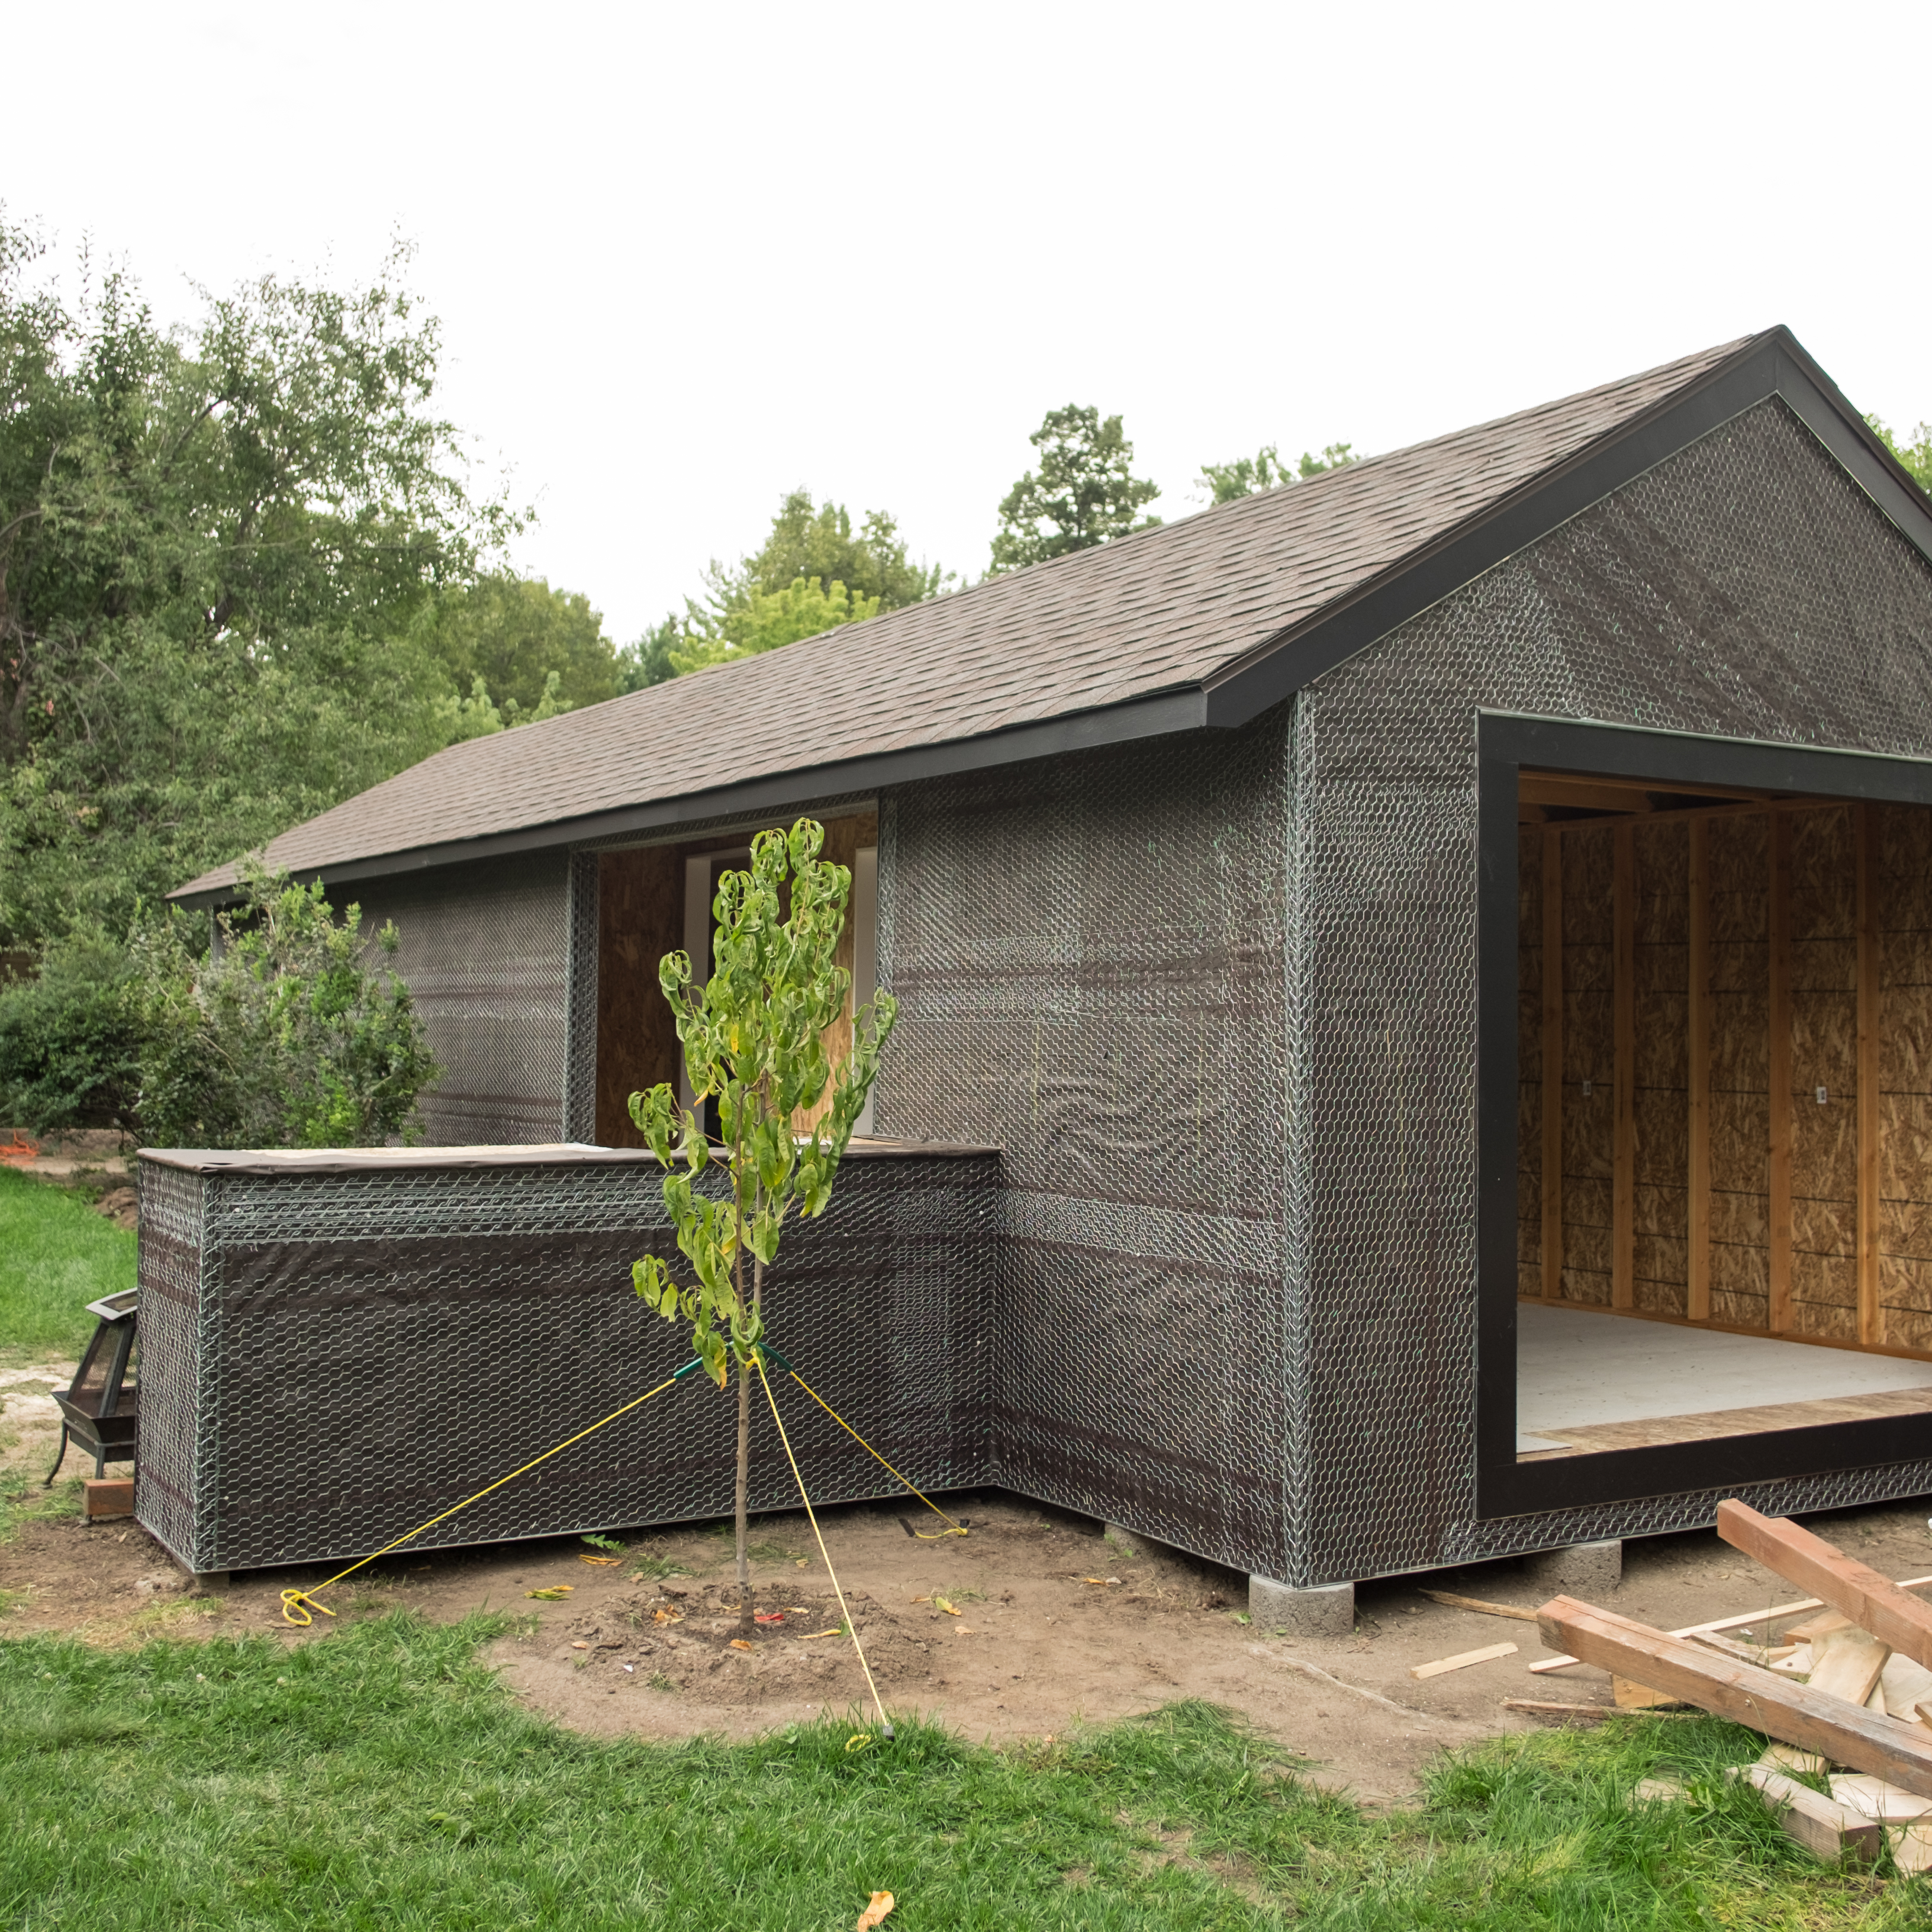

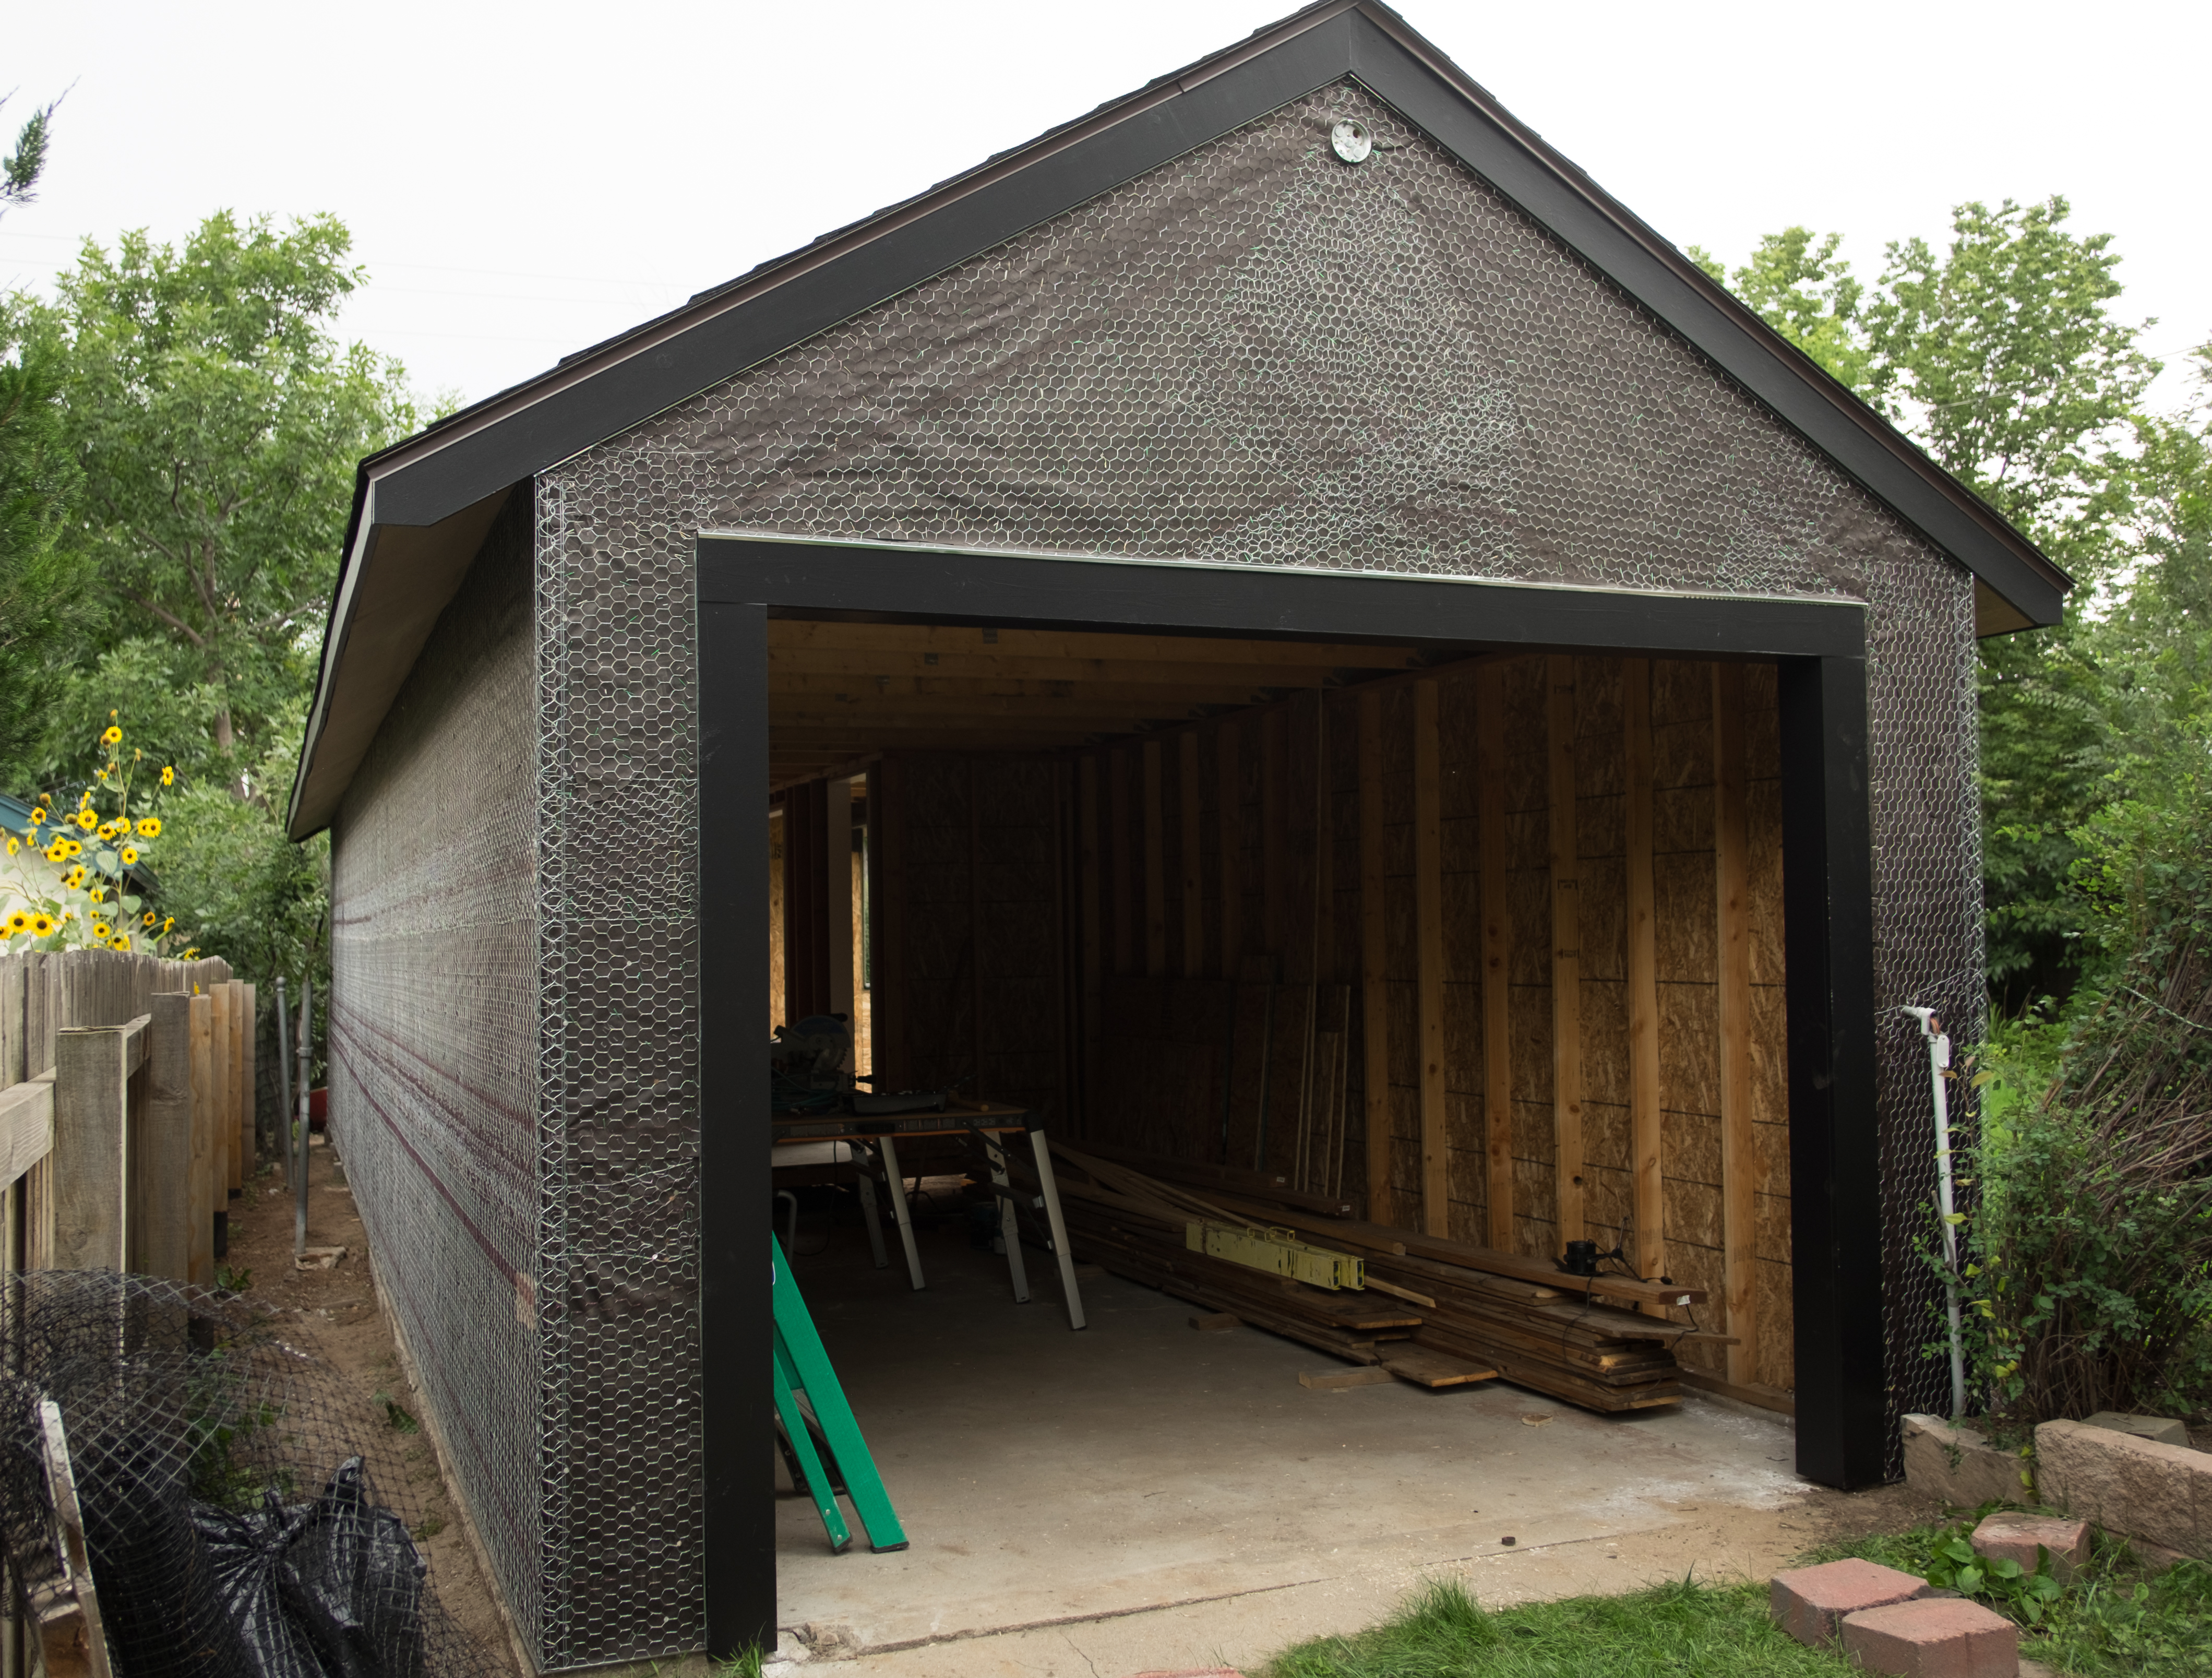

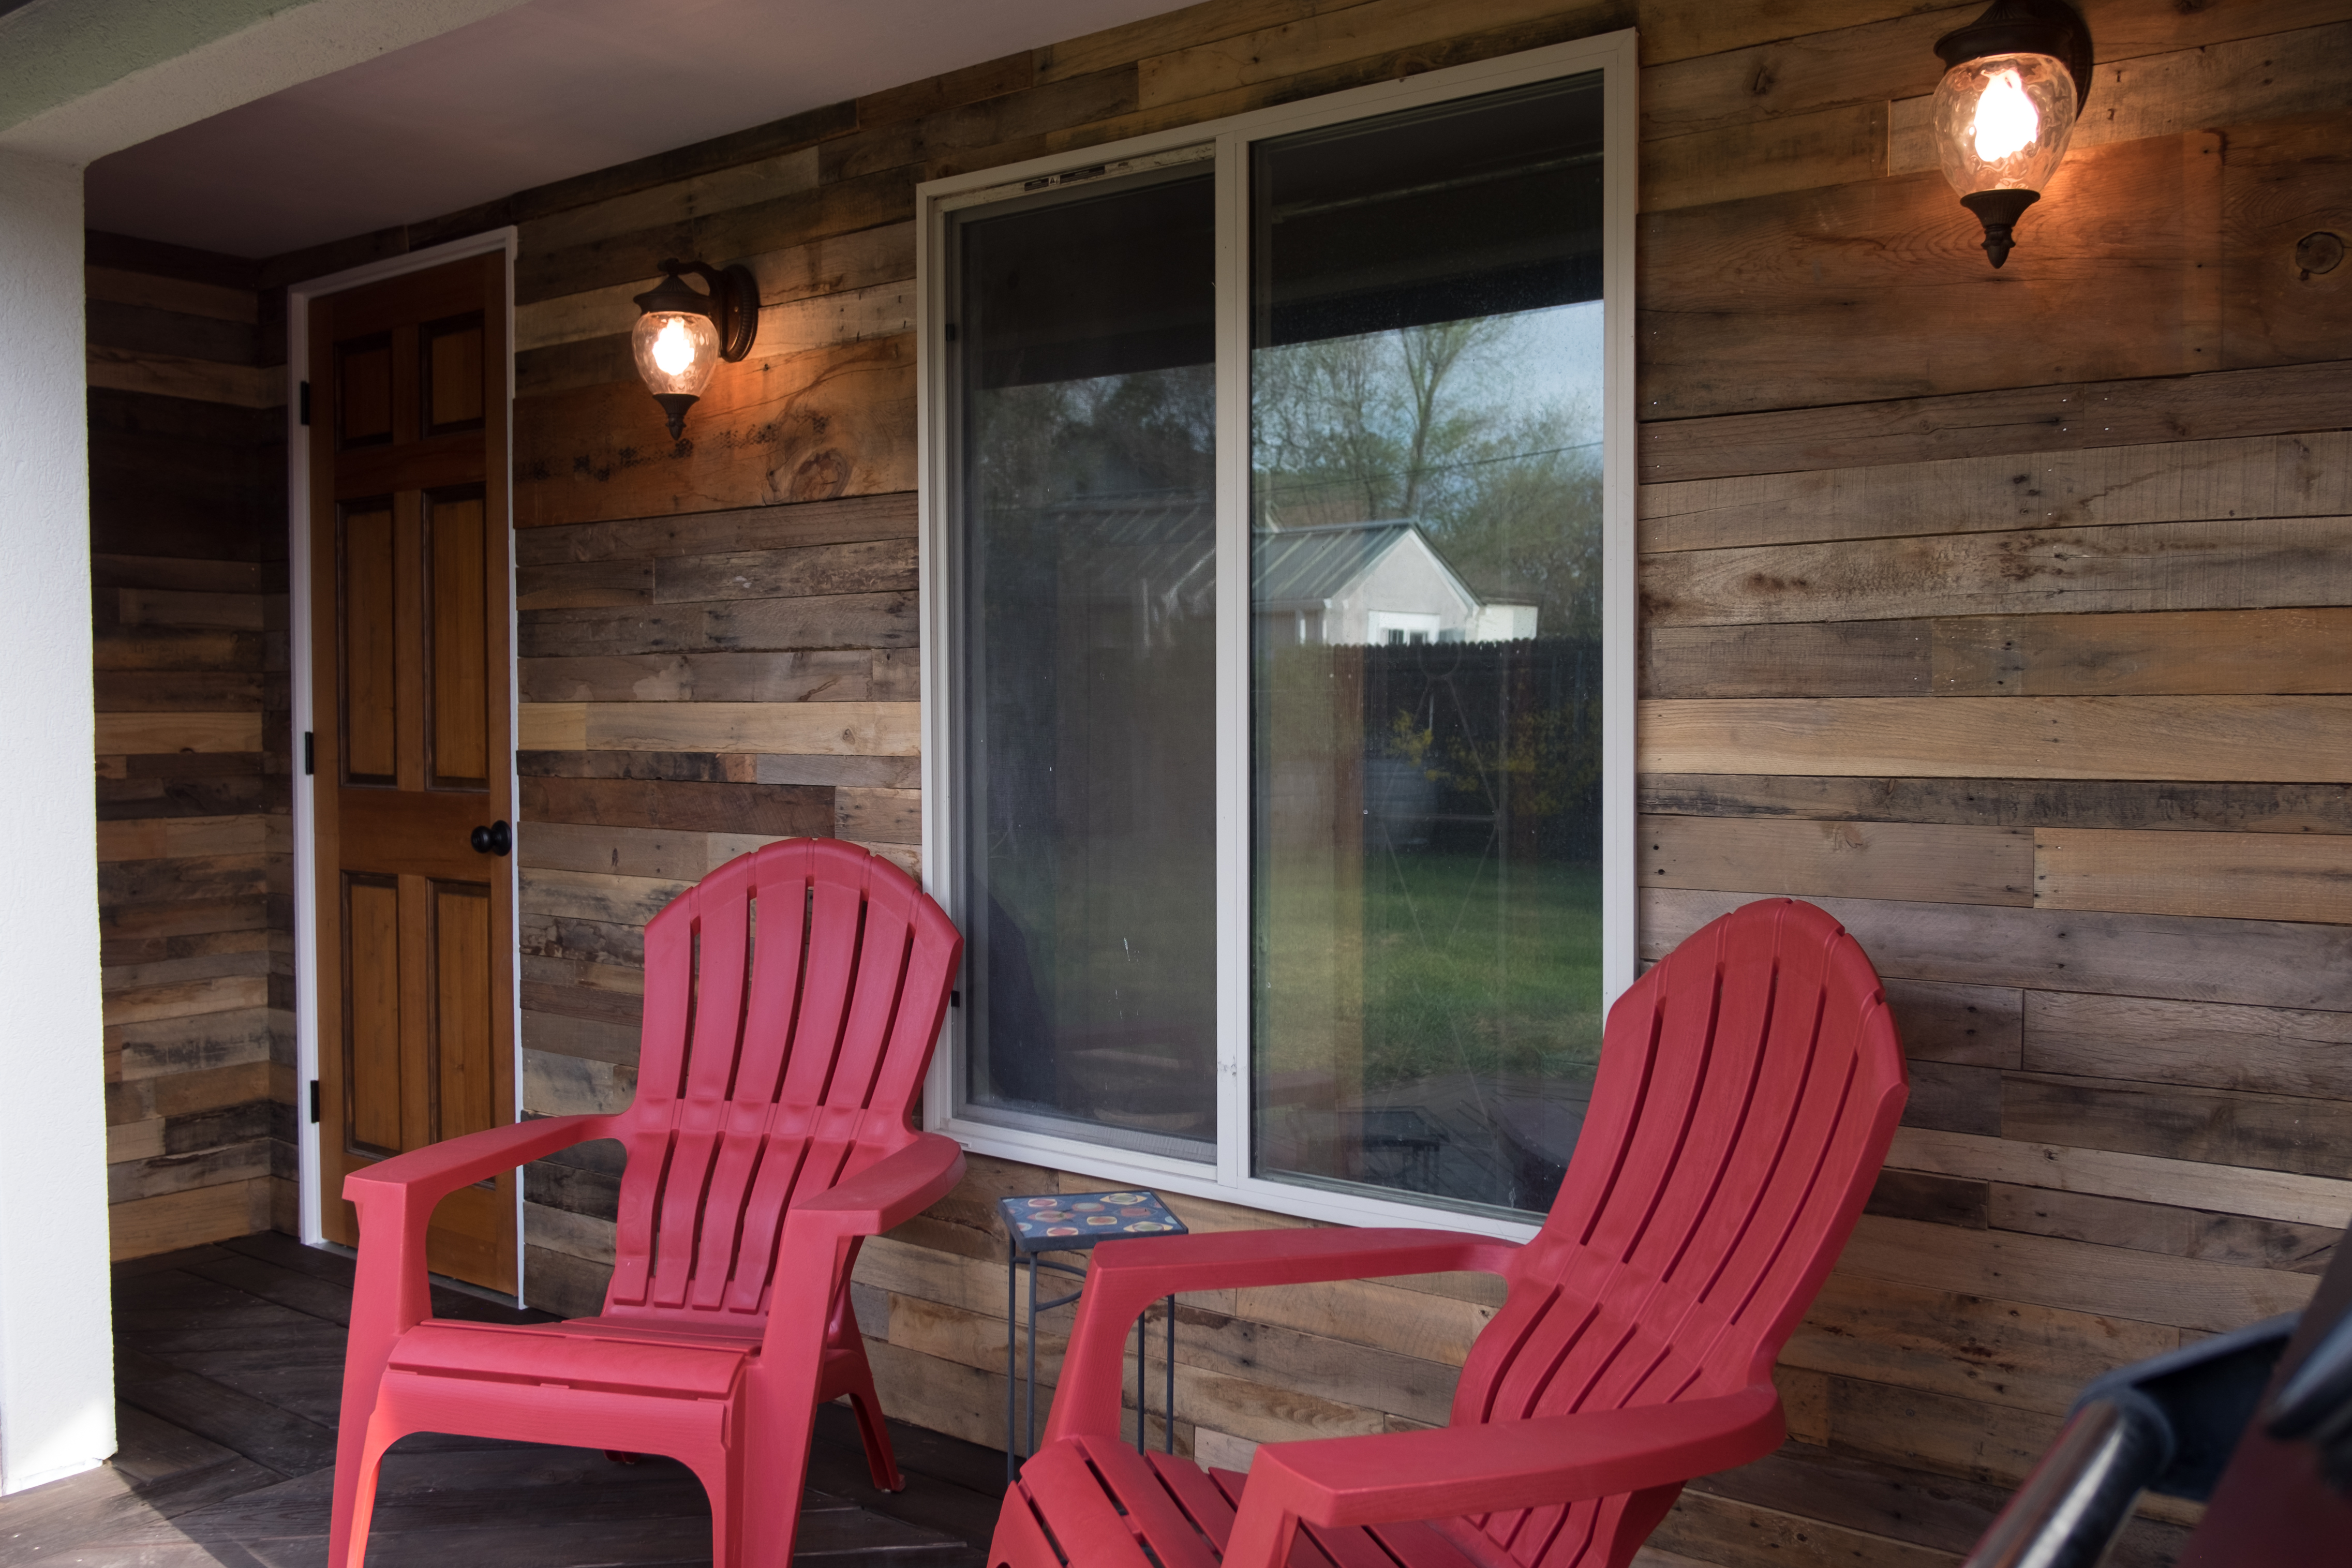
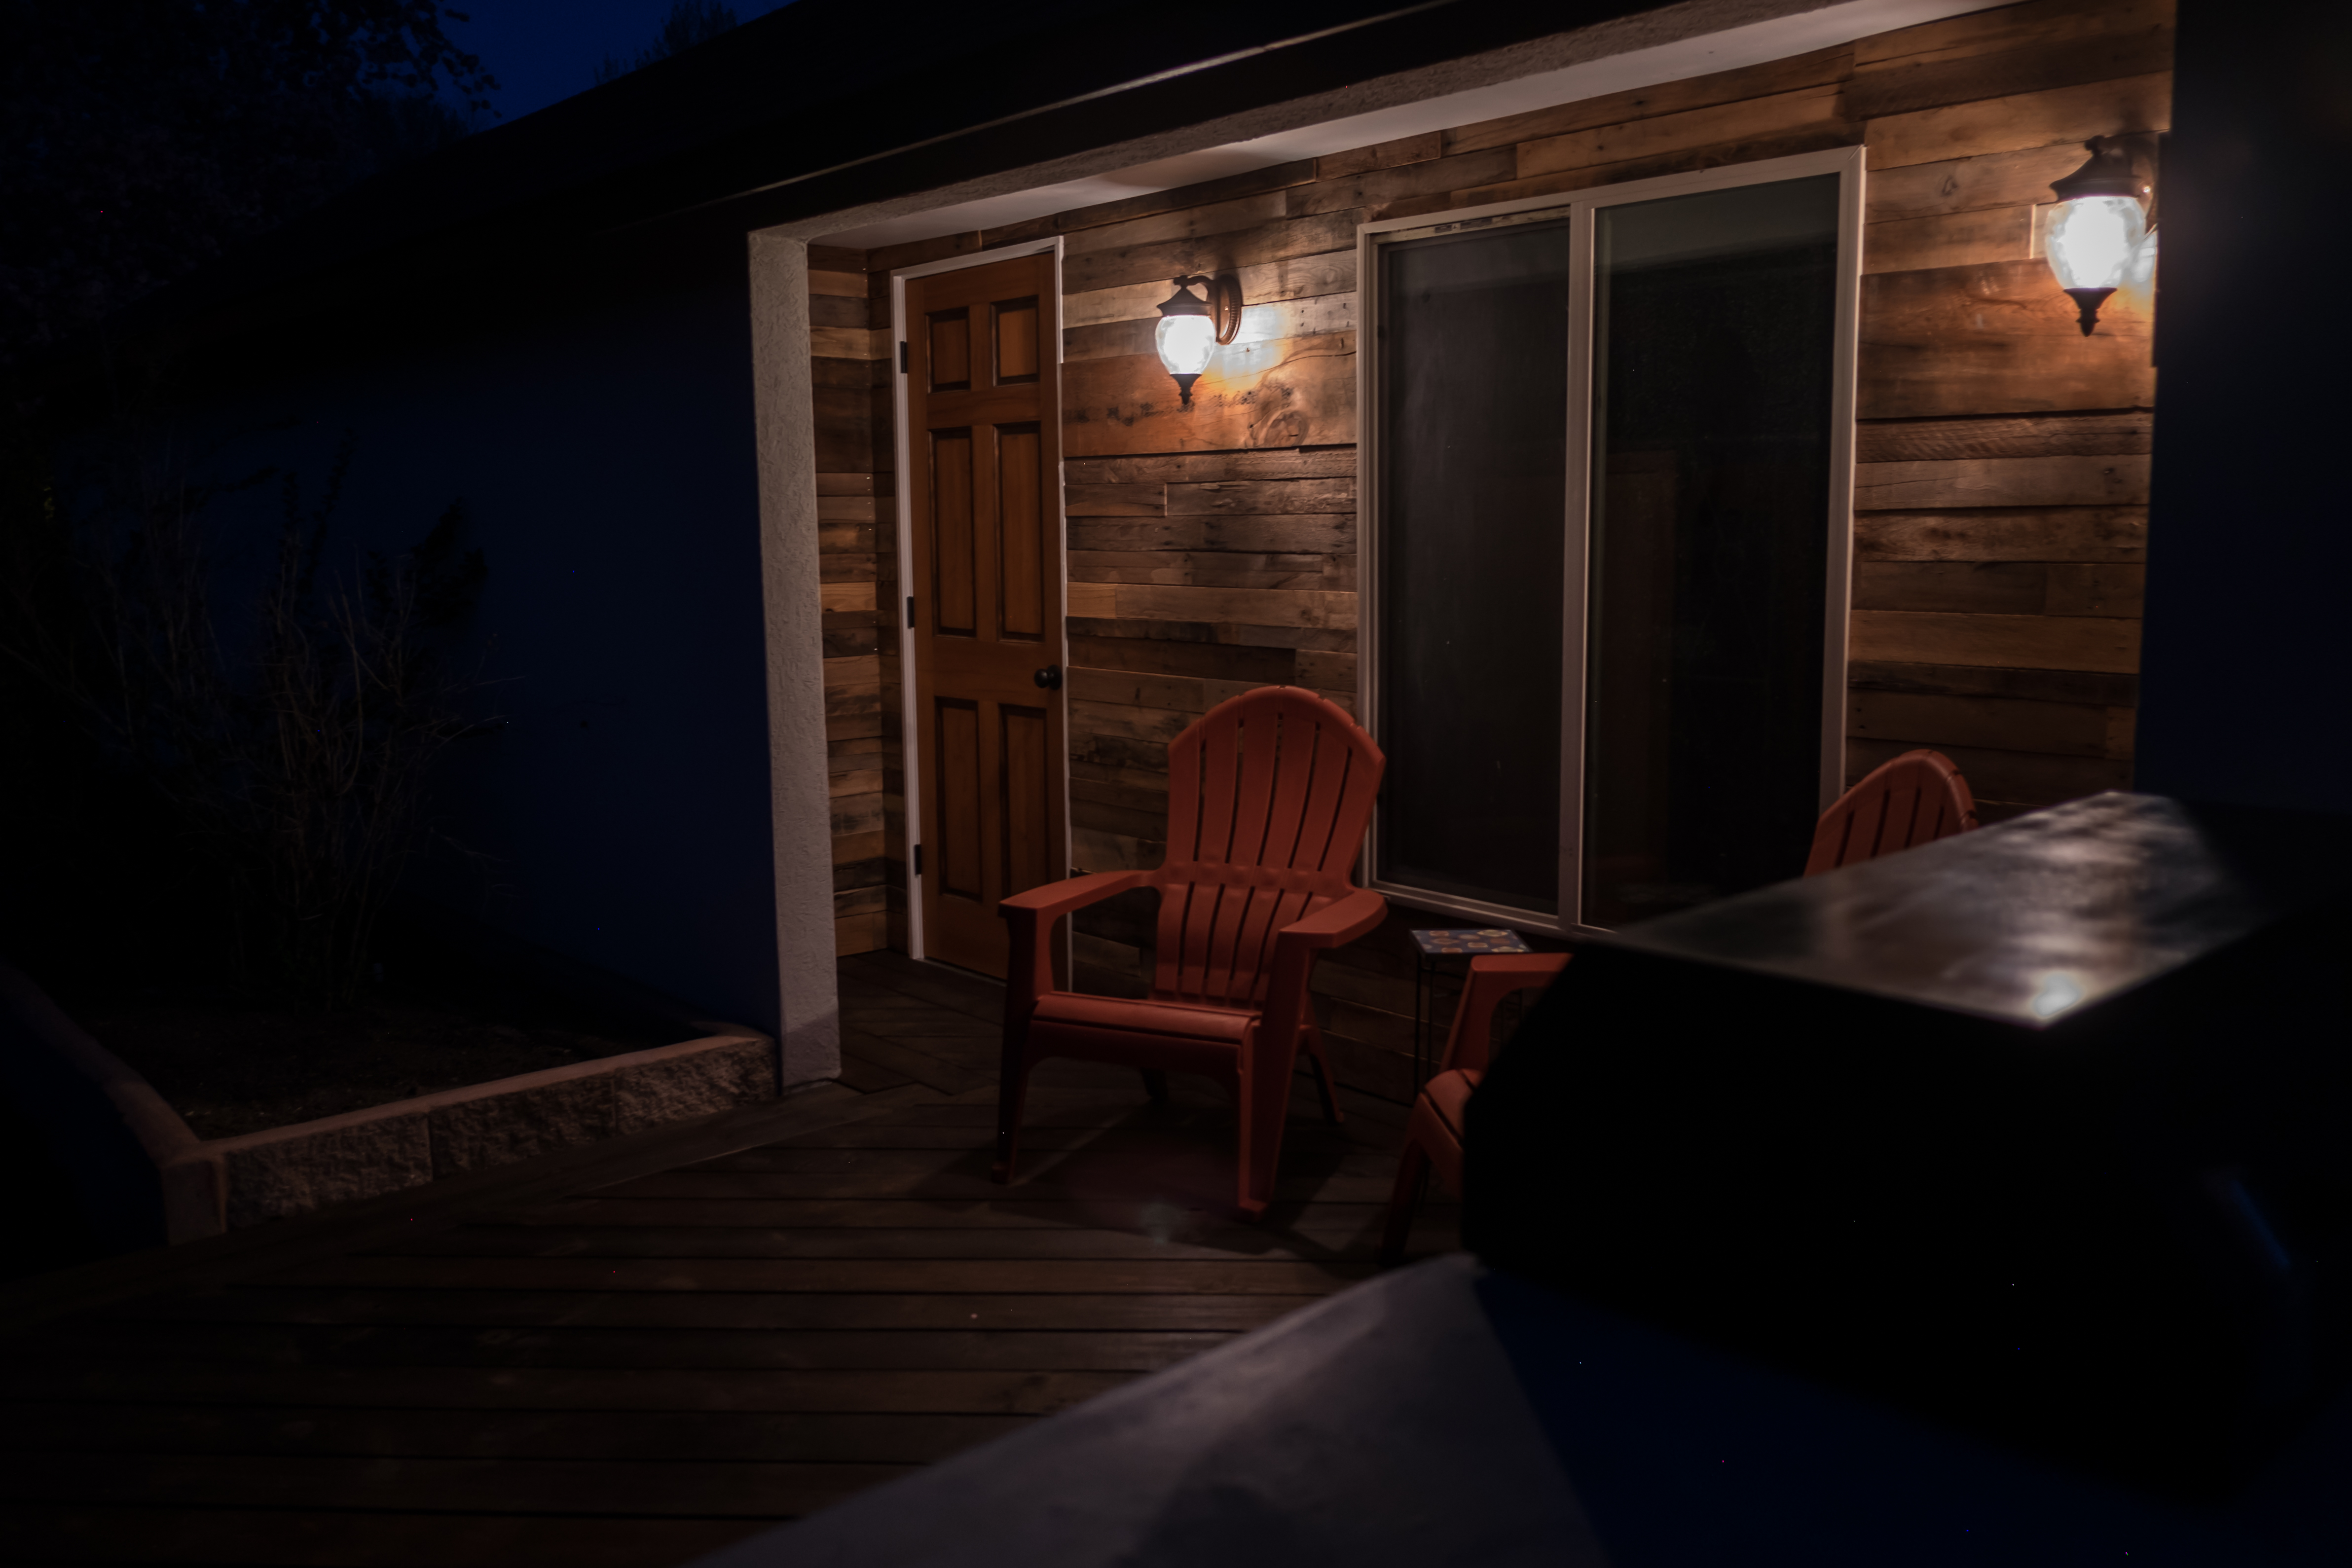
I wanted a wide opening for moving larger things in and out of the workshop, so I made a large opening in the back. I built some french doors for this.
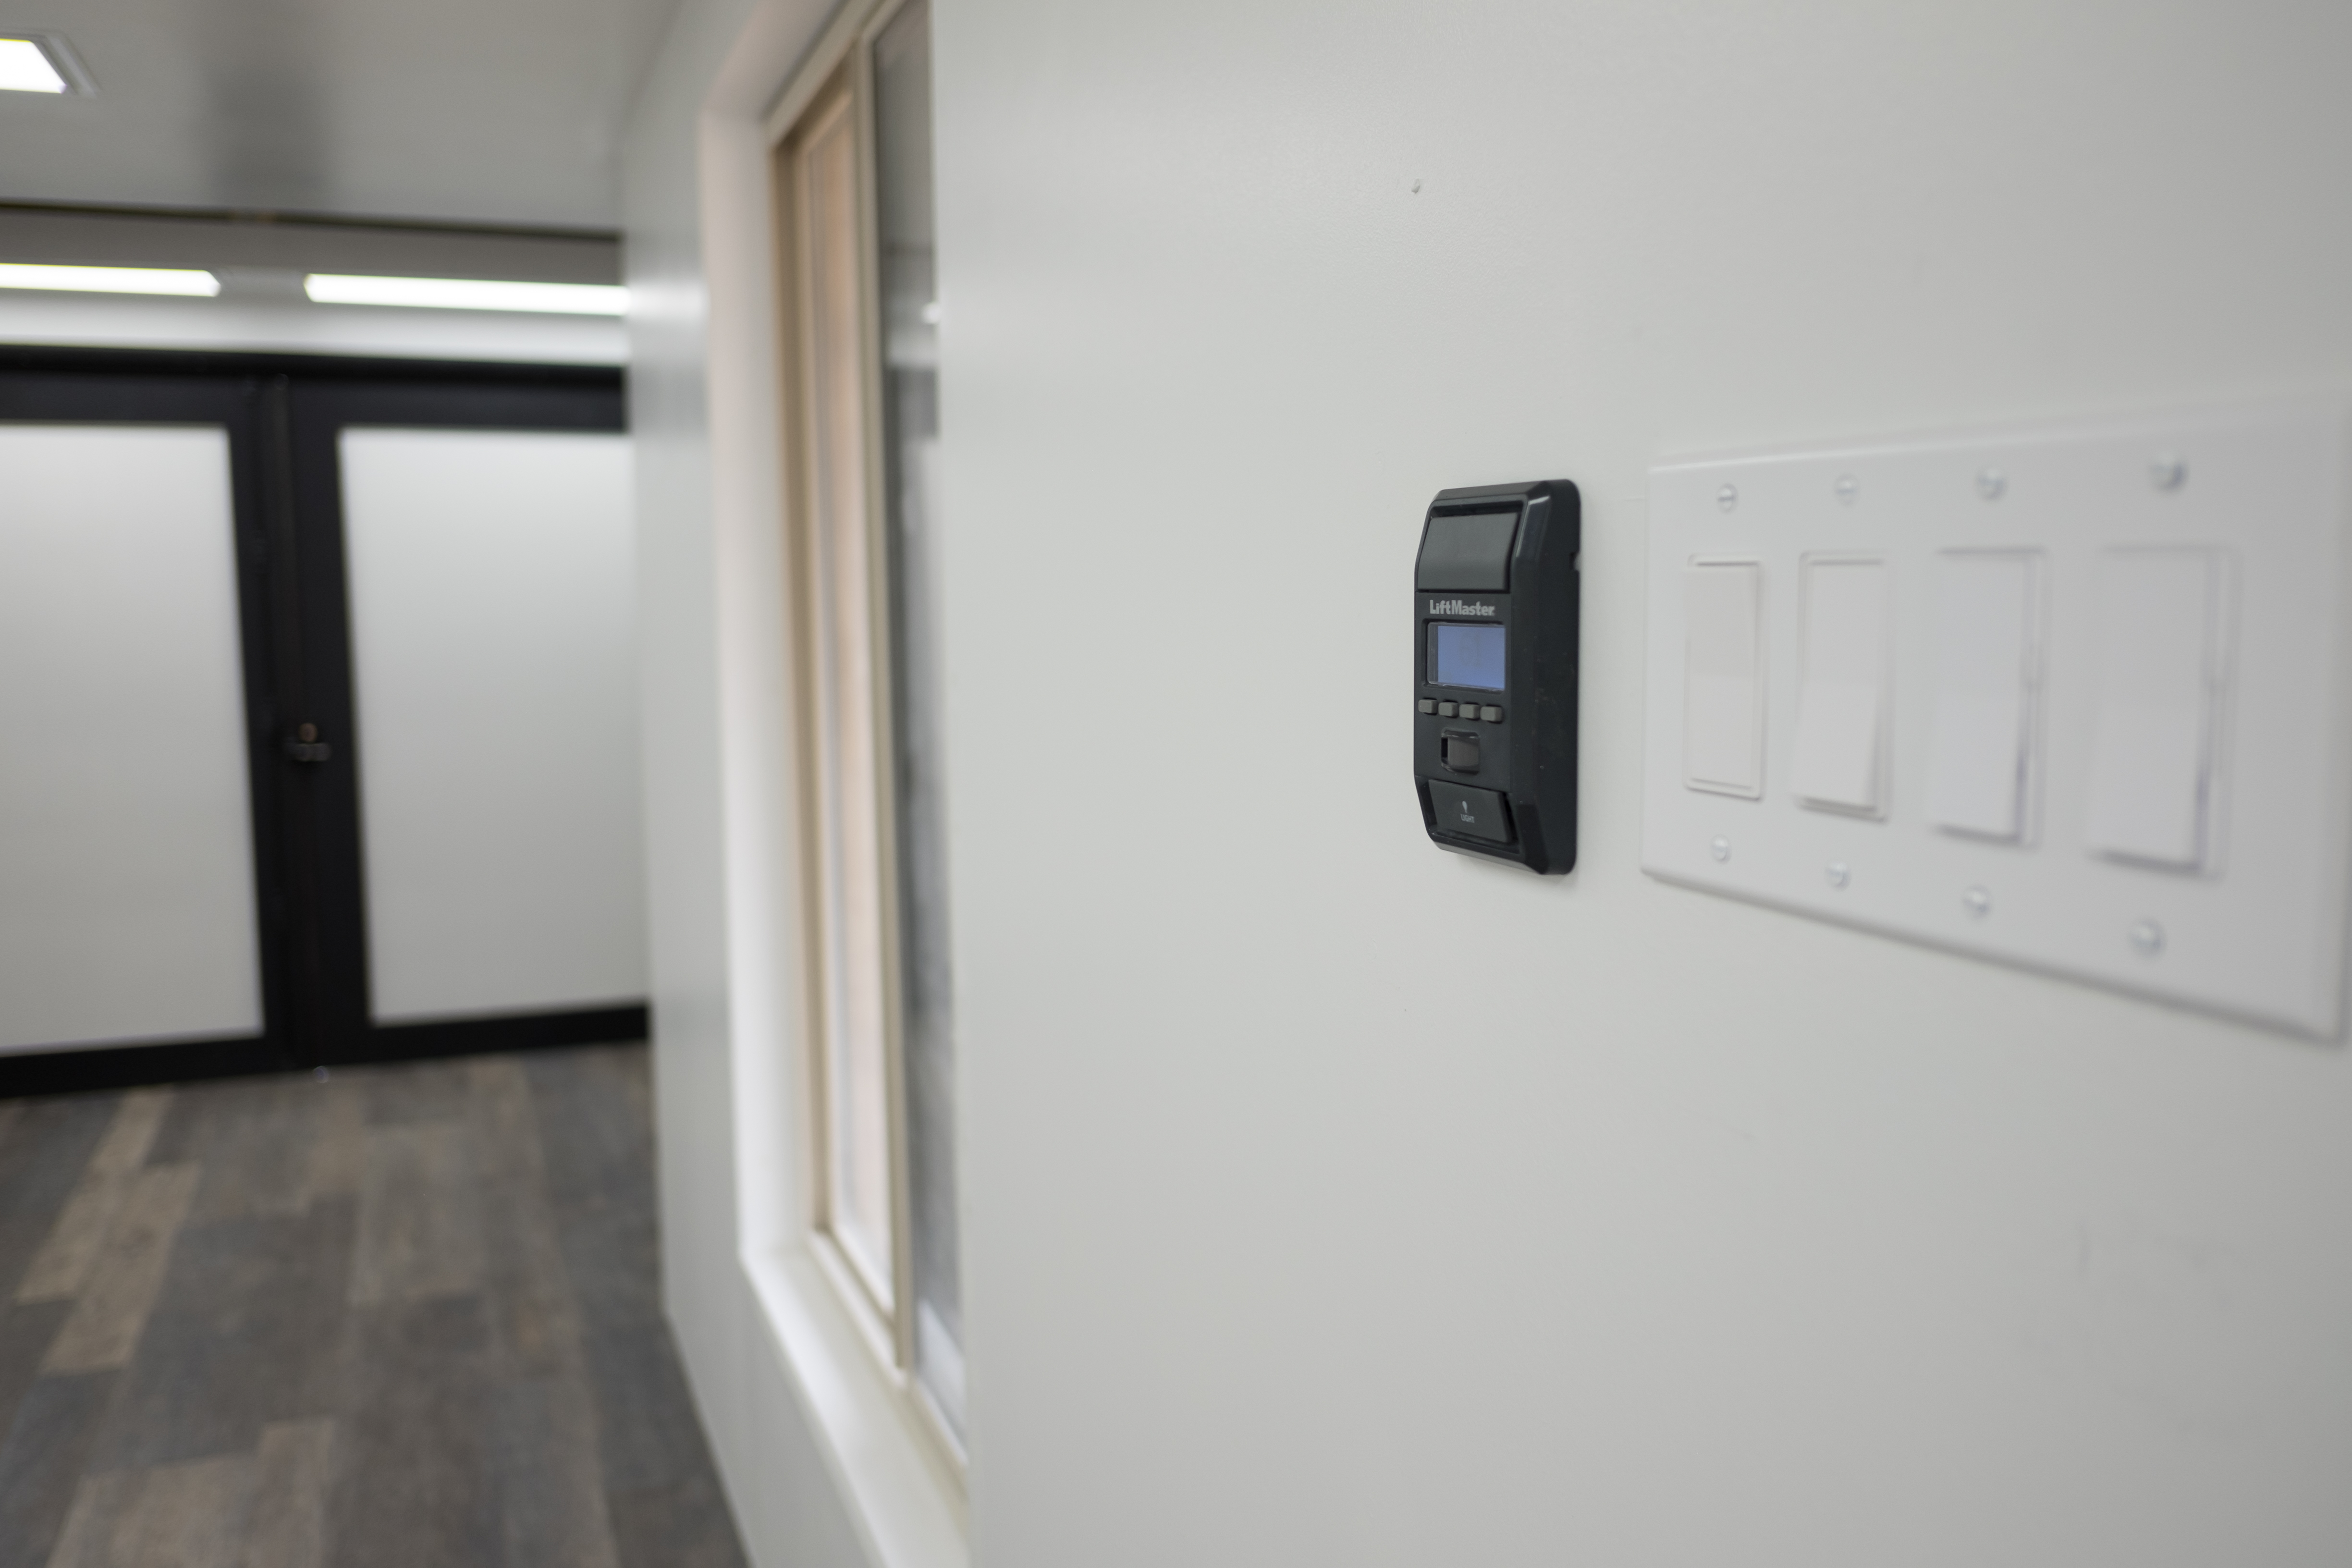
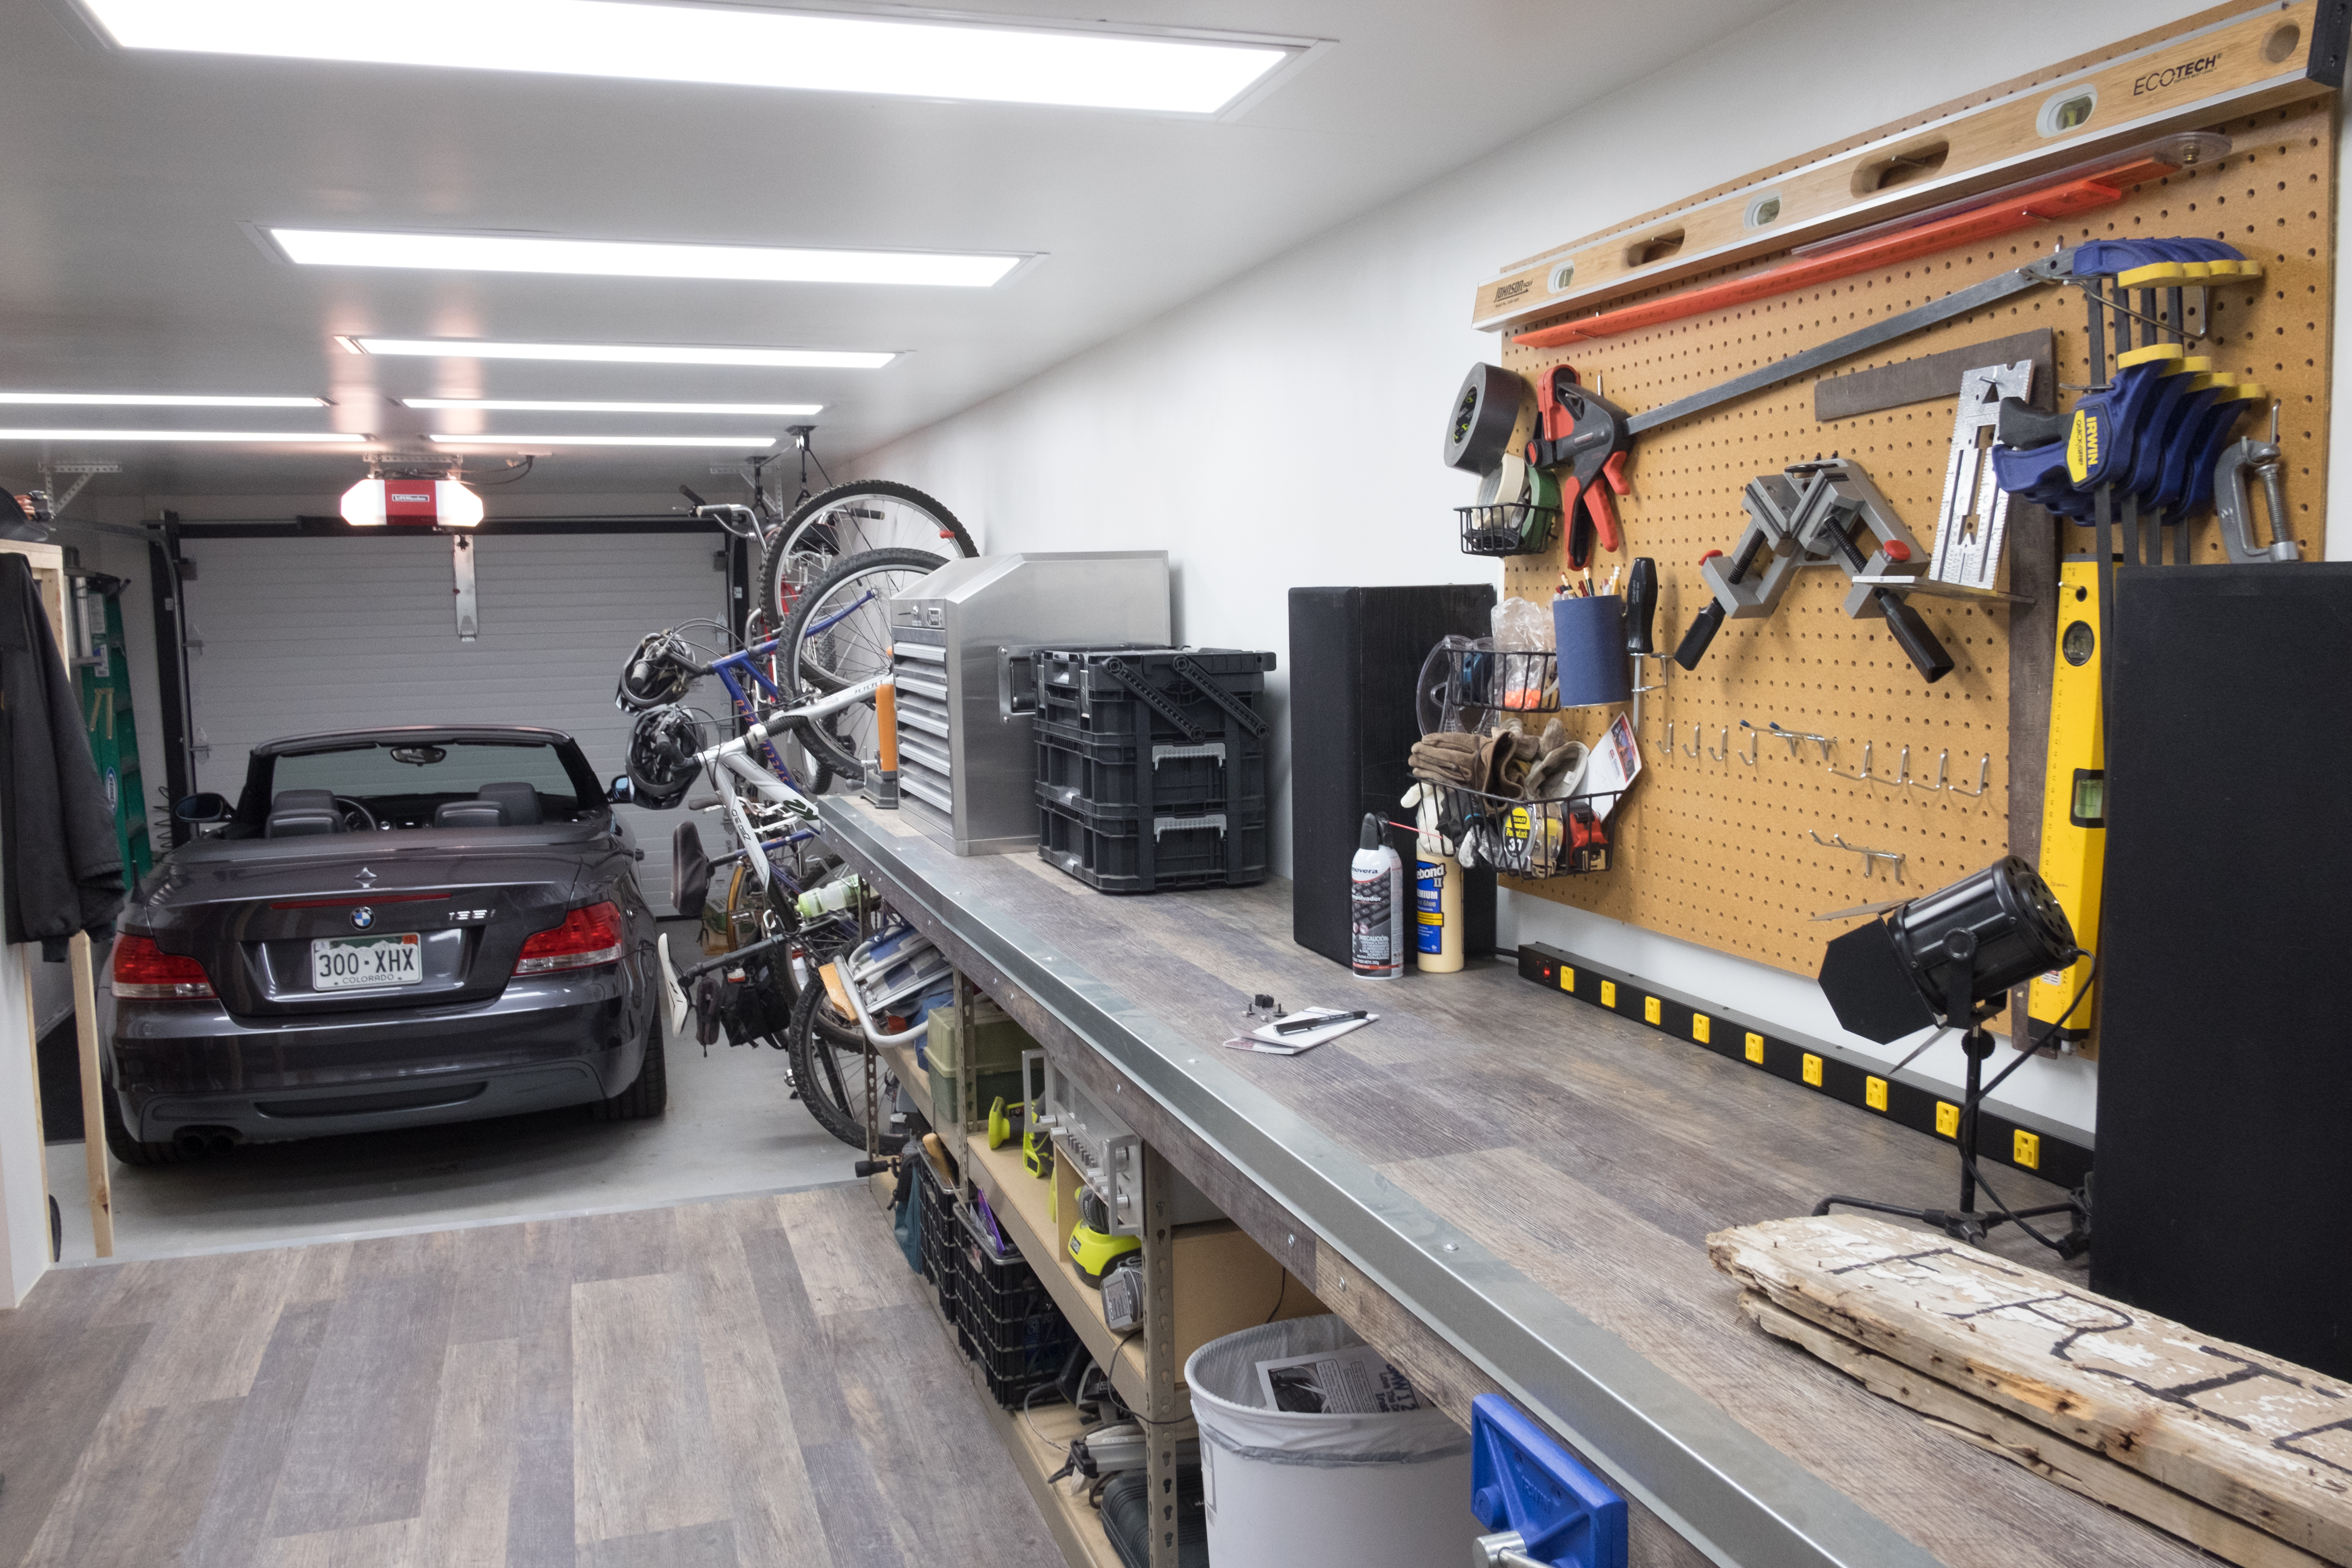
Next was electrical. I set this up to accommodate a bunch of overhead LED lights. I wanted to be able to make it super-bright in there for when I need it, but not uncomfortable when I don’t, so I installed an industrial dimming system on two zones of lights. It took a lot more wiring, but it was going to be worth it. I added a bunch of outlets, and wired up all exterior lights so that they could be controlled both by a switch on the inside of the garage, and from a switch on the inside of our house. I also added one additional switch for lighting the attic storage area. While I was at it, I ran wiring to accommodate the garage door sensors.


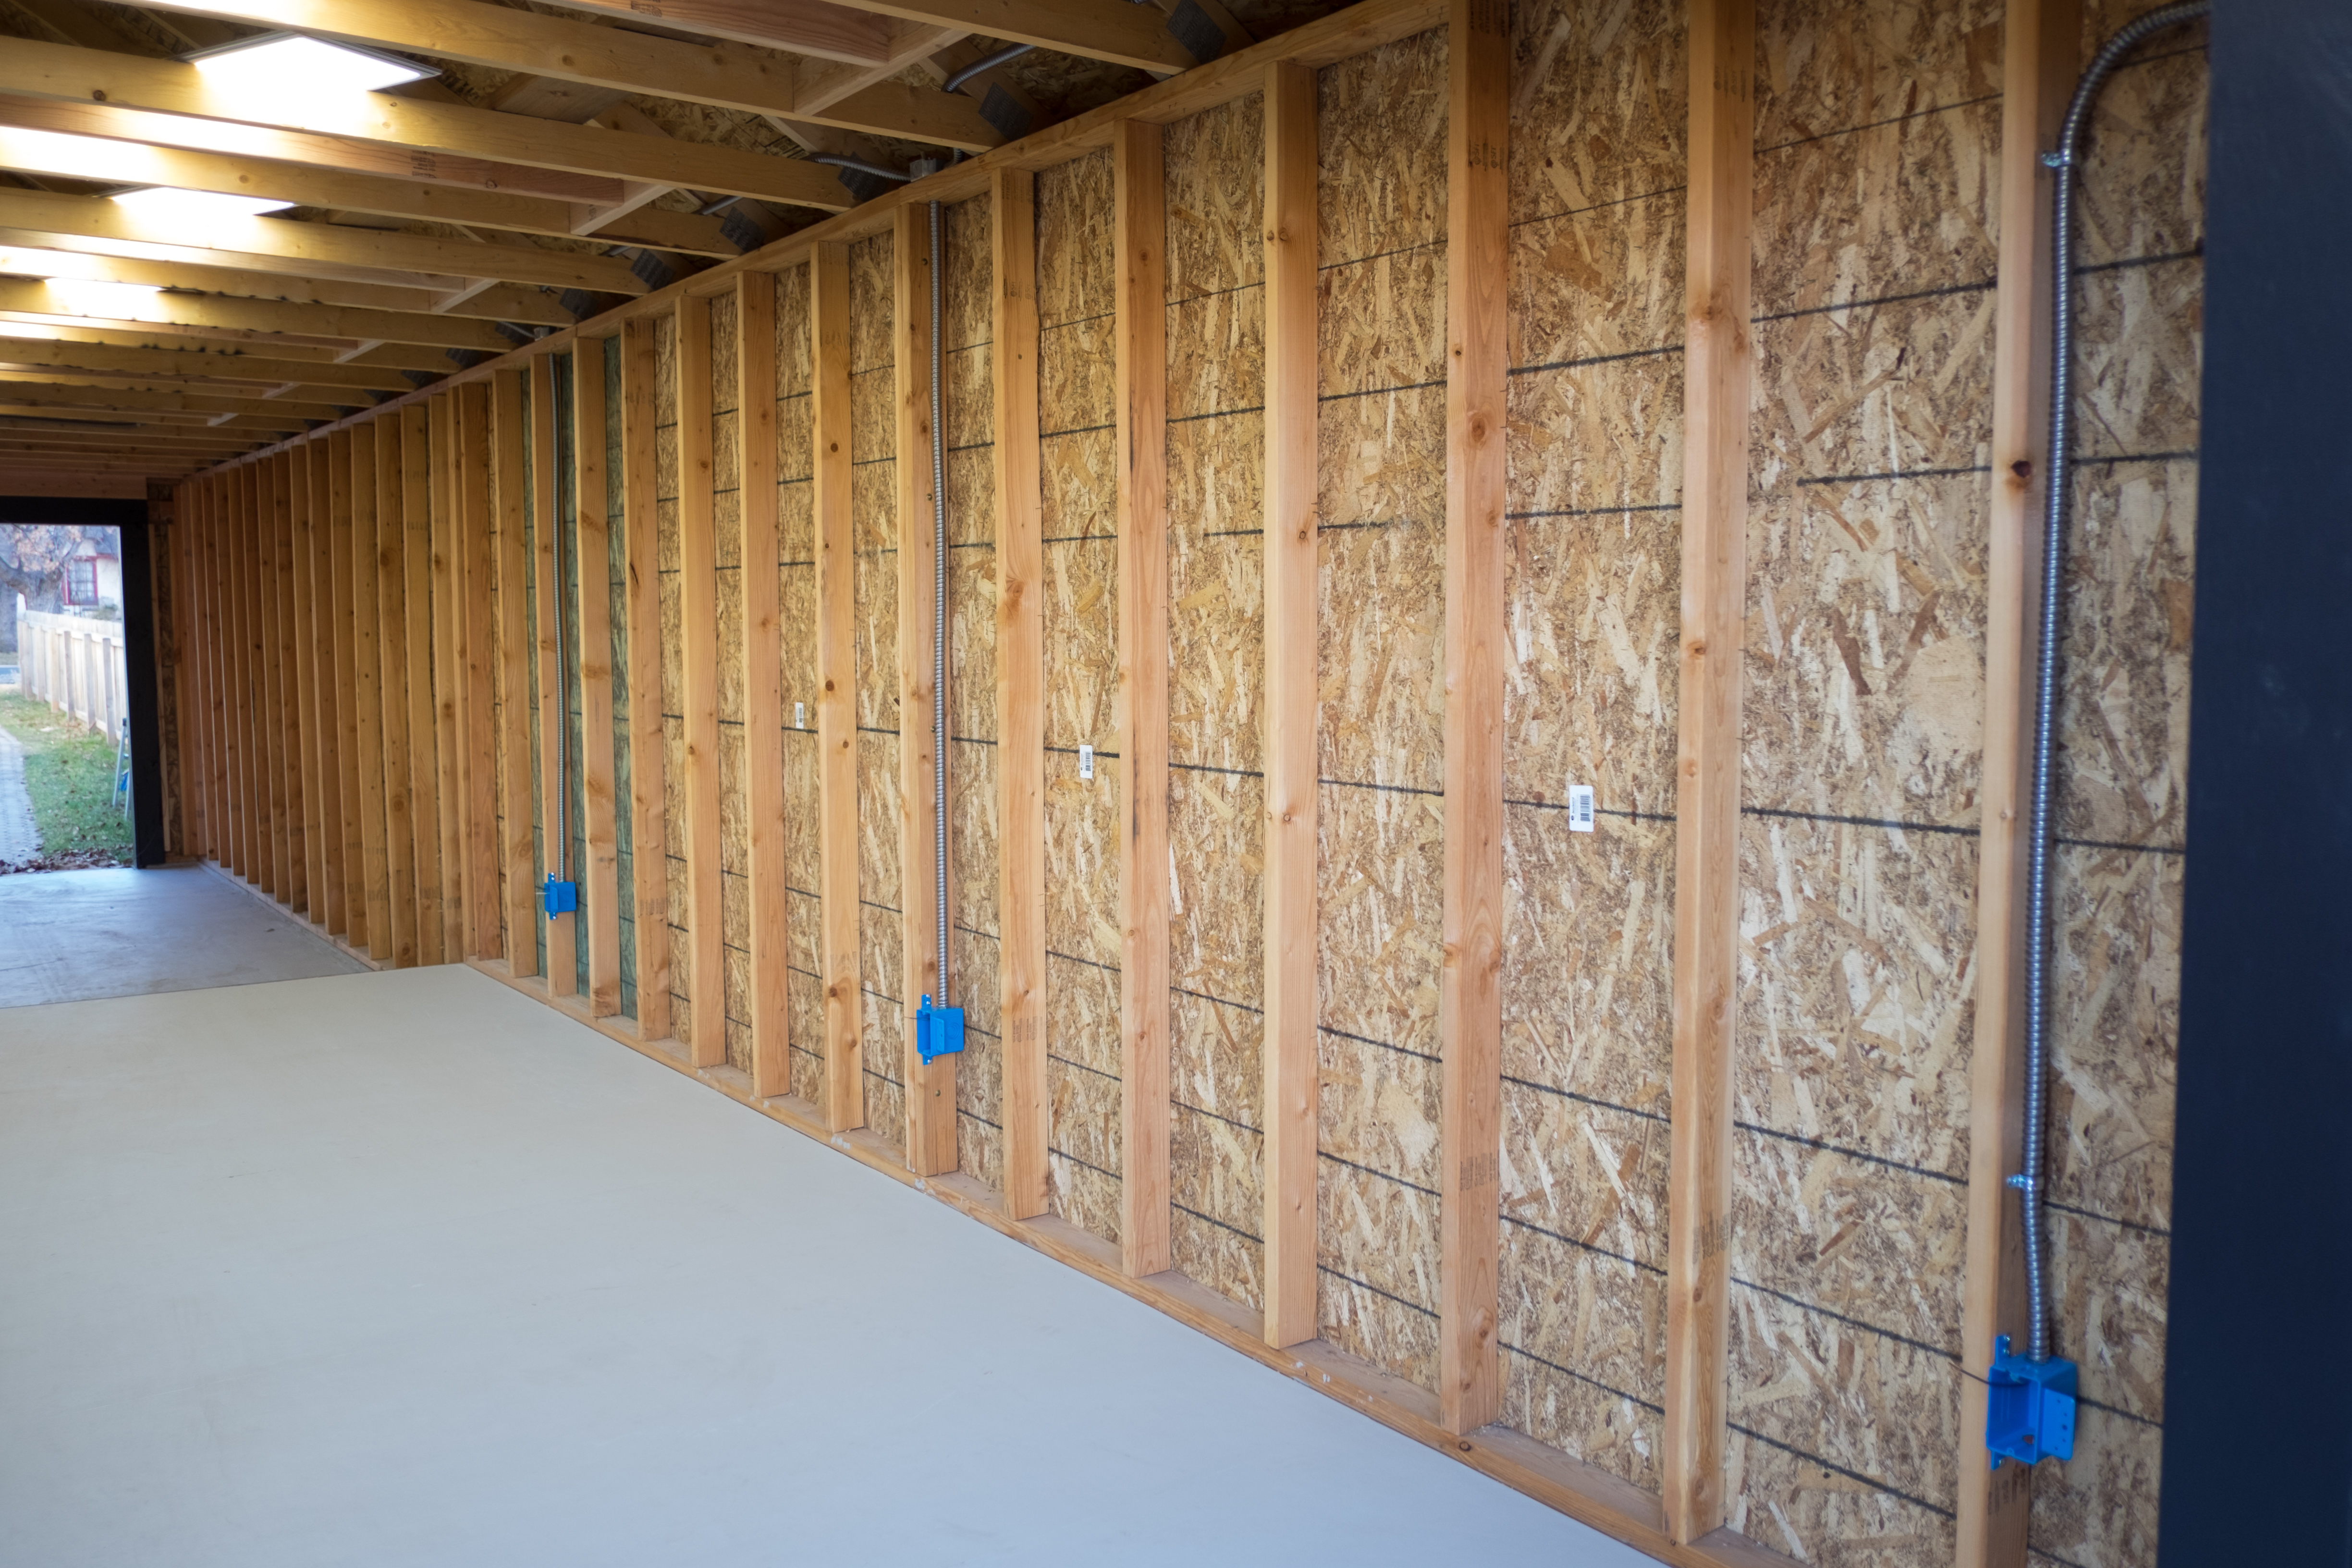
Being finished in the walls, I had some contractors come out to do drywall.

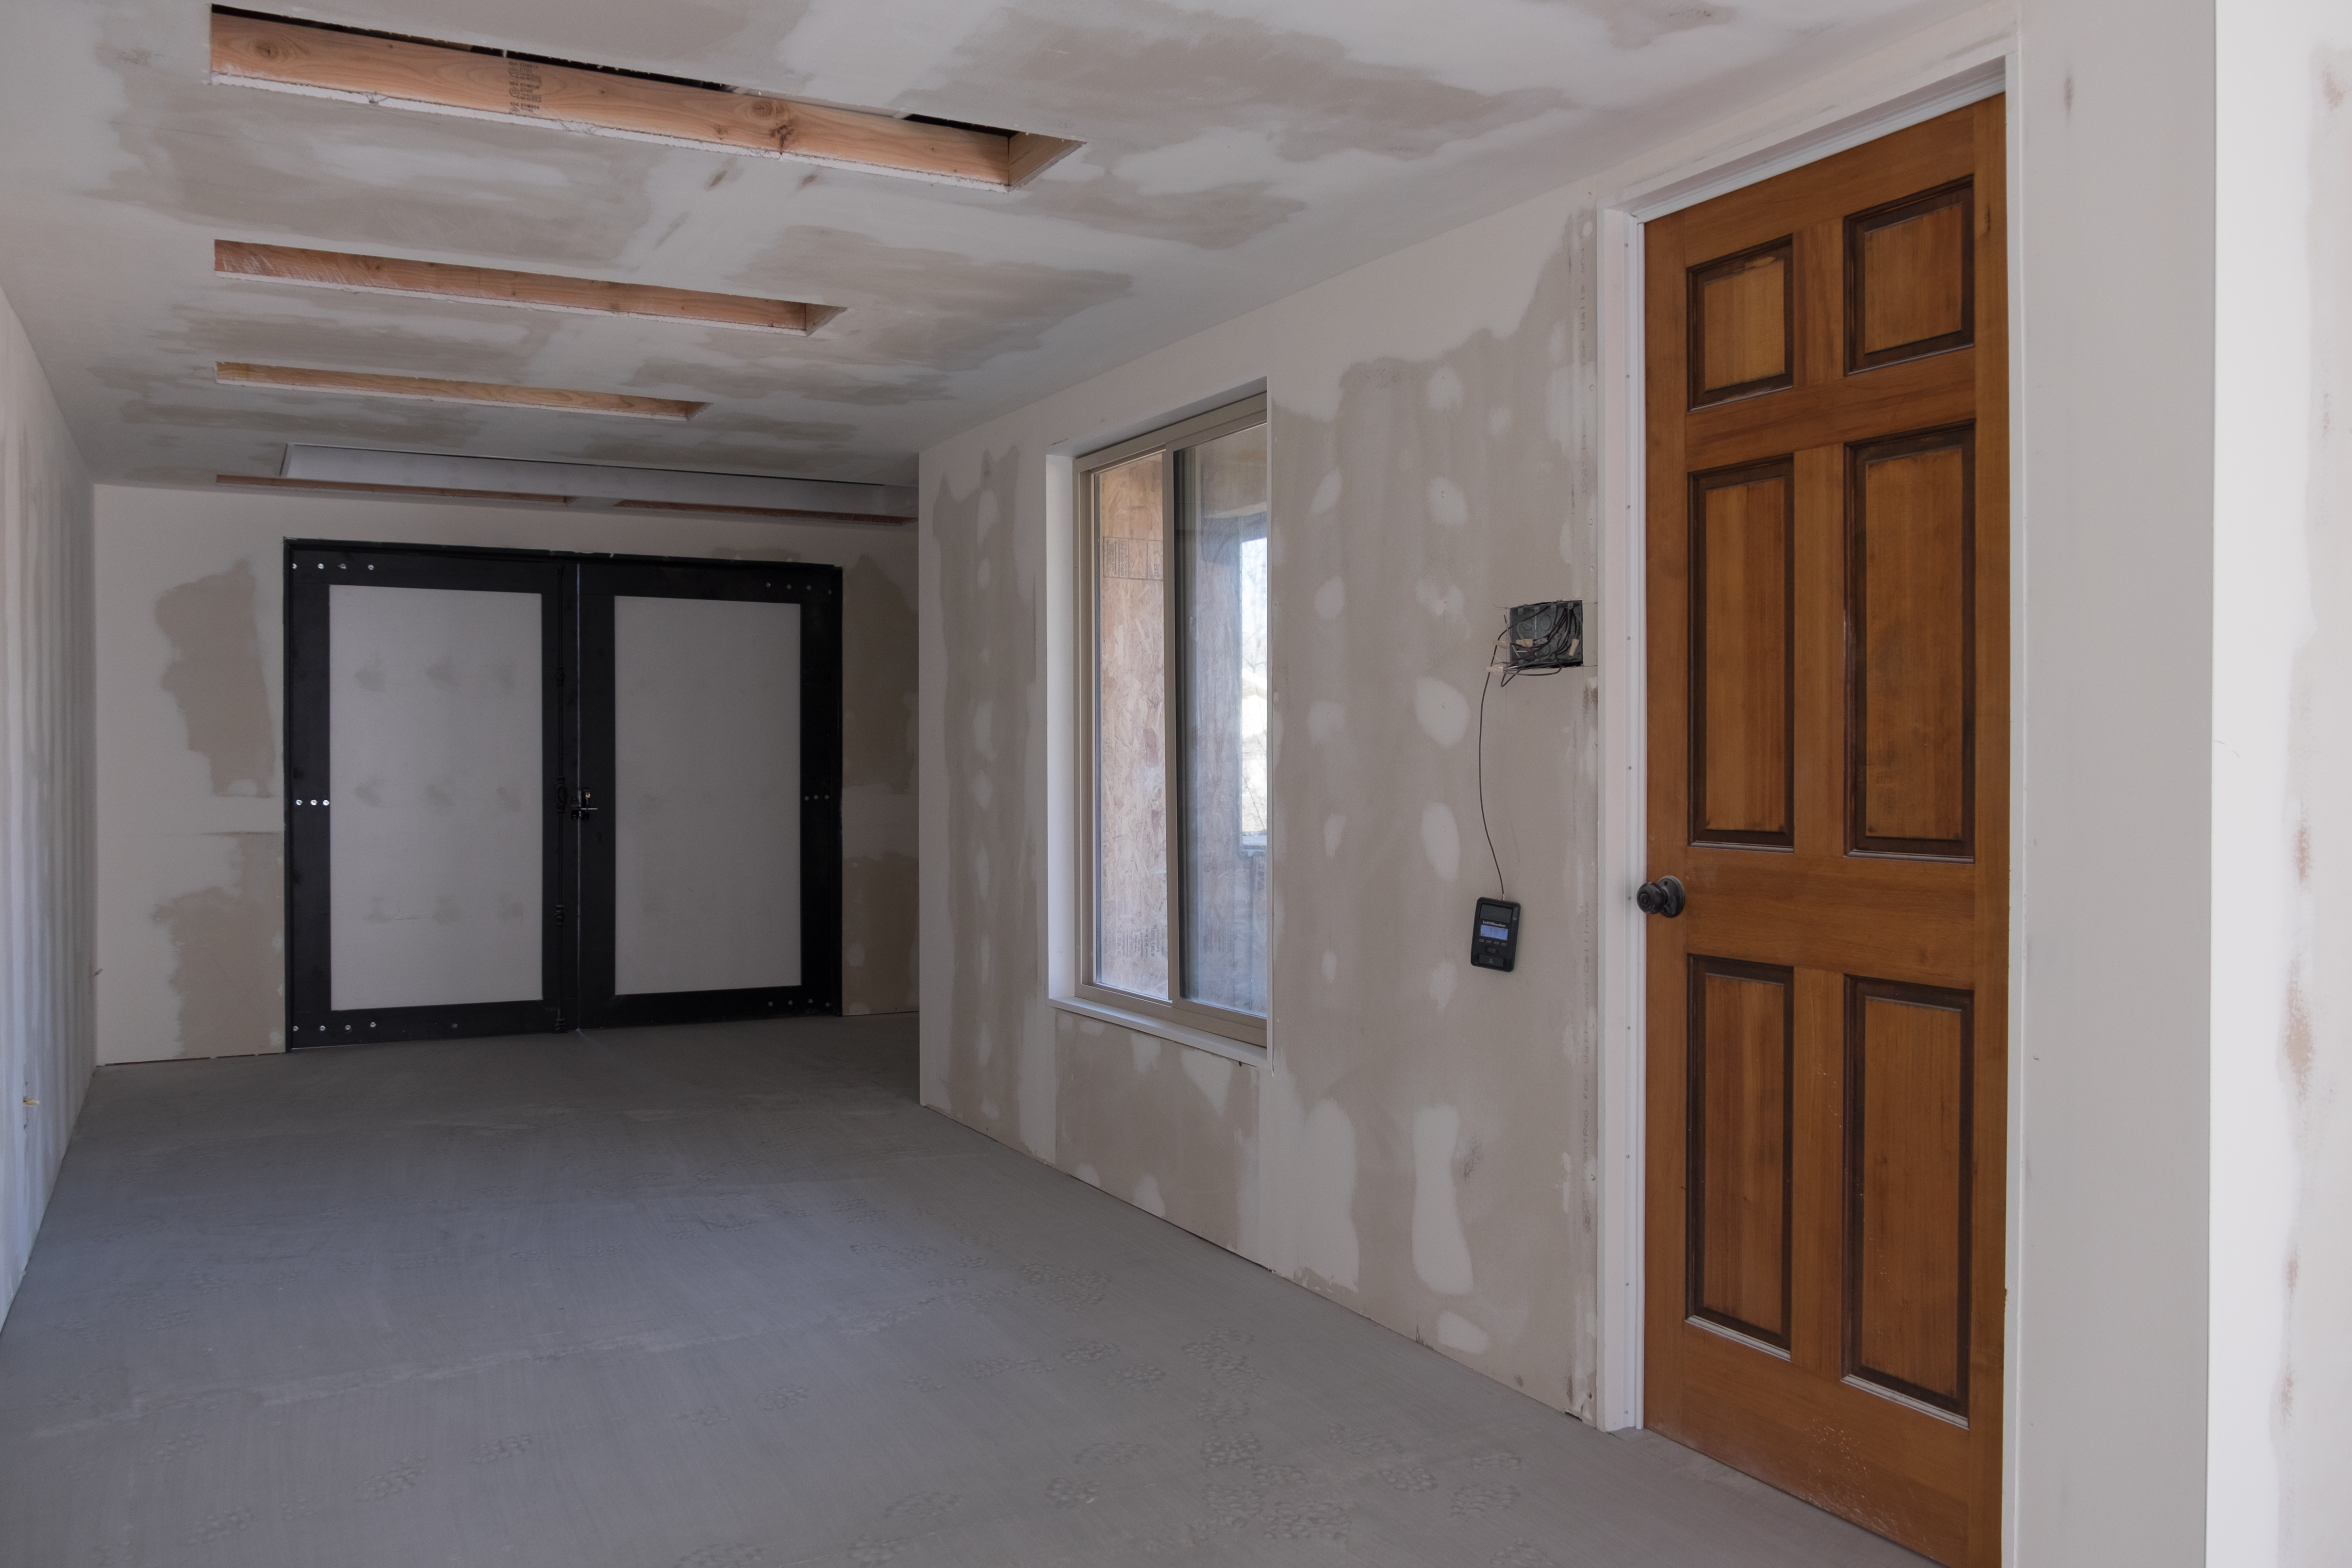
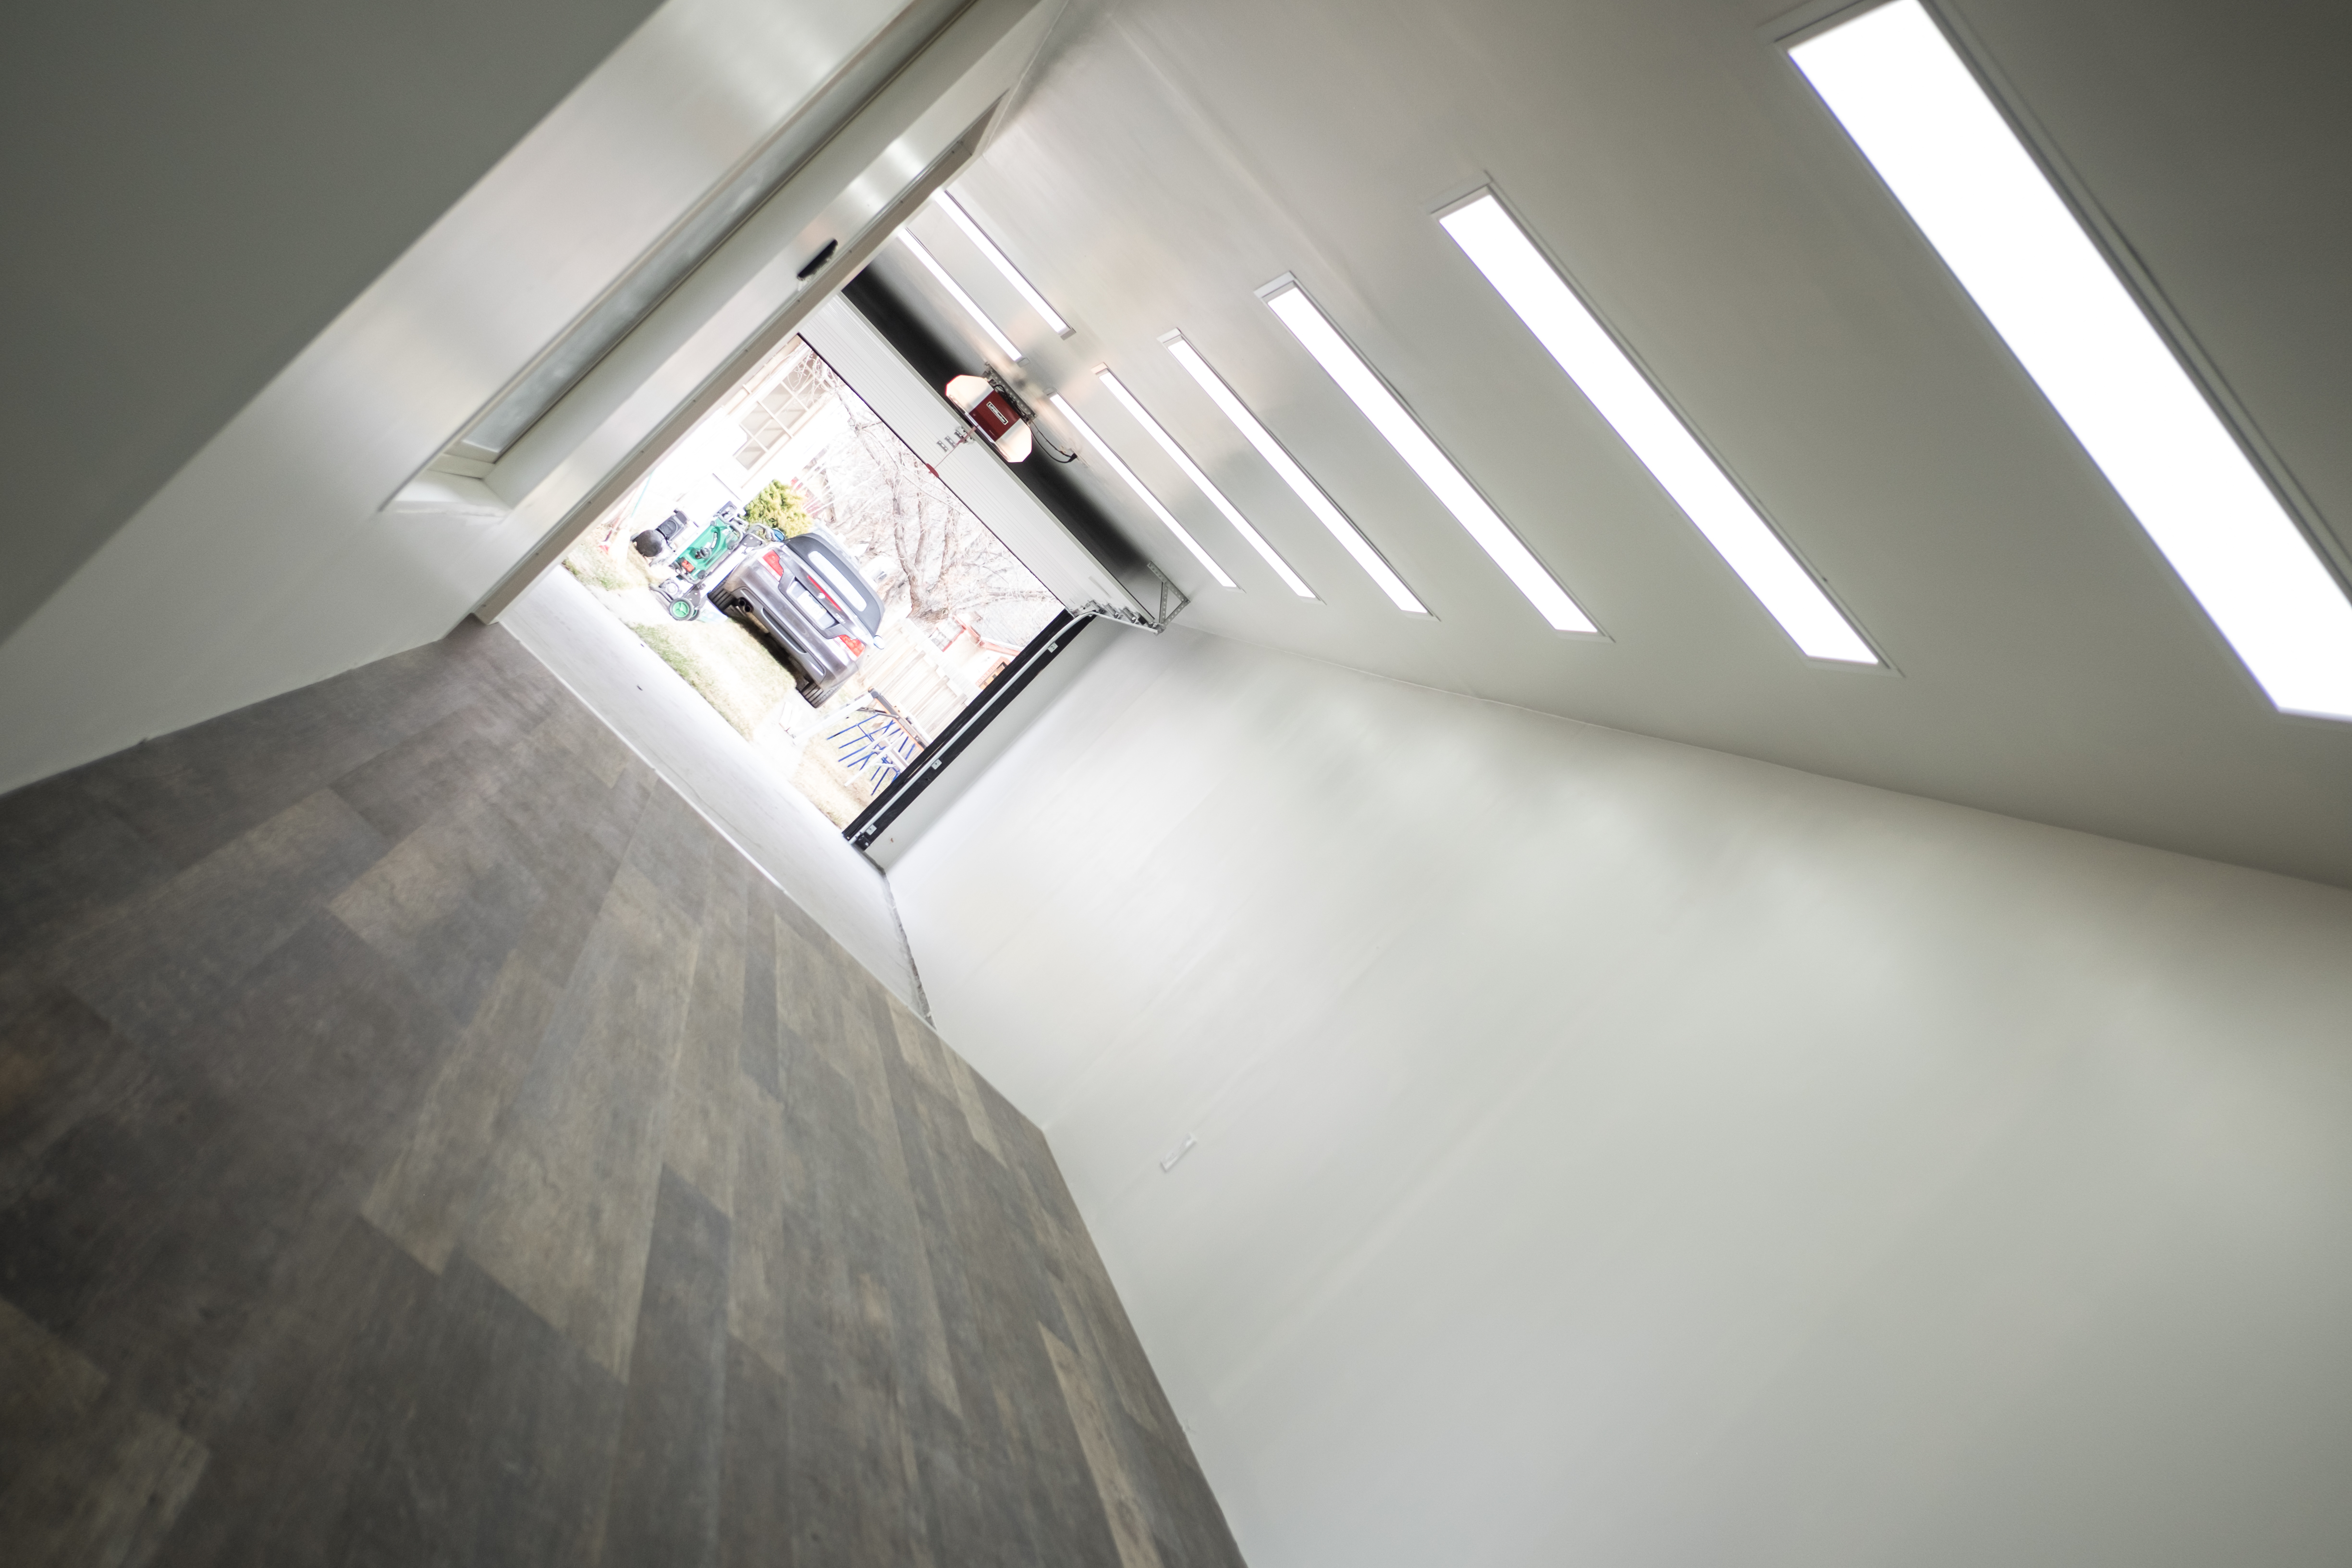
I then installed the lights, had the garage door installed, painted, did the workshop flooring, and put up the remaining doors.

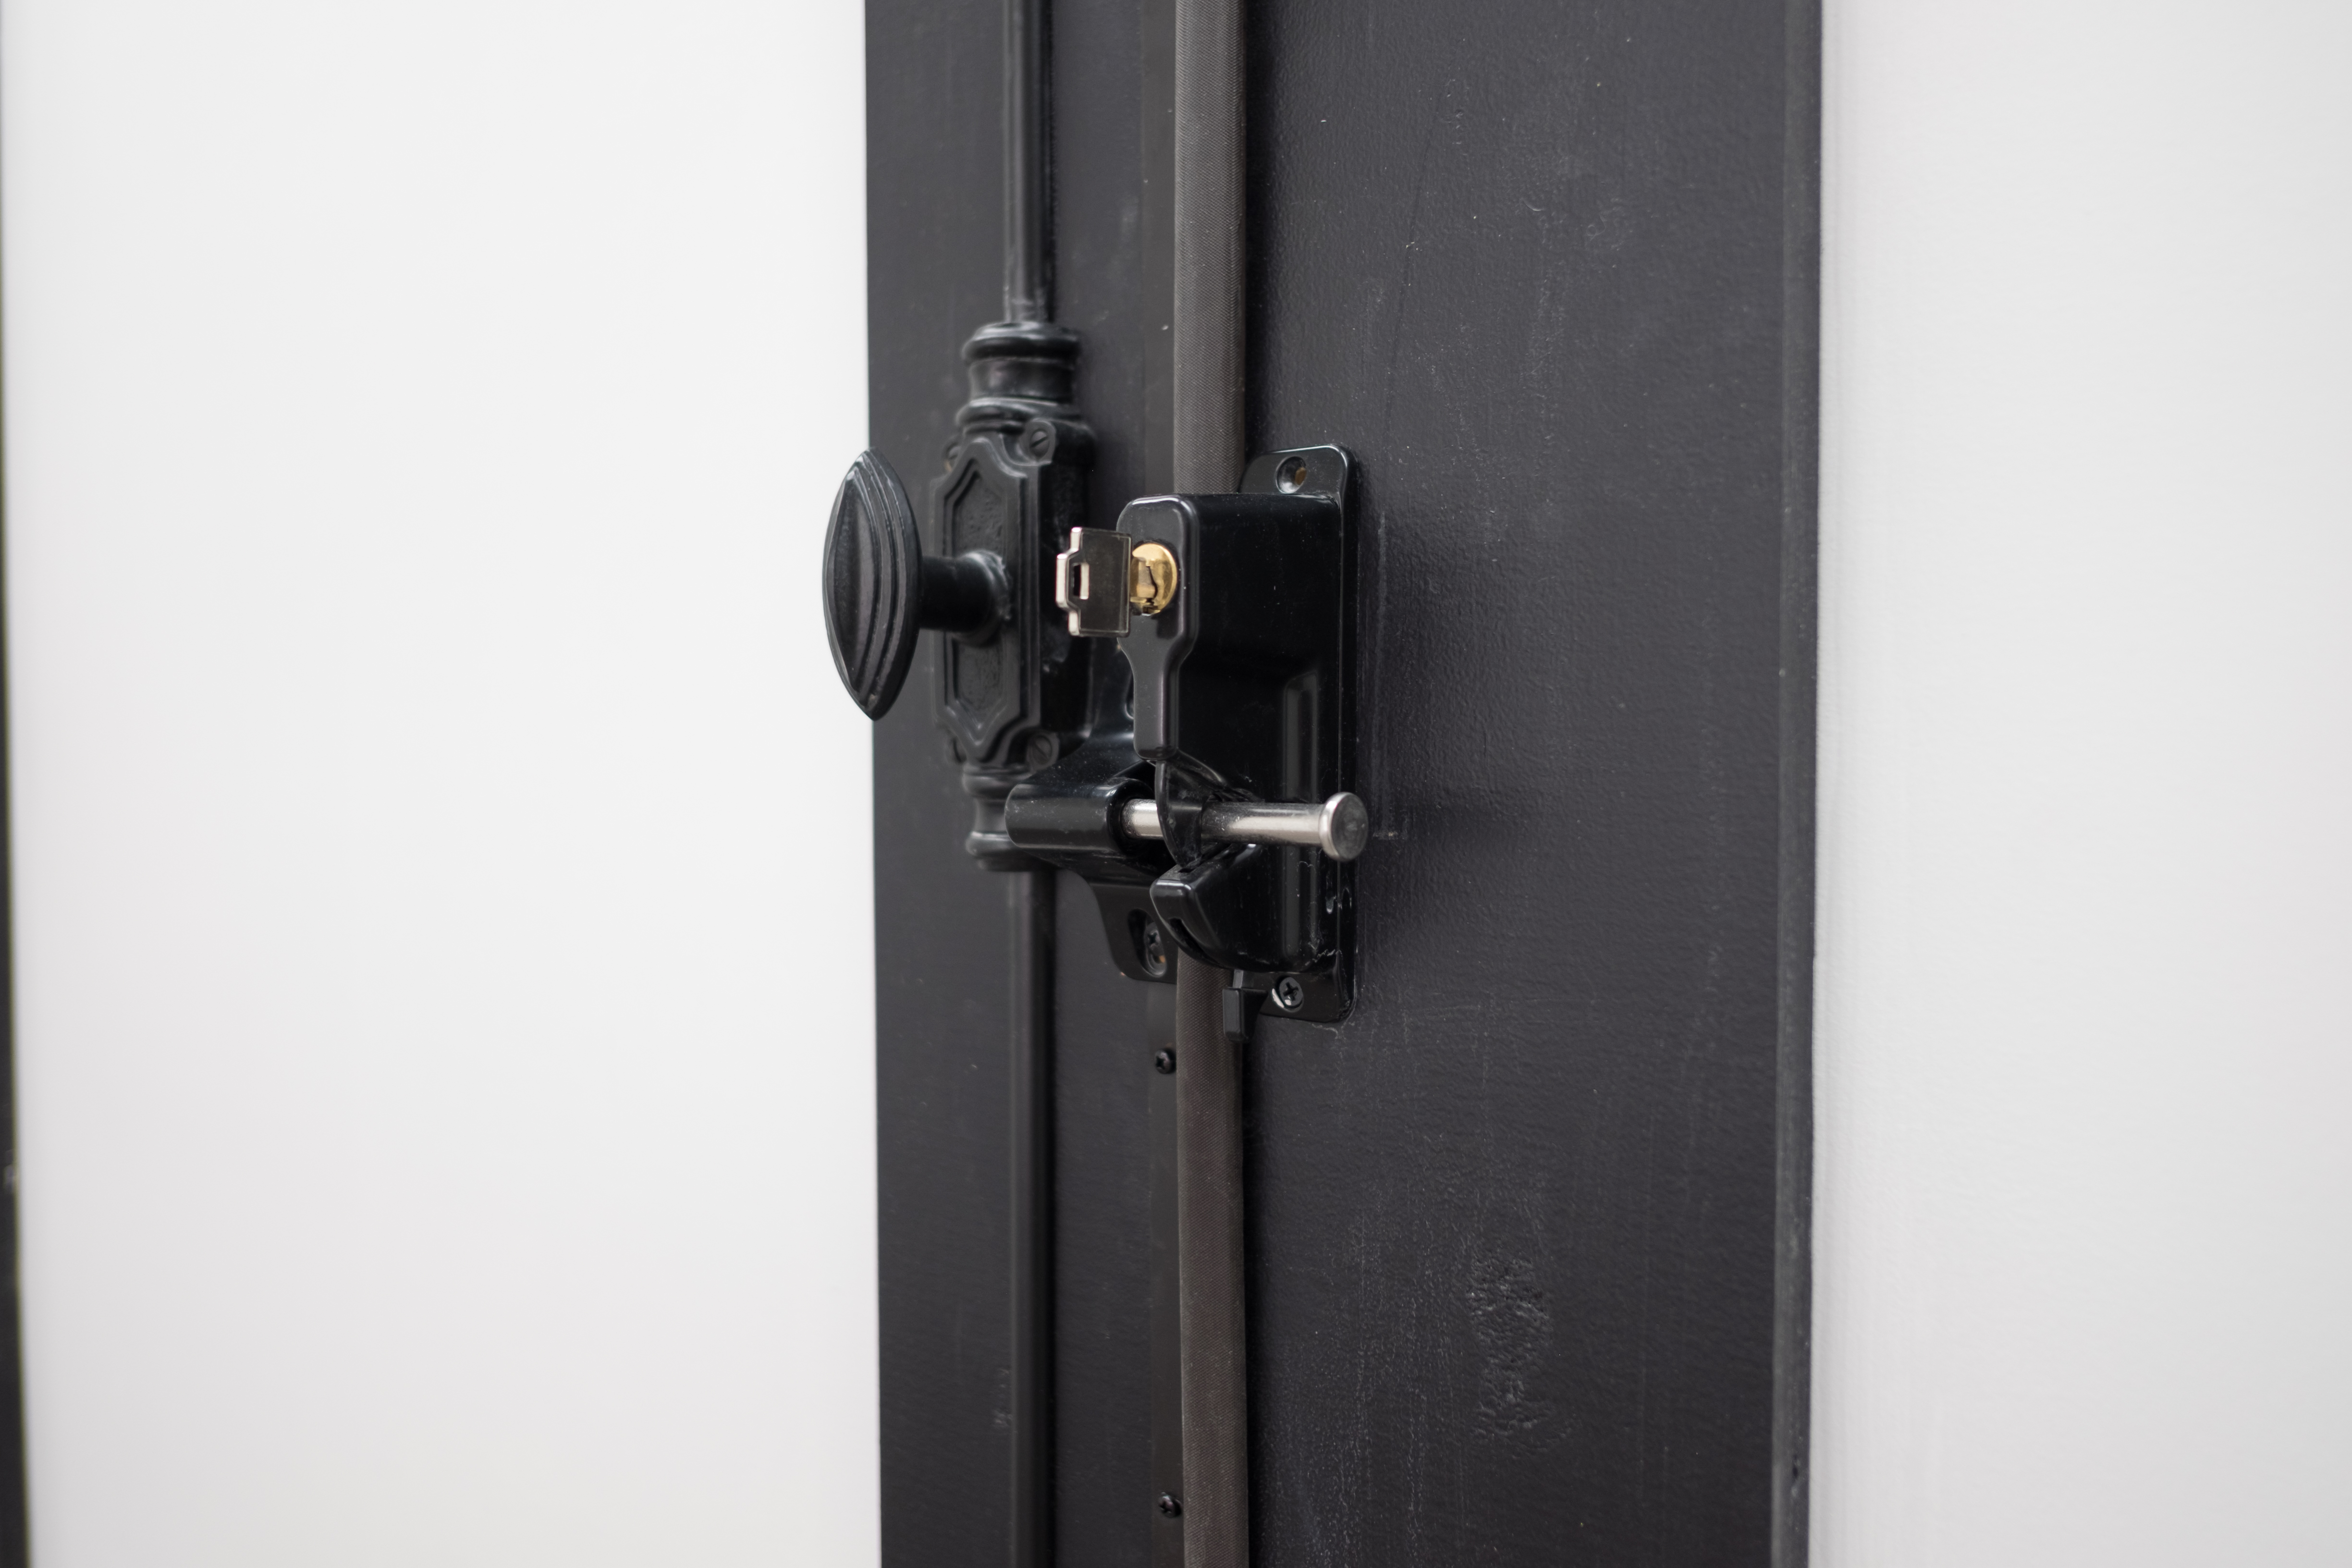
I had to get crafty with my french doors. To make it extra sturdy and secure, I used a cremone bolt on one side, which allows the handle to move iron rods through the top and bottom of the frame. I used gate hardware on the other side, allowing keyed access from the outside as well.
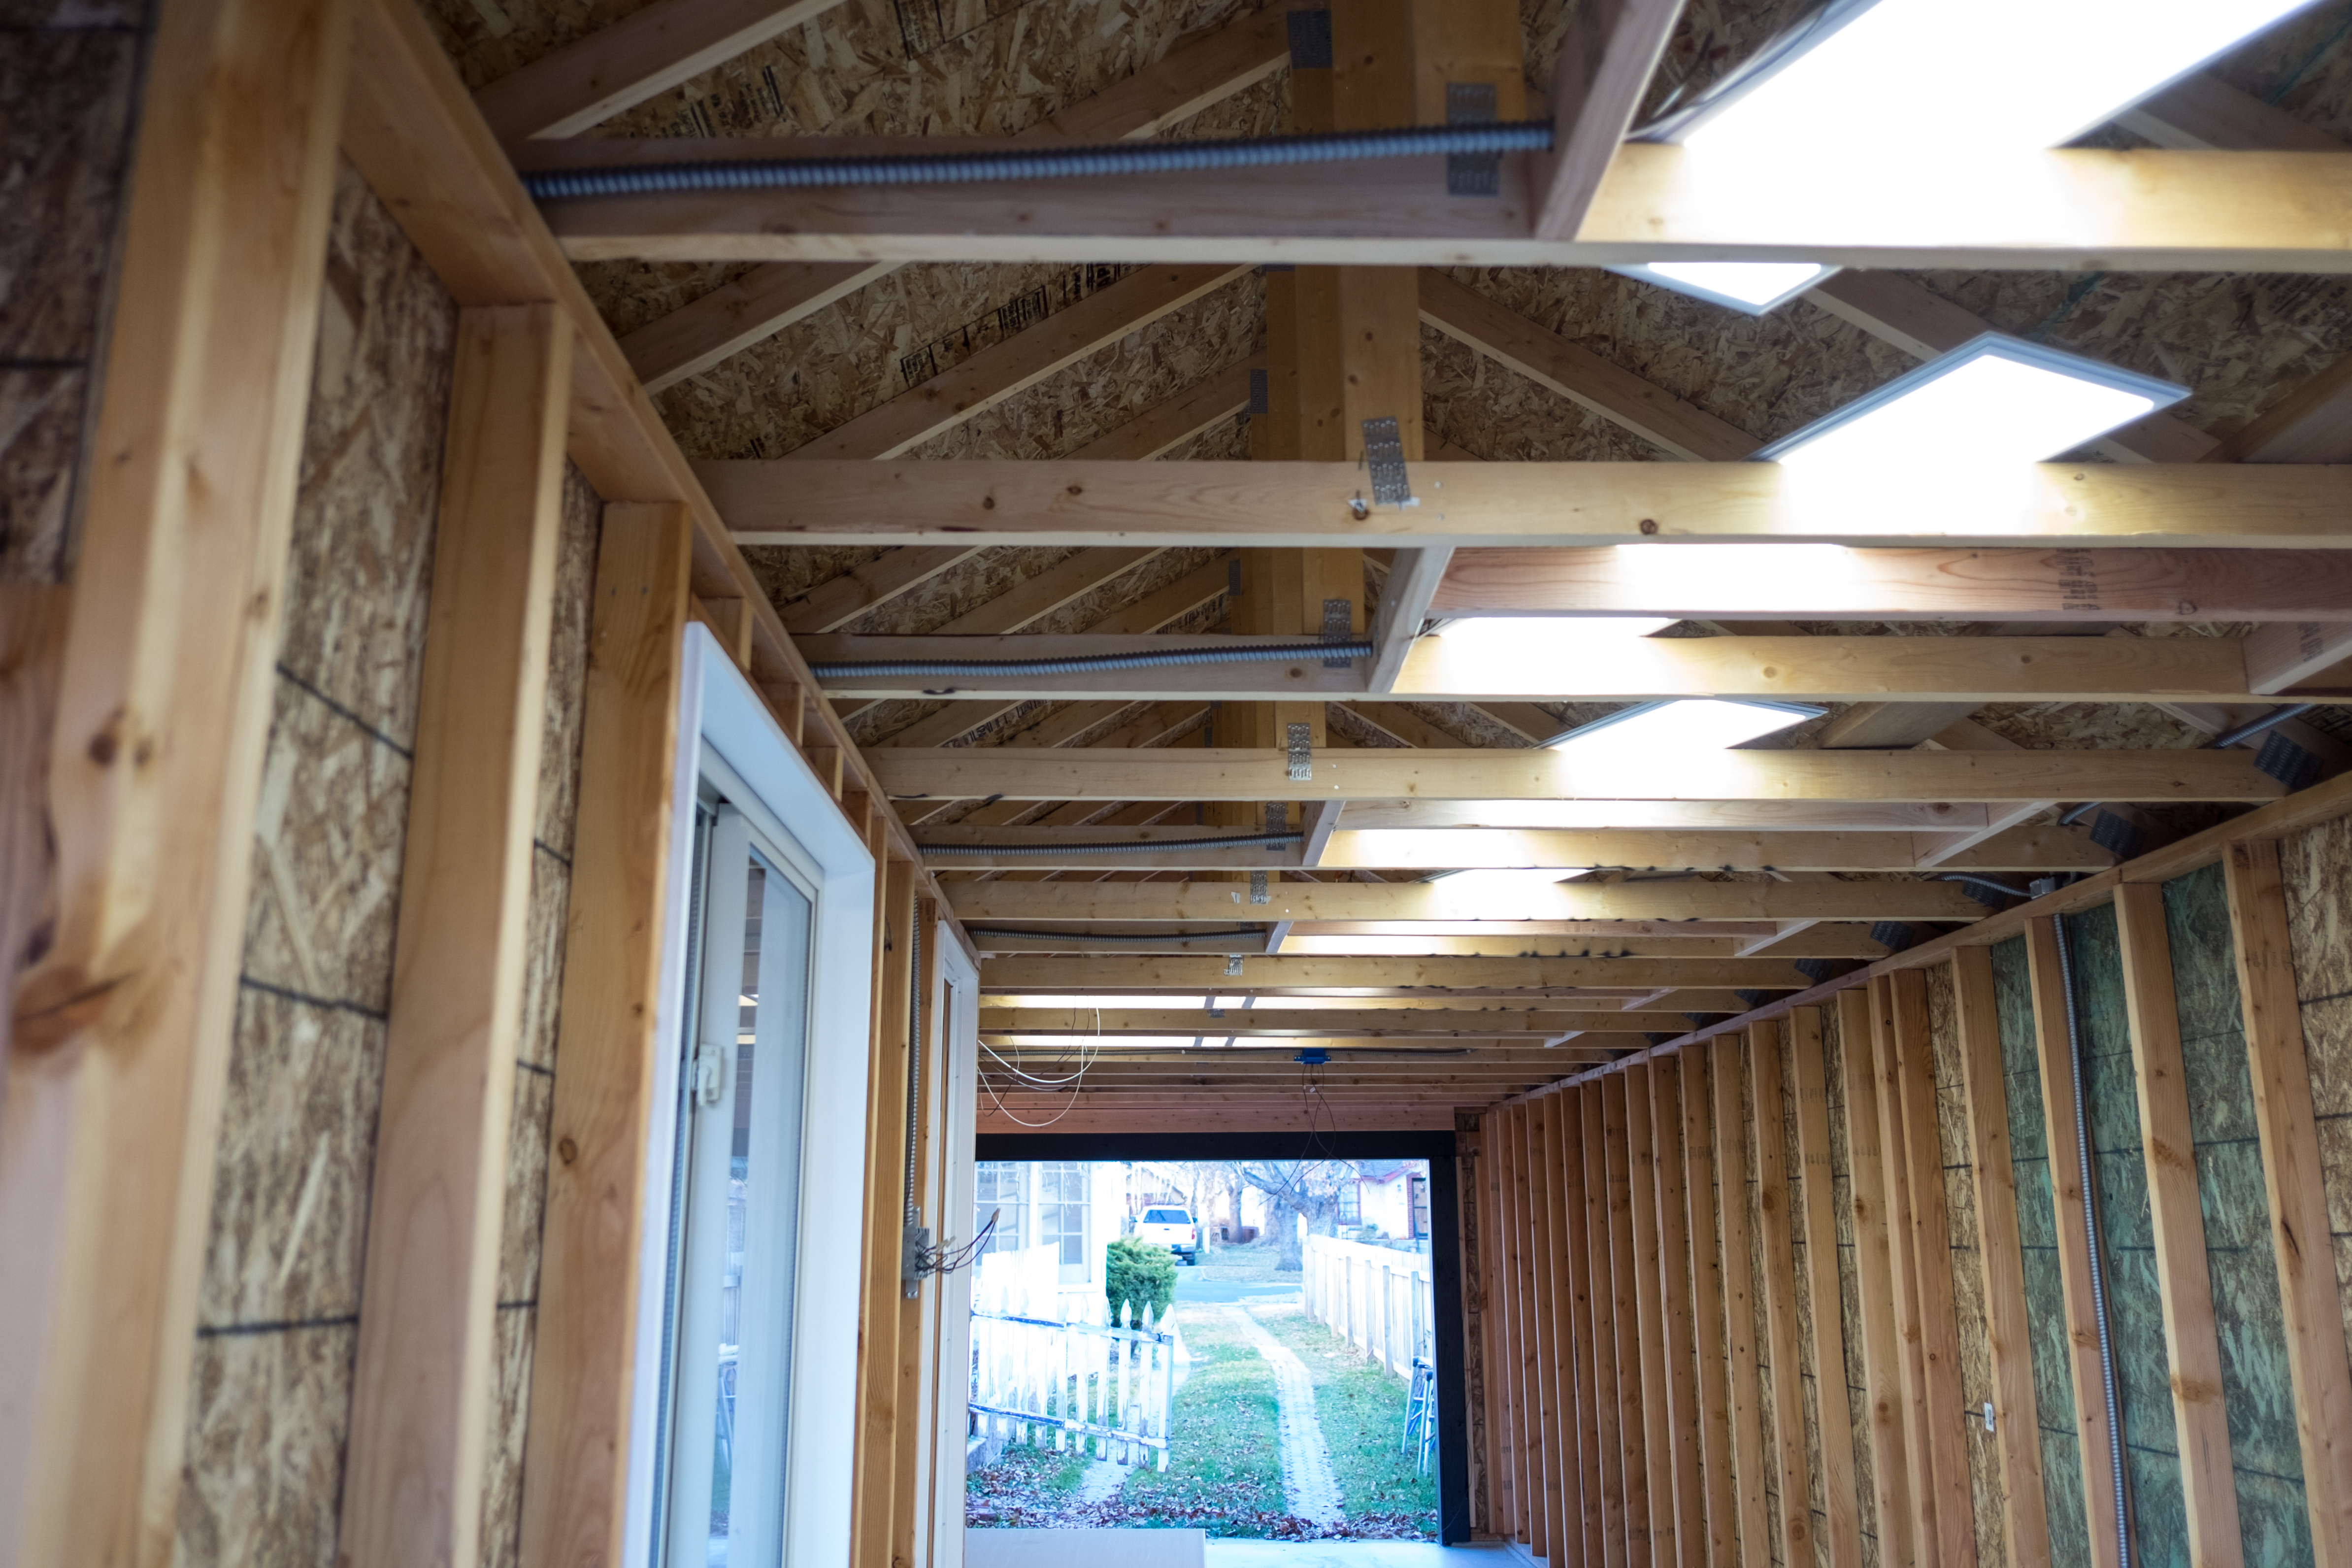
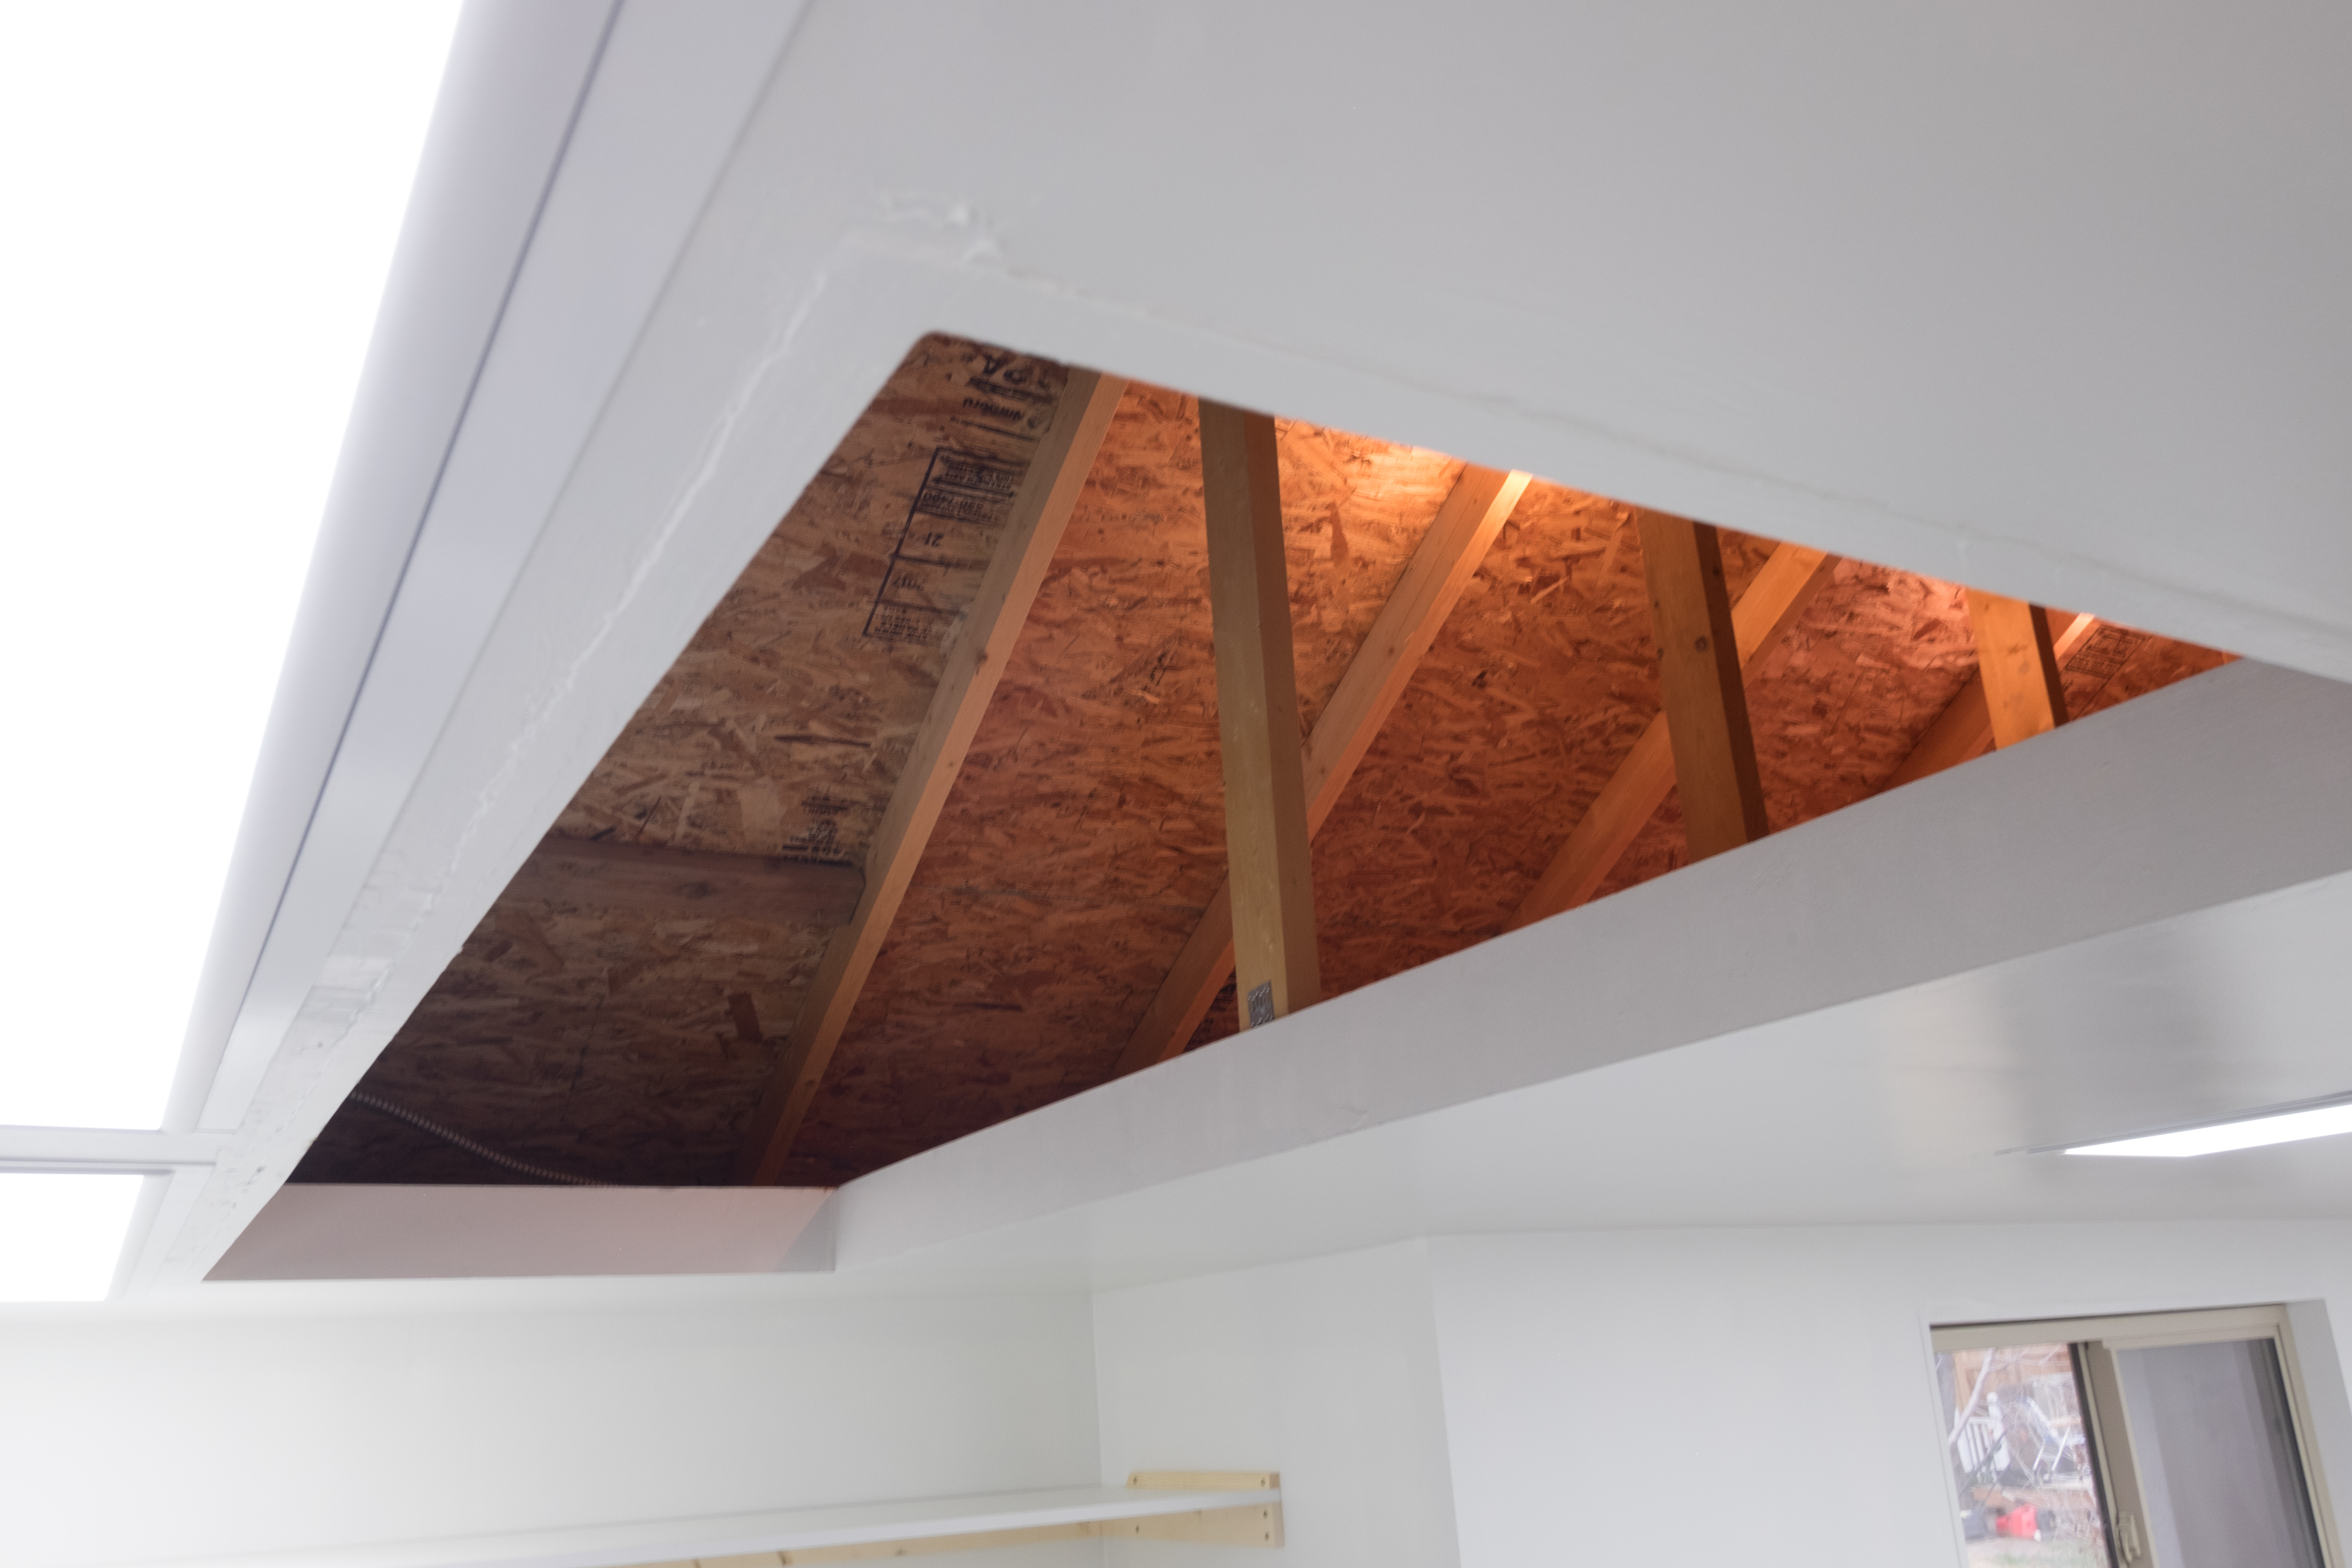
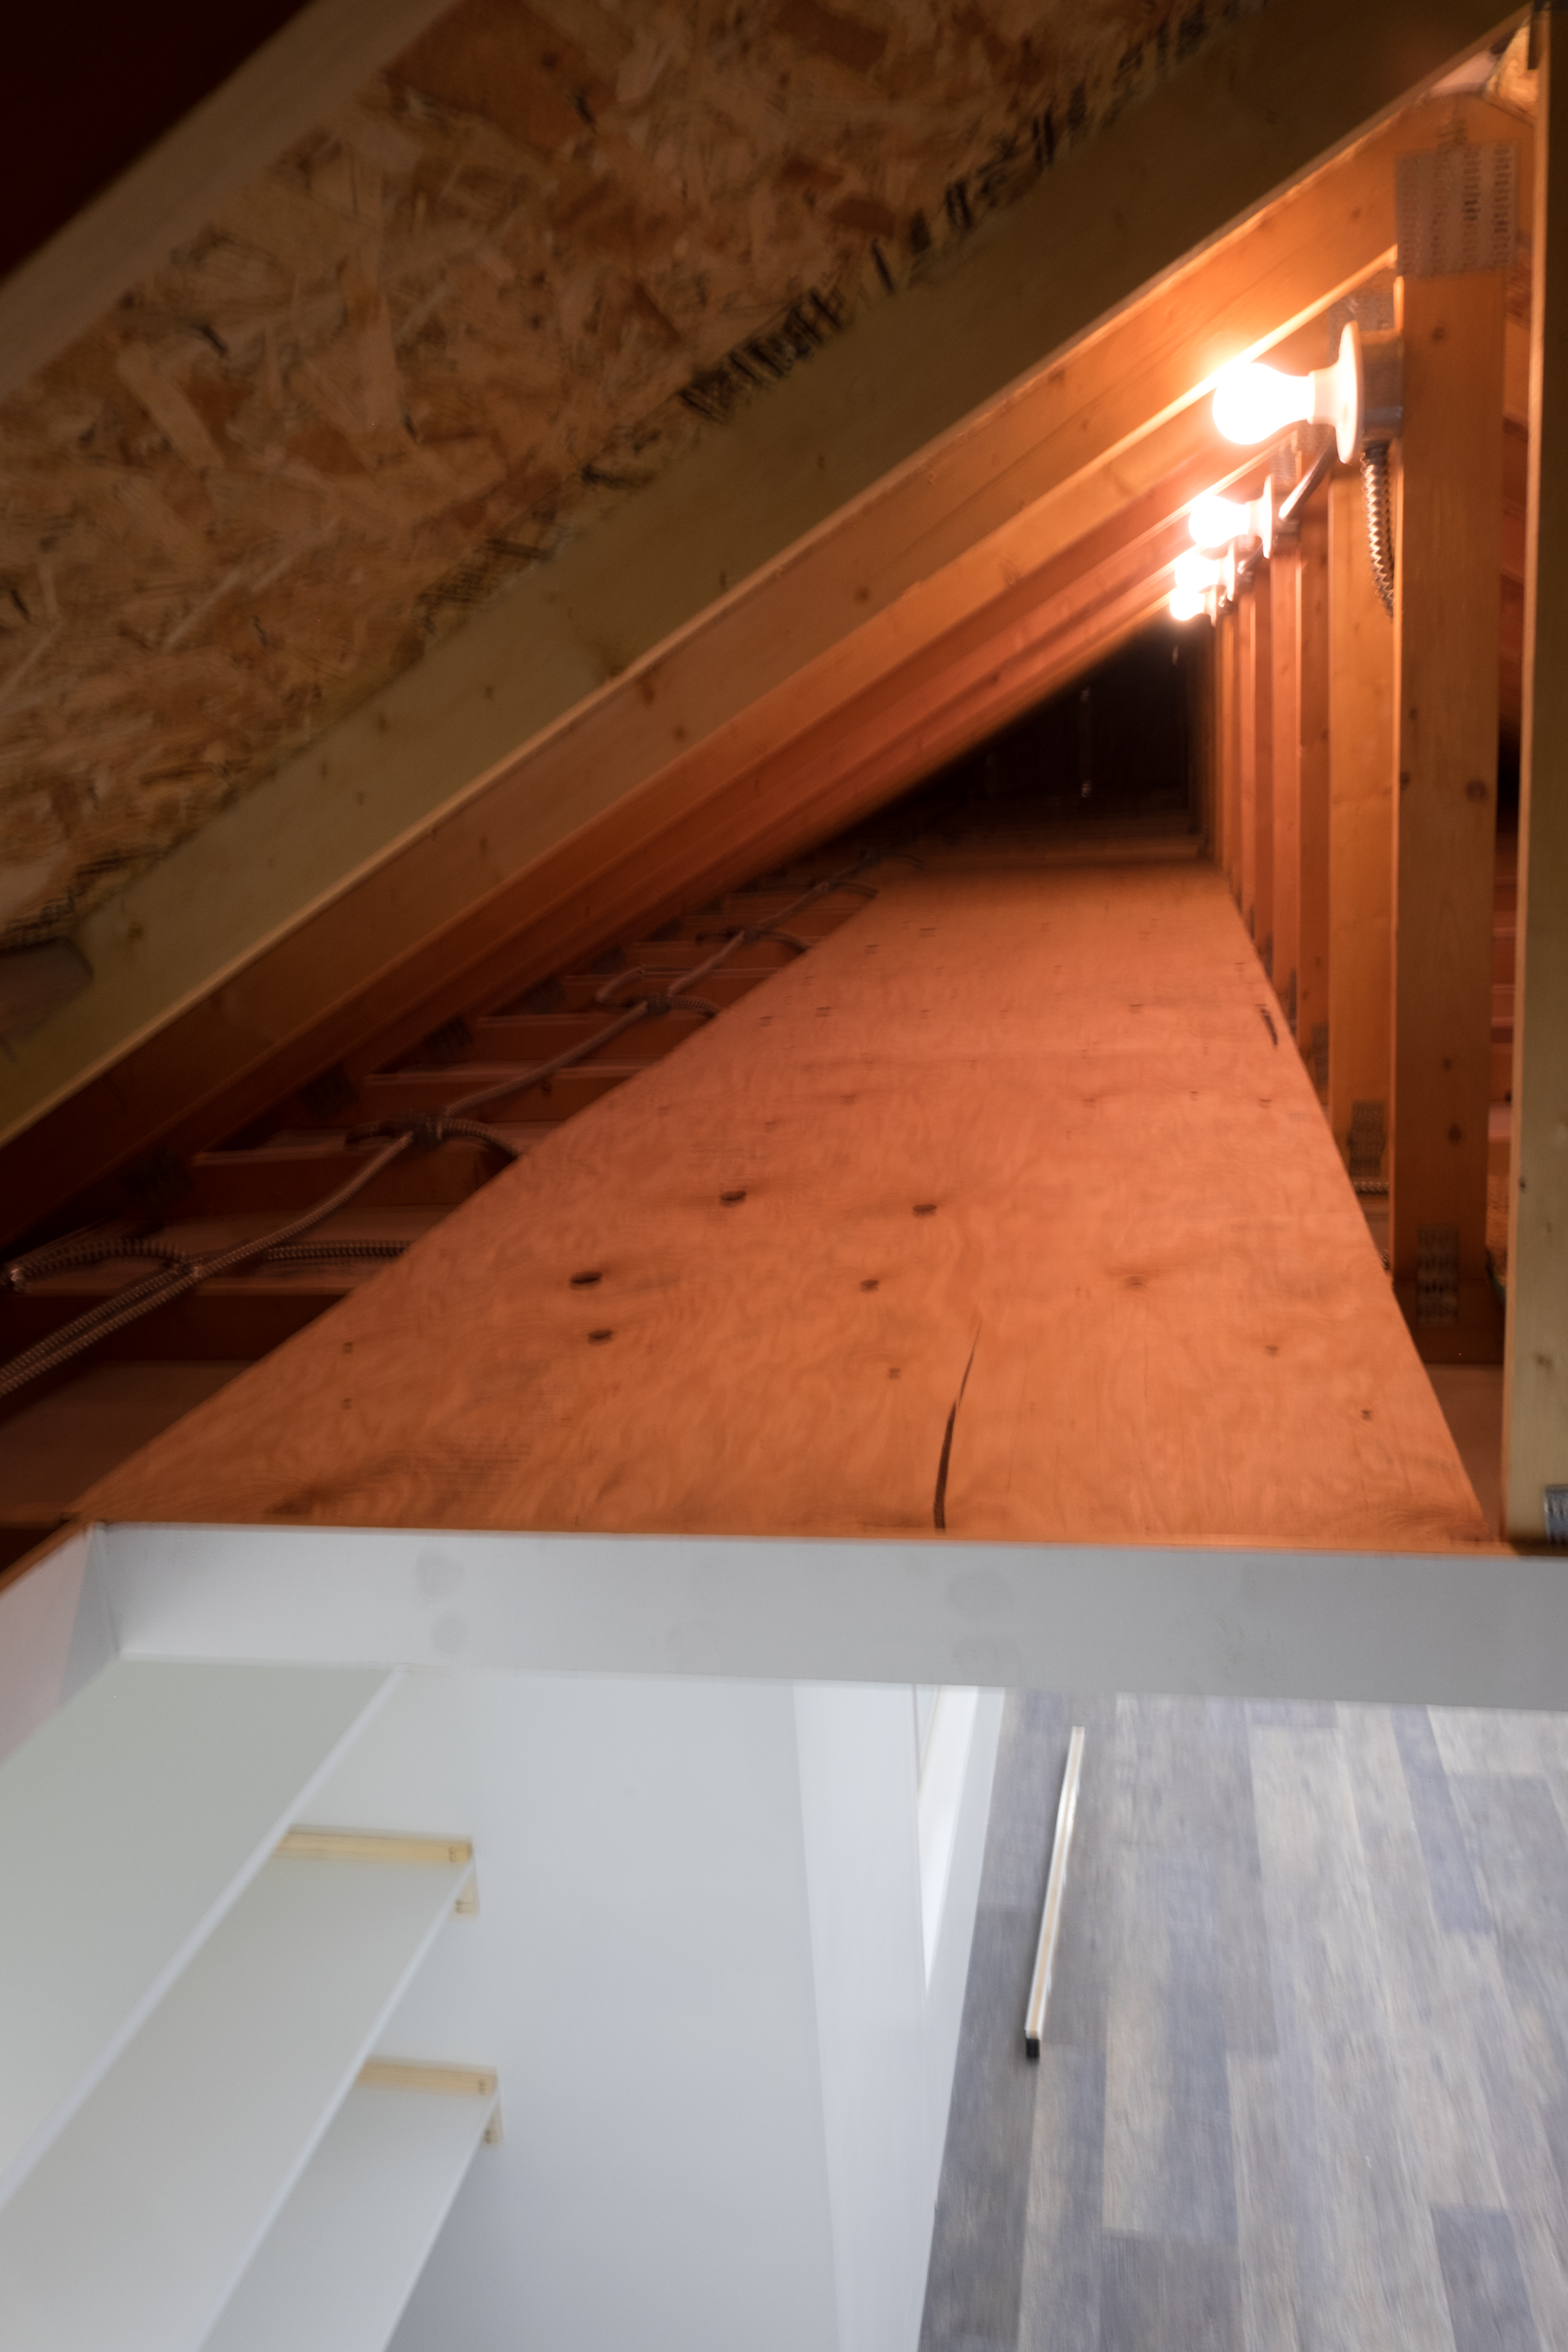
I wanted attic storage with easy access, so I included a wide opening. I designed this precisely where I could move wood in and out of the attic. With the back doors open, a 16 foot plank can be slid into the attic. On one side, I added a floor for storing boxes, with lights illuminating the area.


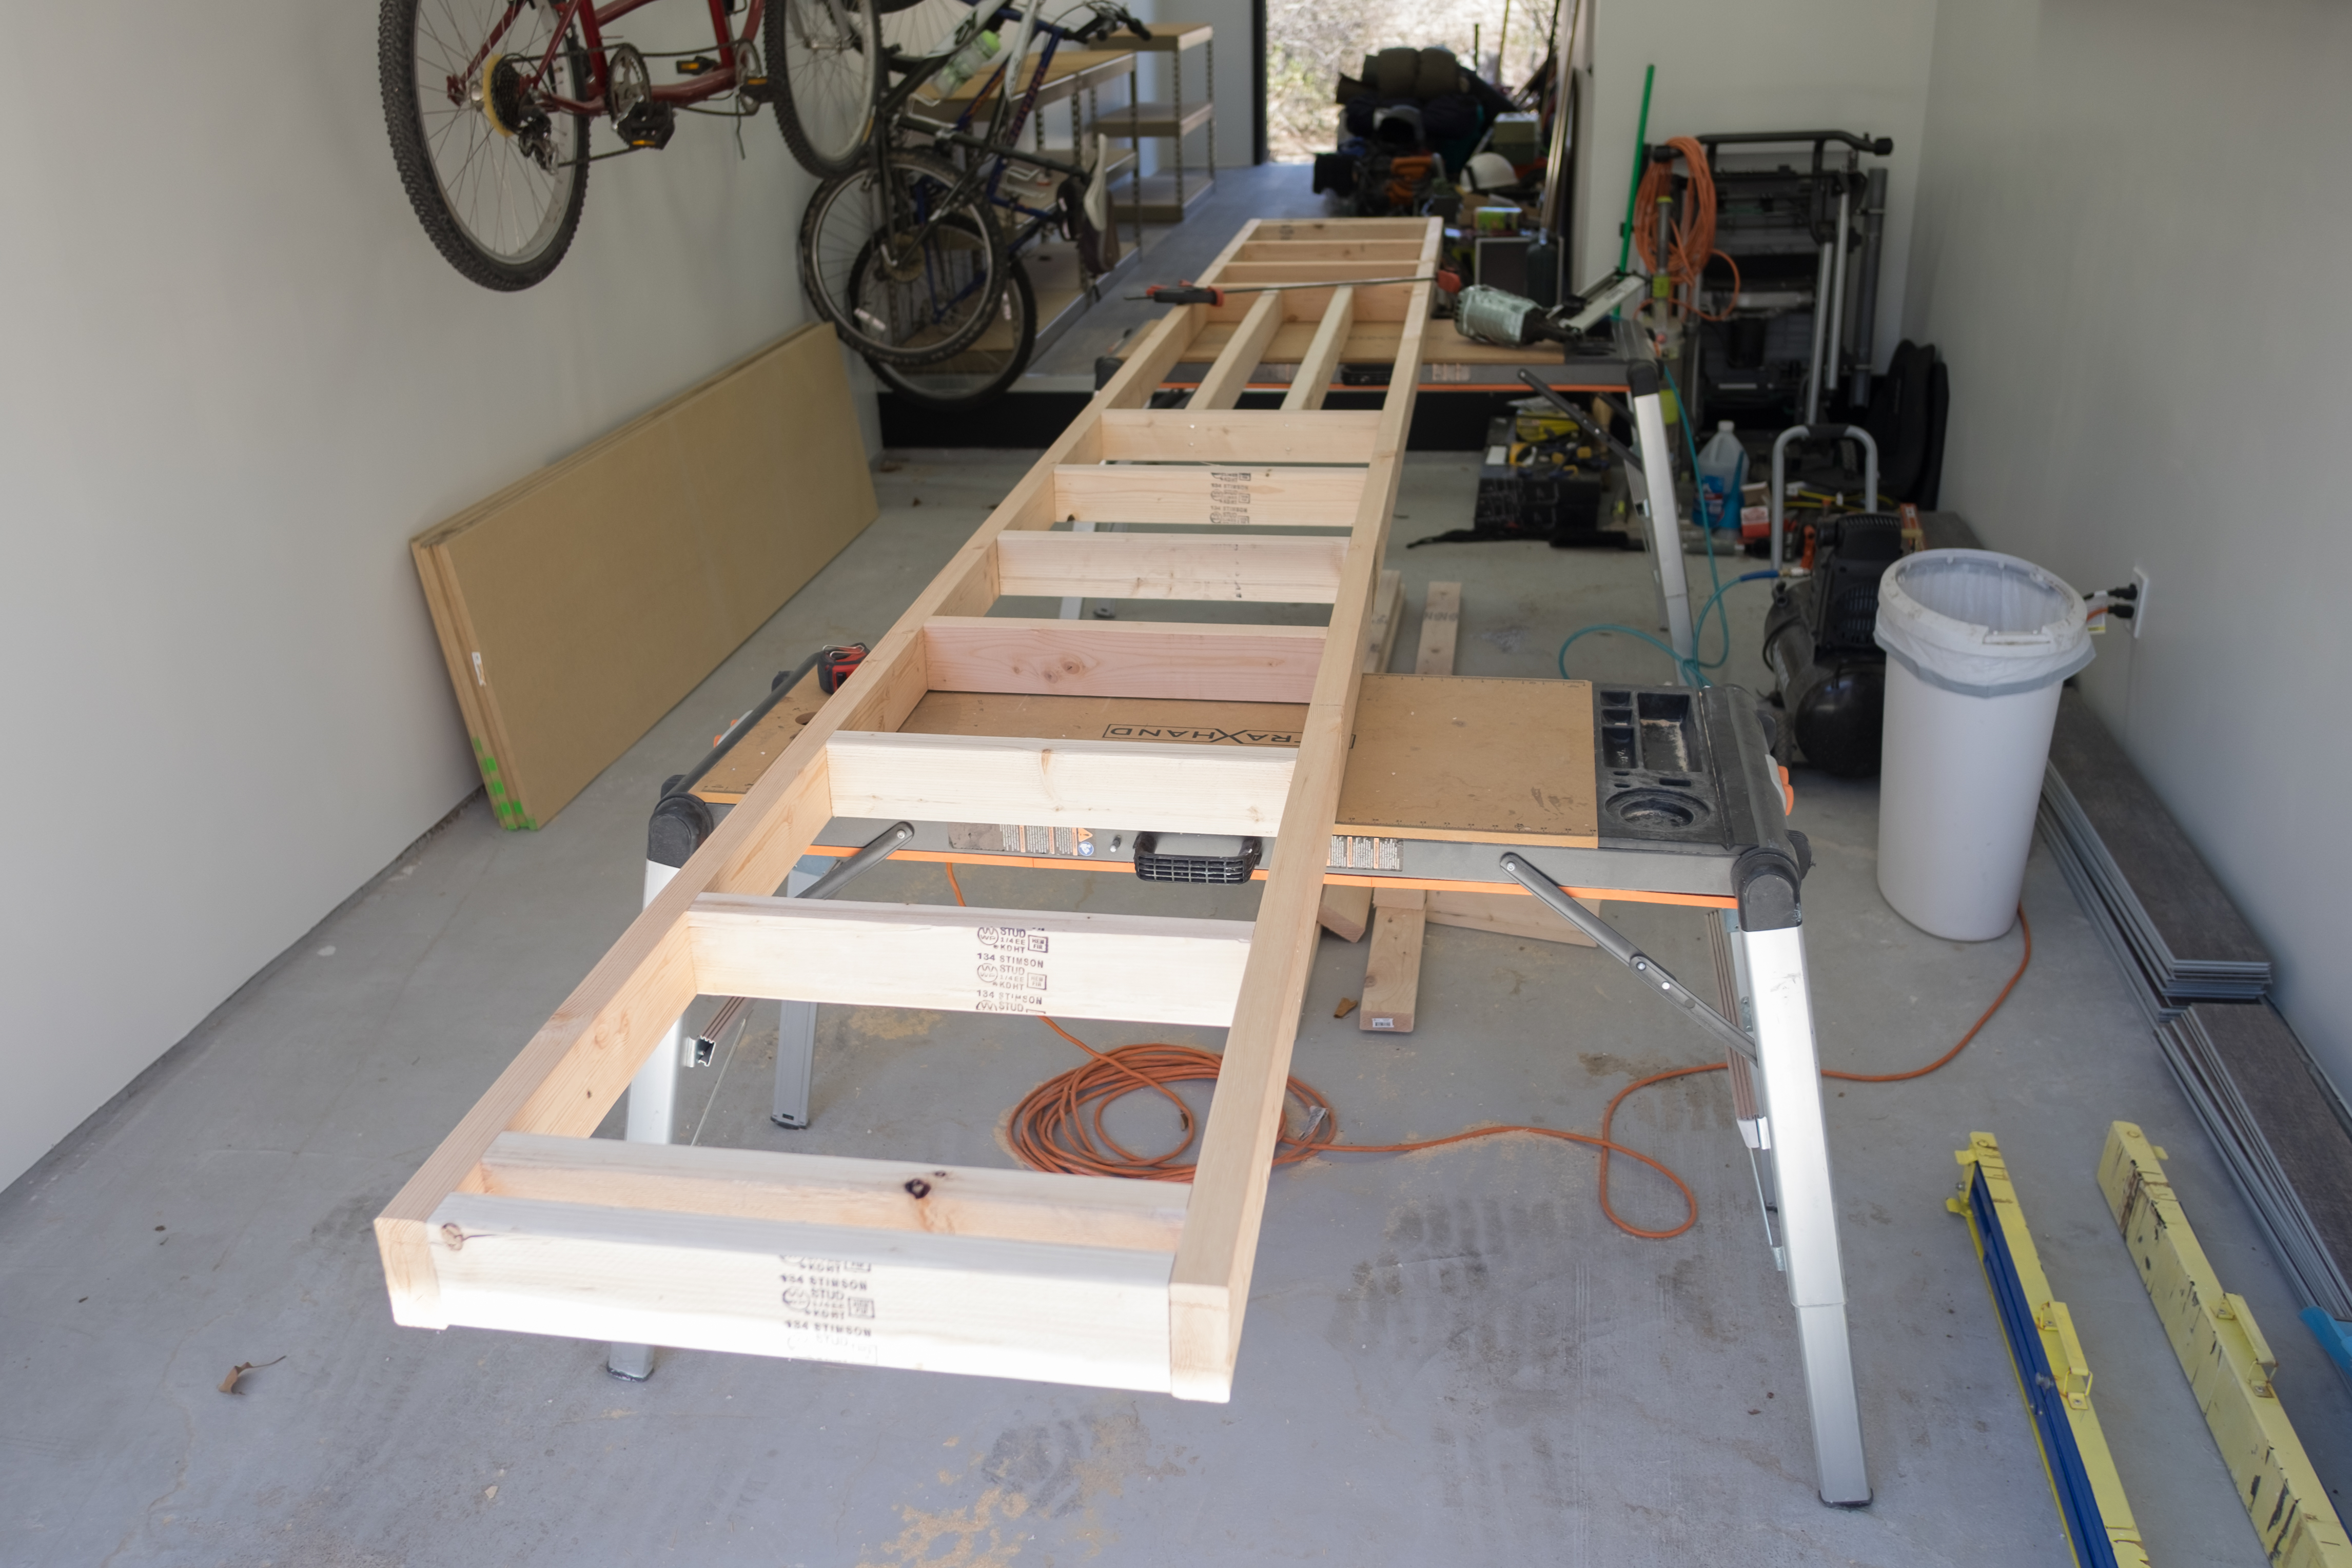
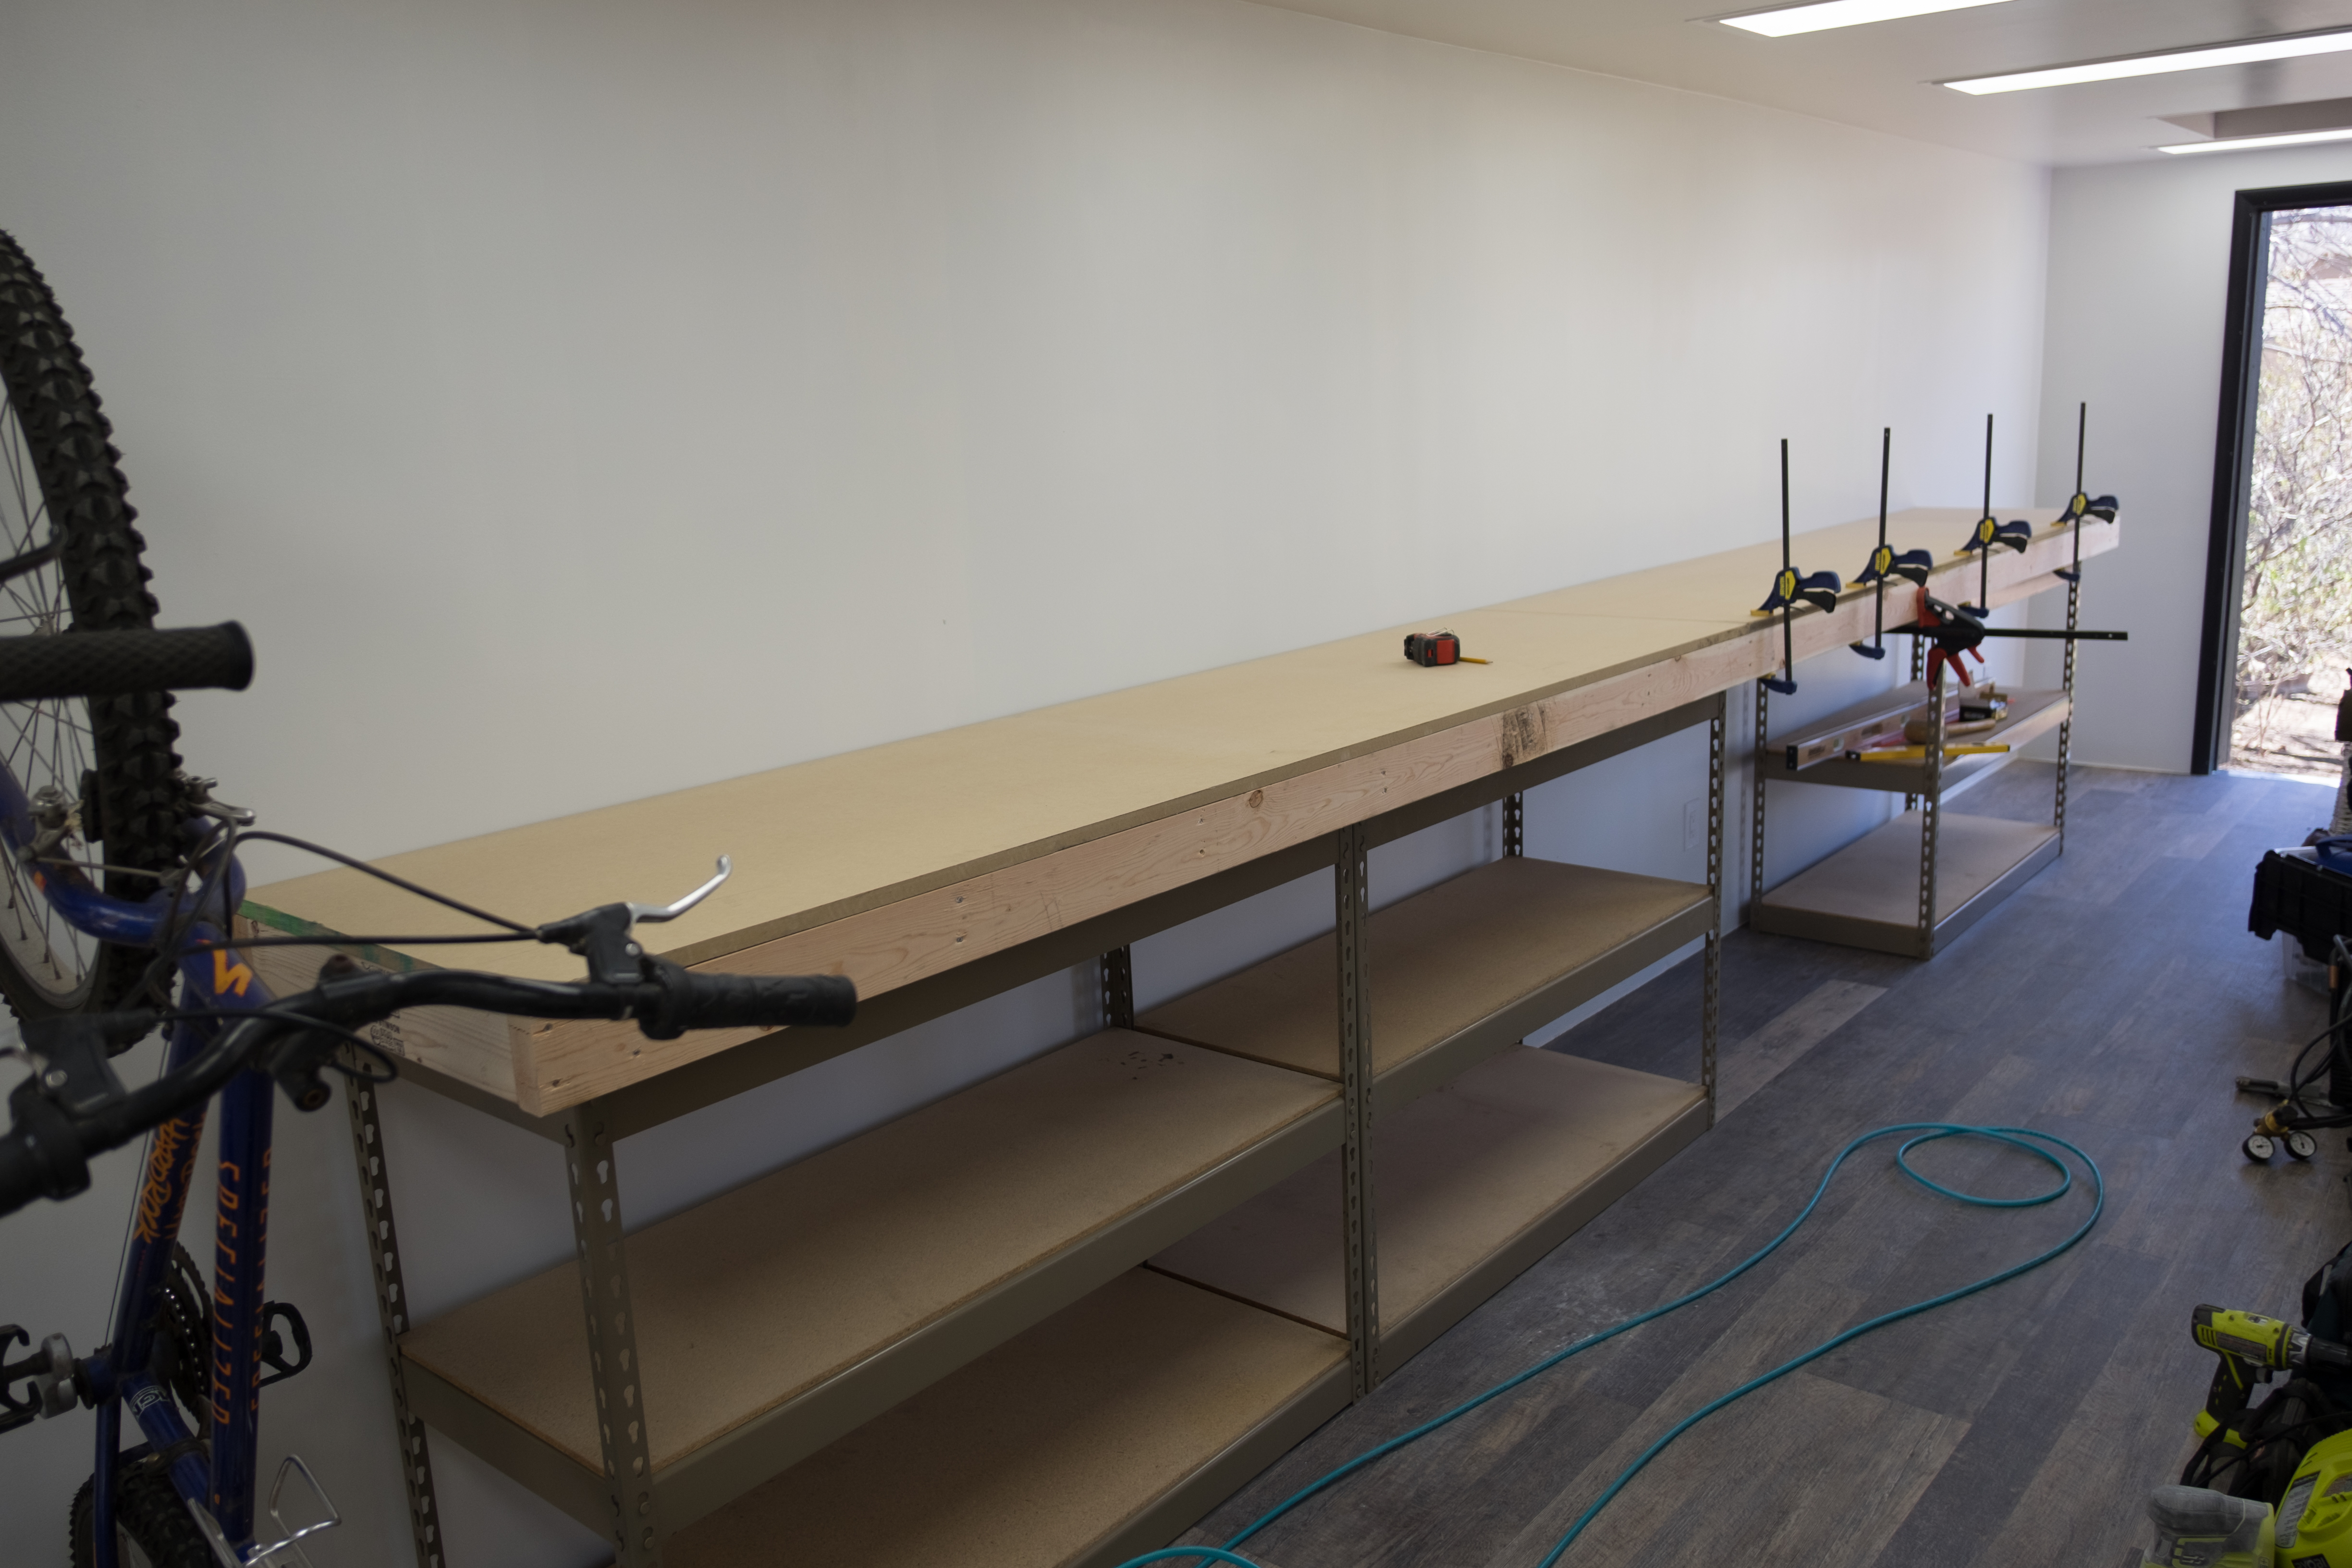
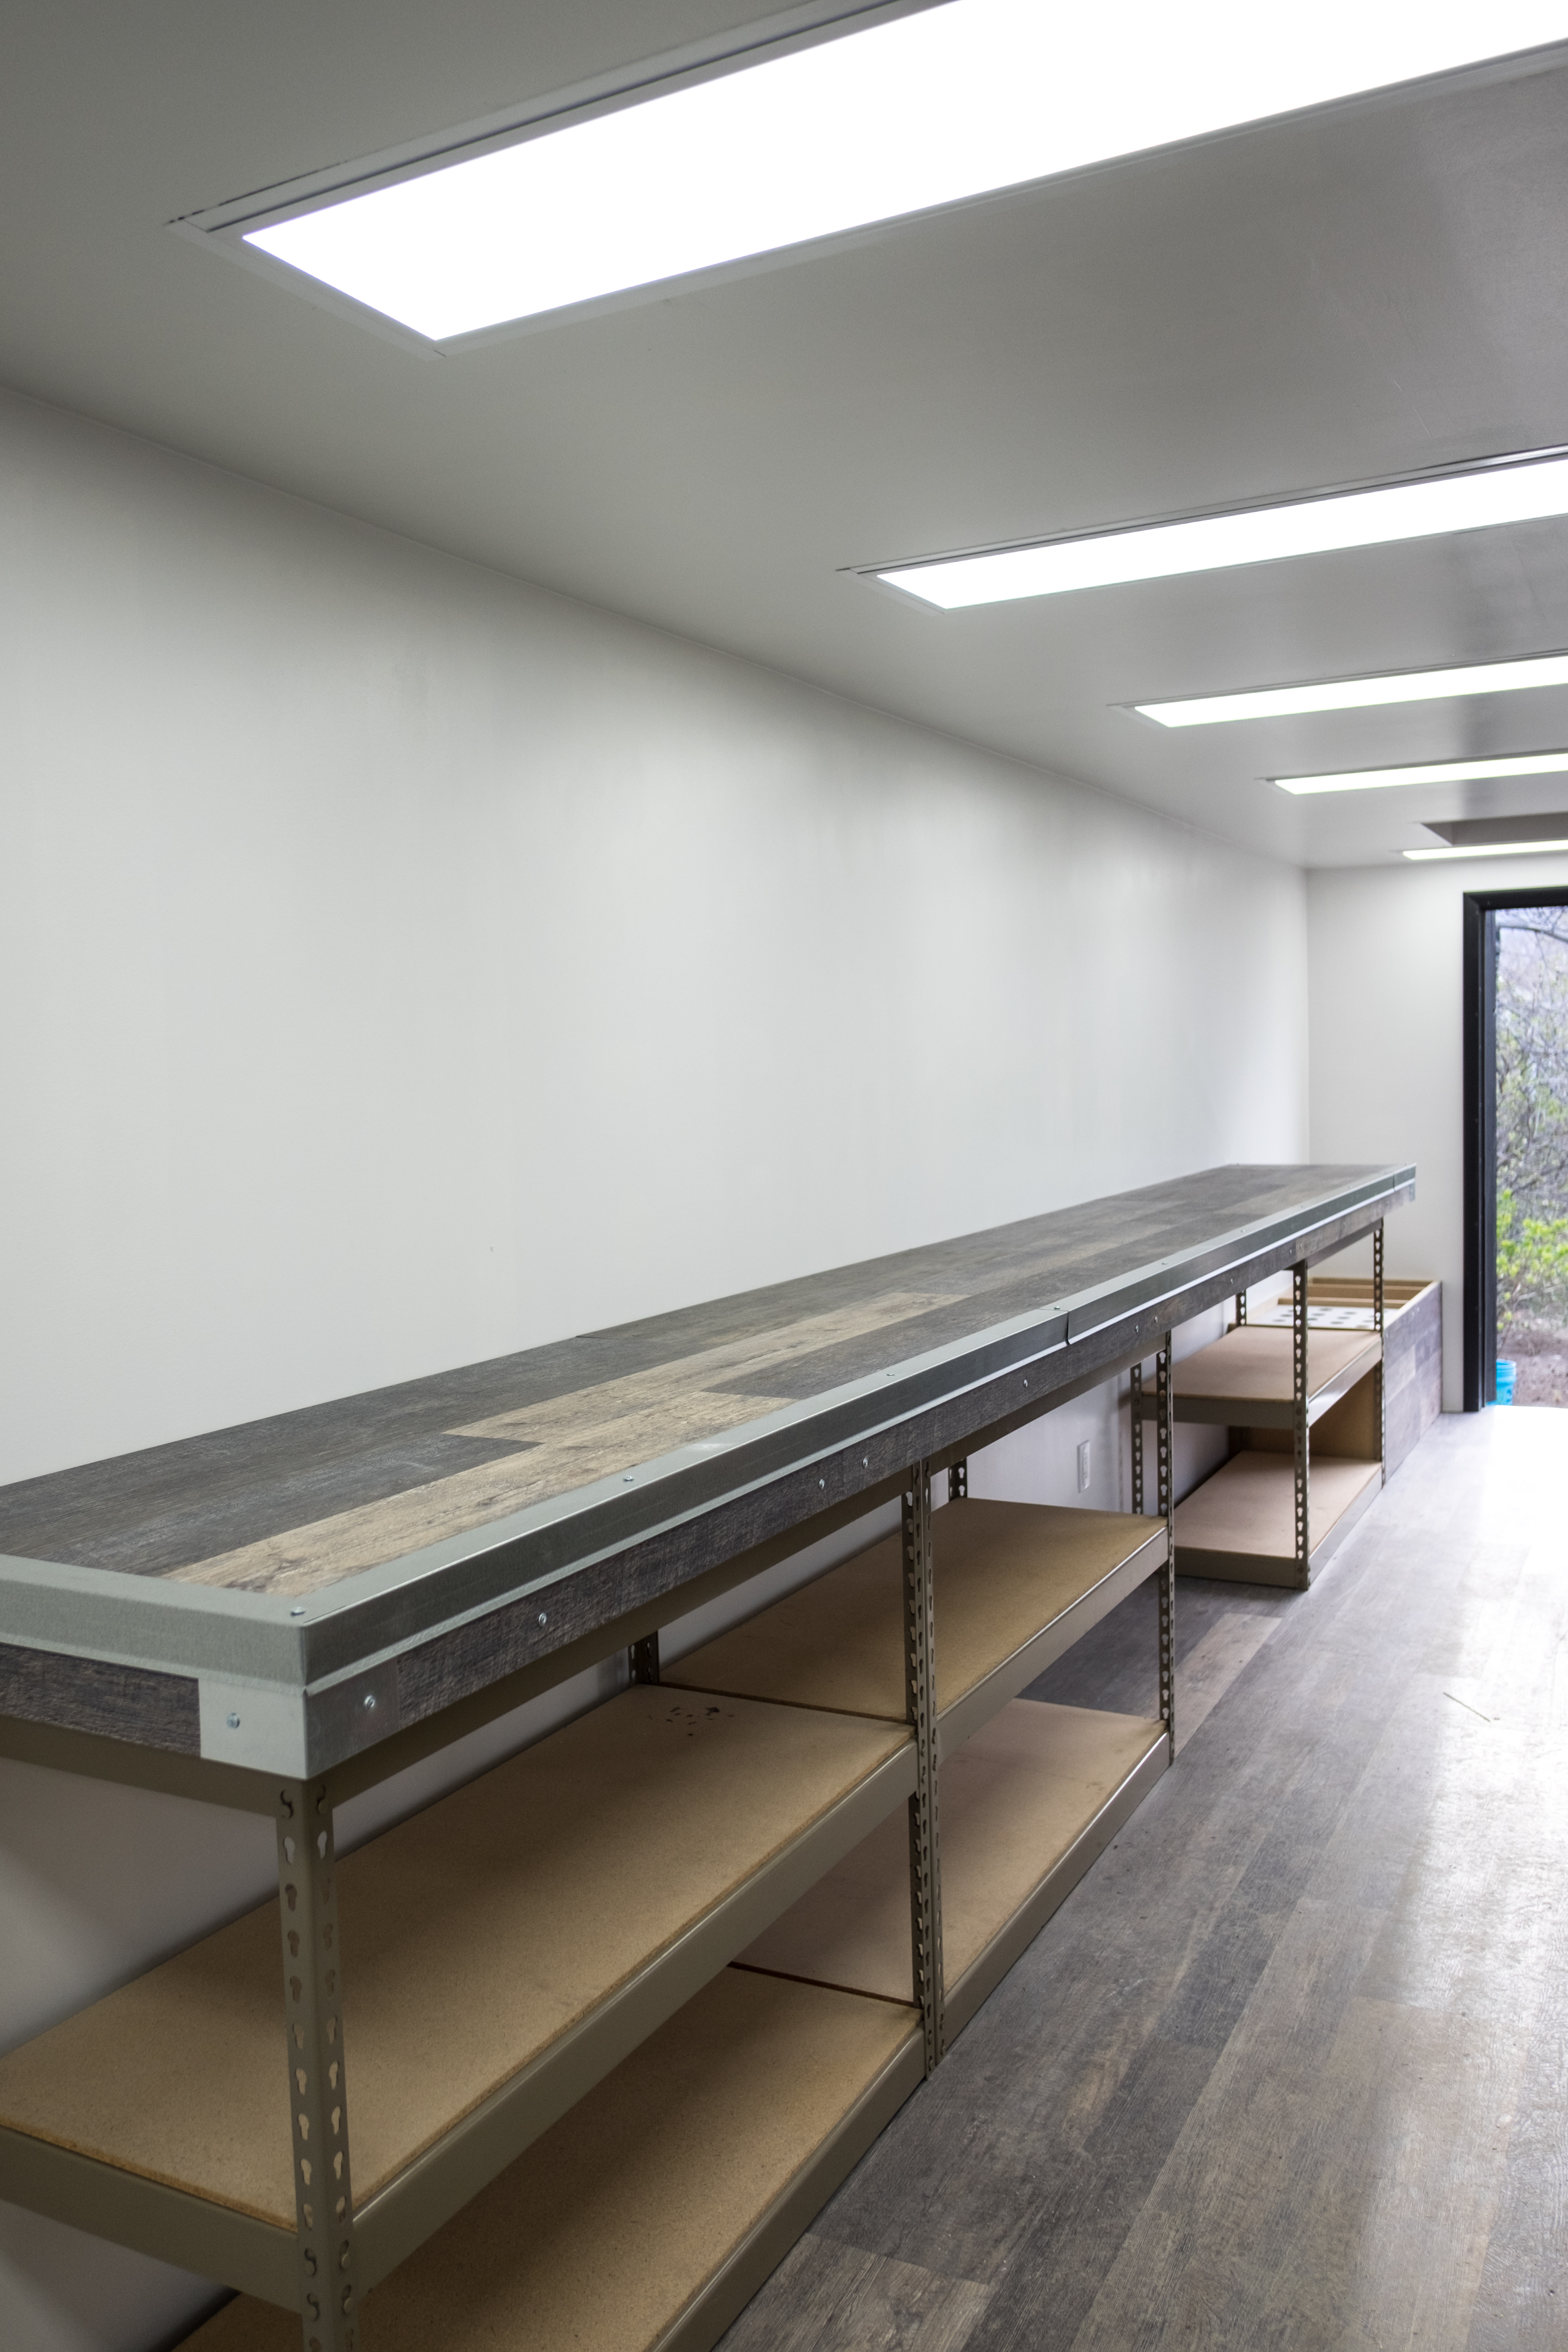
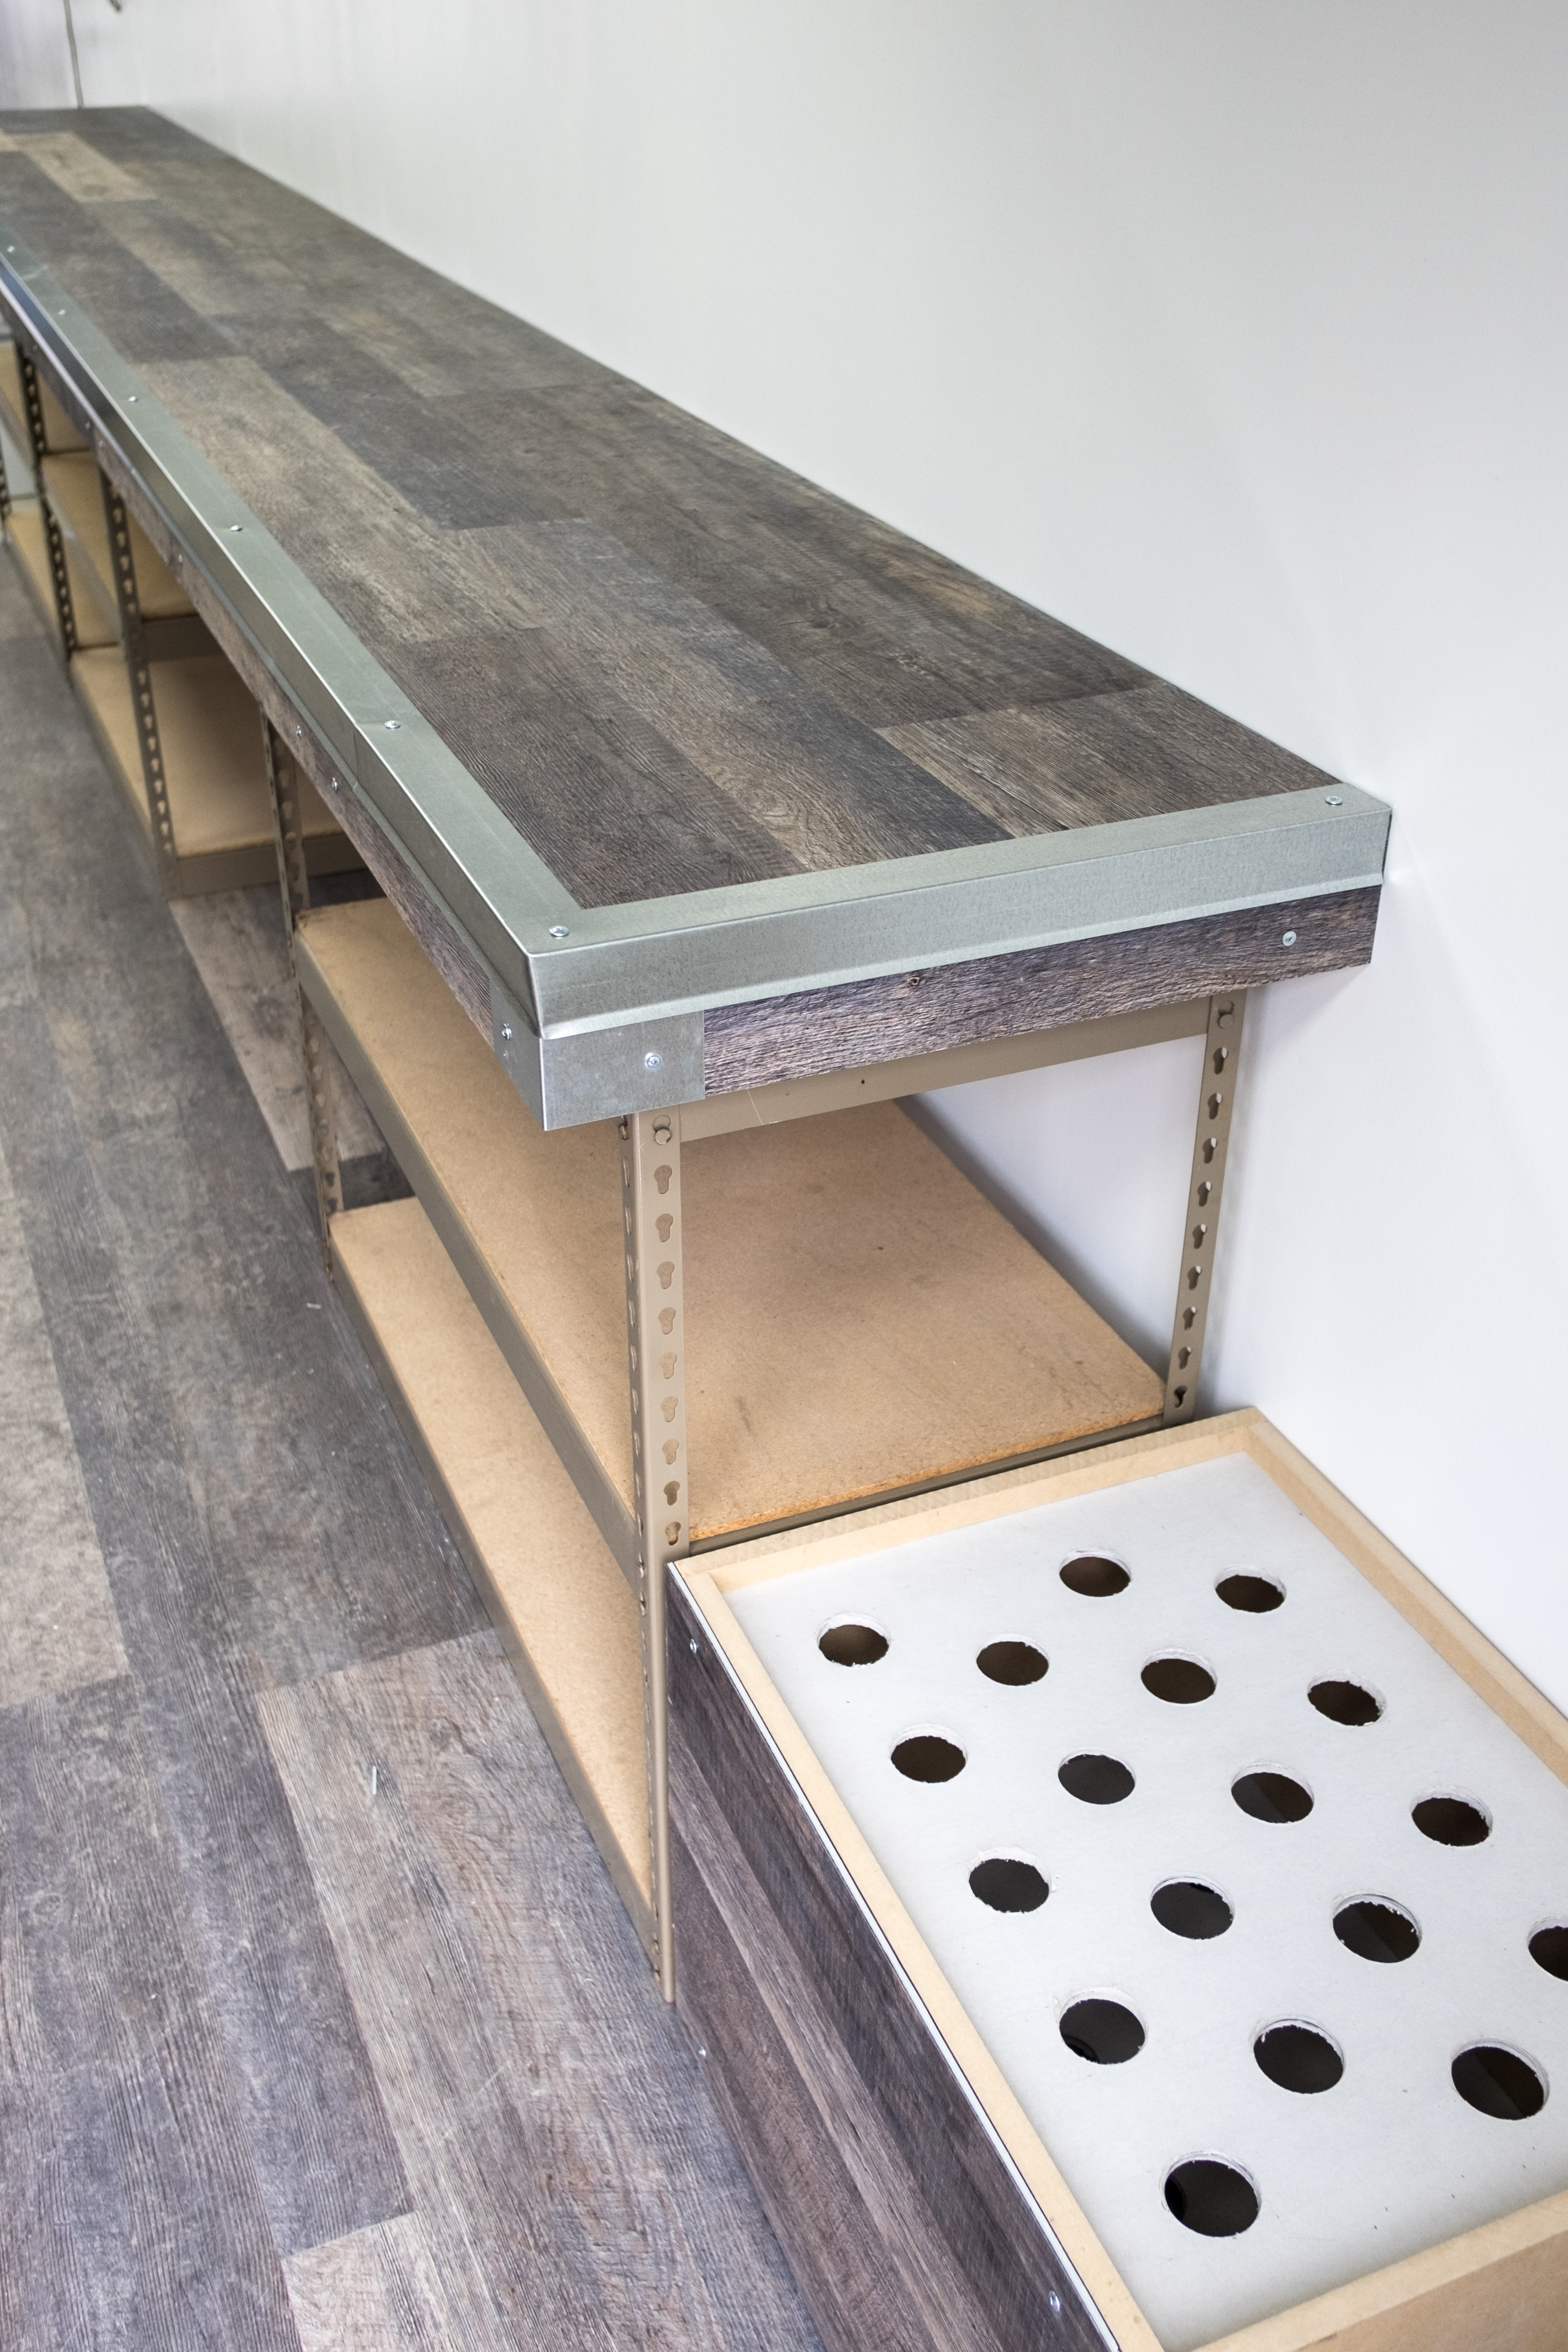
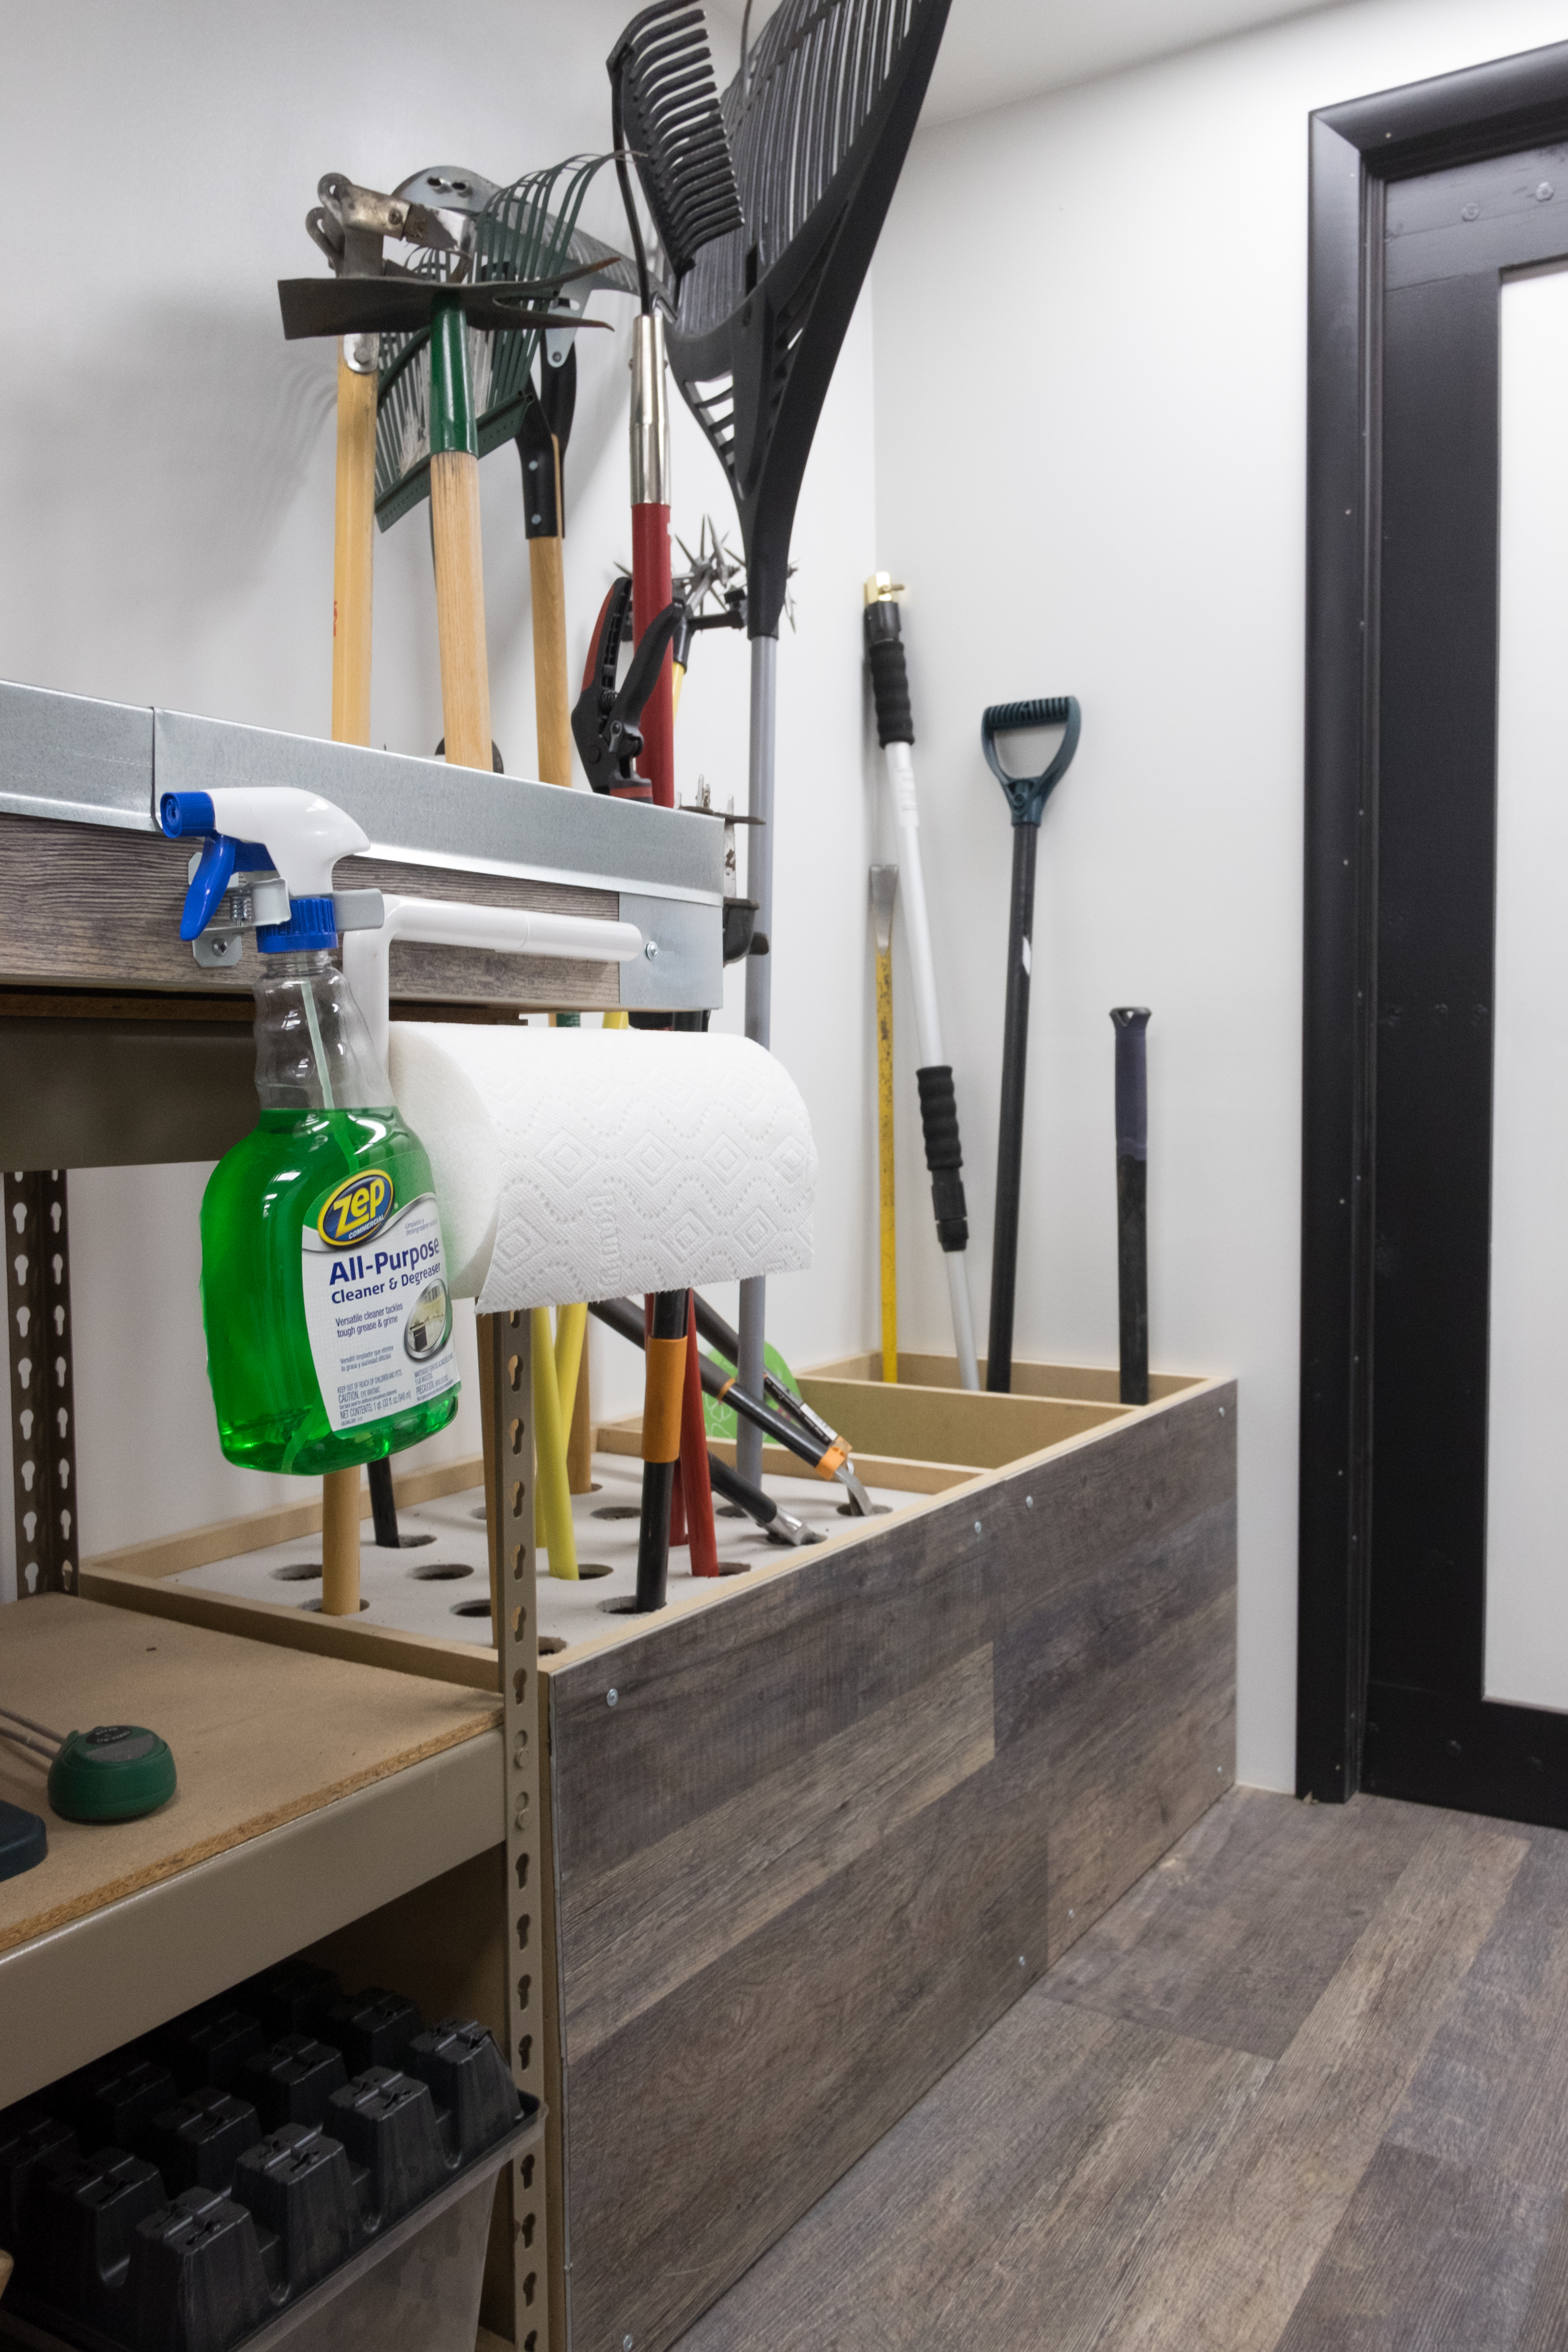
I needed a proper workbench in the workshop, so I next got to work on this. It would have plenty of open storage underneath, with an area in the center for a bar stool. On the far end is an area for organizing yard tools, specially designed to hold everything we need.
At the entrance, I added this little bike tire filling station. This goes with motto that any job worth doing is worth taking too far. These little touches make a big difference.
At this point, the interior is was complete and we could move everything back in from our patio.
After taking a hiatus, I got back to work on finishing up the outside. I built a deck to match the one I built off our house. I sided the area with pallet boards, and poured a concrete counter over the grill area.


The whole process took about 1 year of weekends and evenings in base construction, then off-and-on work over the next year to wrap up the finishing touches. It’s a wonderful space designed specifically for how I wanted to use it. It’s a shame that I wrapped it up just in time to sell the house.
Back to Top